
AirBUS: manually add a luminaire by address
AirBUS: manually add a luminaire by address
480 × 320 display screens in the selected language. The yellow outline marks where to tap. Illustrated data is for demonstration.
Read the luminaire HEX address and check that this is the correct AirBUS controller. The luminaire should be powered and reachable by radio. The screens use the example address 01A2; enter your own device address.
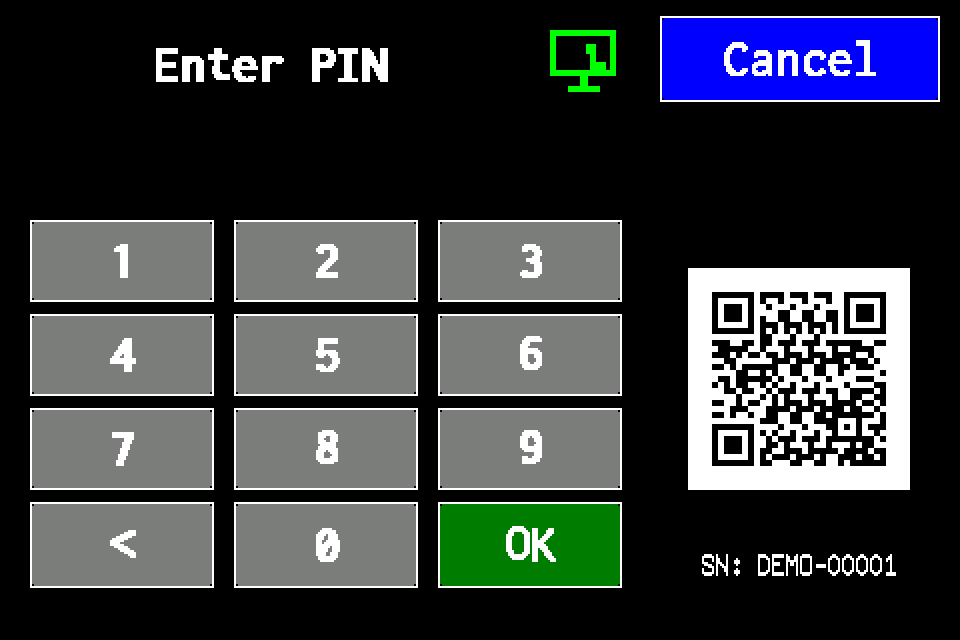
If the controller asks for a PIN
Enter your own PIN on the display keypad and confirm with OK. Use an account authorised for the operation. If already signed in, continue to the next menu screen. Controller access codes →
In METRO, the PIN window retains its original appearance. Controller access codes →
-
EZF480 × 320 · Classic
 1Step 1 / 7
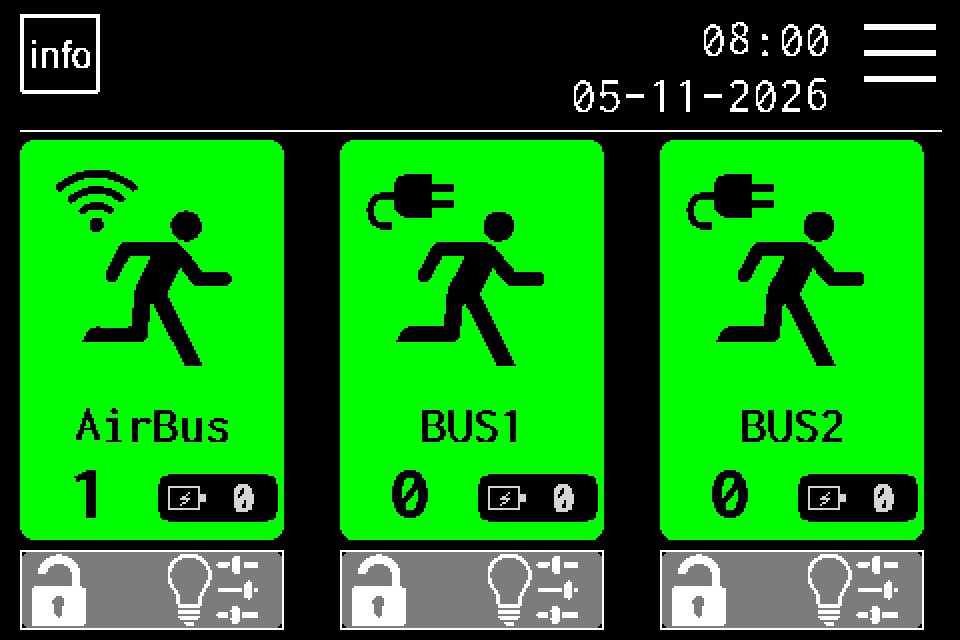
Open MENU
On the home screen, tap the menu icon in the upper right. If a PIN keypad appears, sign in with access to luminaire management. Controller access codes →
-
EZF480 × 320 · Classic
 2Step 2 / 7
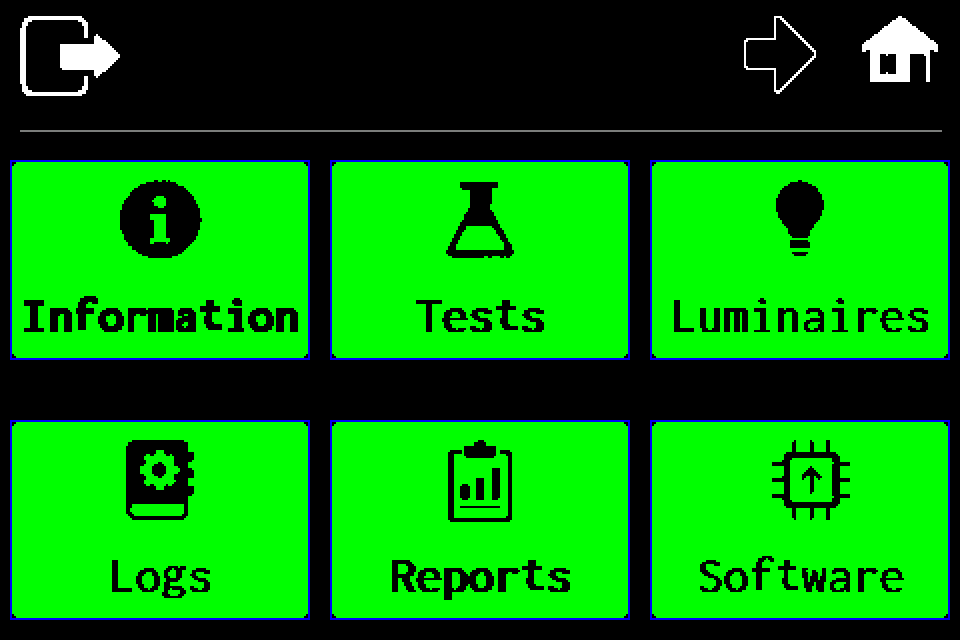
Choose “Luminaires”
Stay on the first menu page and tap the luminaires tile in the upper right.
-
EZF480 × 320 · Classic
 3Step 3 / 7
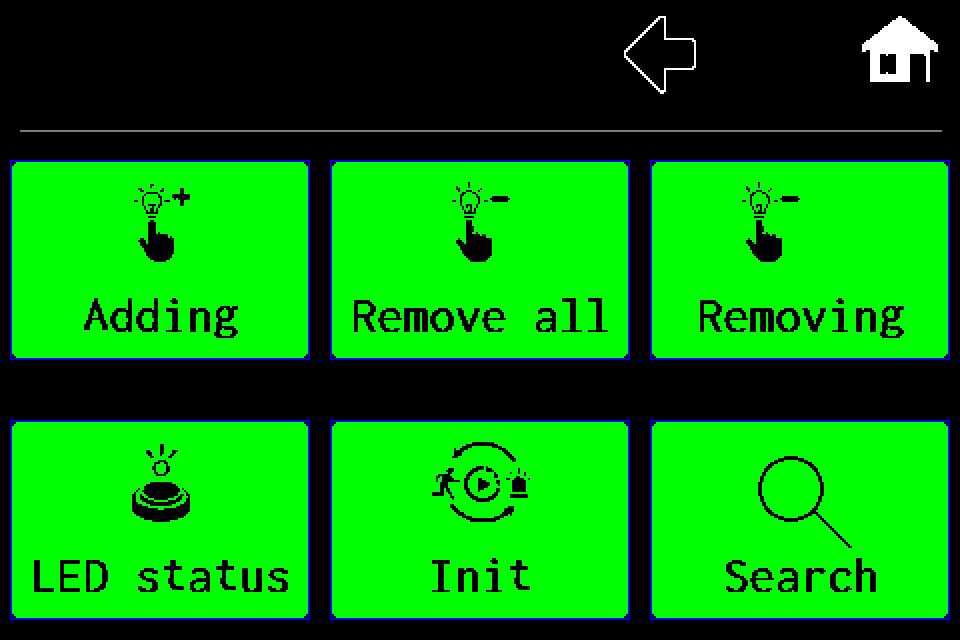
Tap “Adding”
In luminaire management, choose the upper-left tile with the lamp and plus sign. This adds a luminaire manually by address.
-
EZF480 × 320 · Classic
 4Step 4 / 7
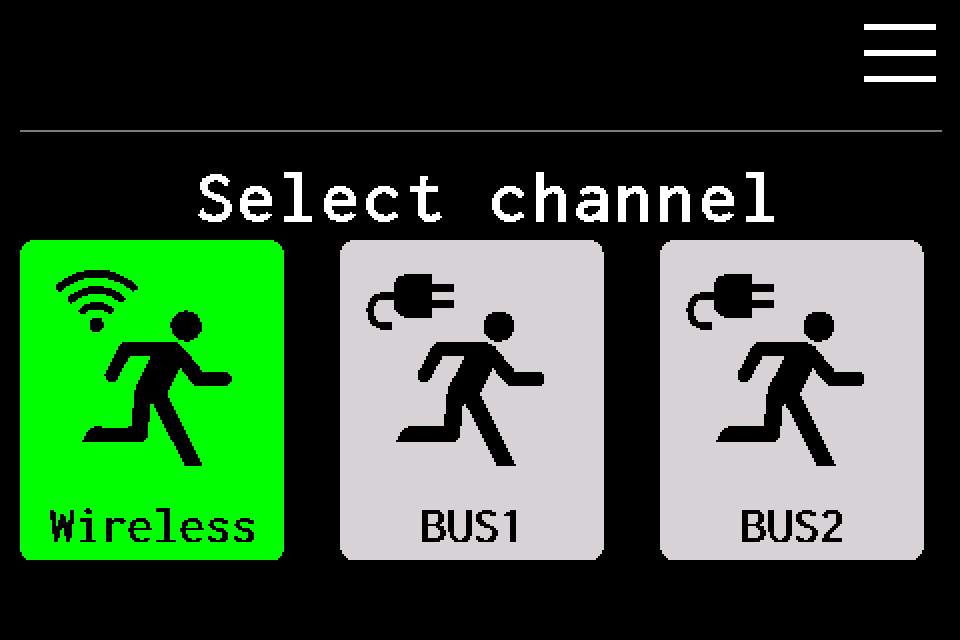
Choose “Wireless” — AirBUS
Tap Wireless on the left. This guide applies to the AirBUS radio channel. Do not select BUS1 or BUS2.
-
EZF480 × 320 · Classic
 5Step 5 / 7
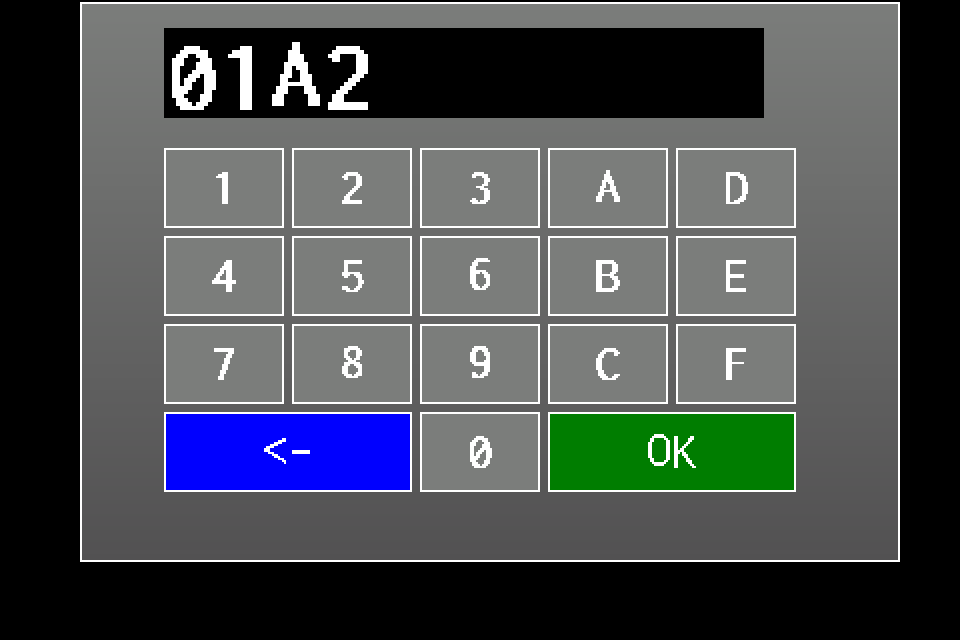
Enter the luminaire HEX address
Enter the address from the luminaire, for example 01A2. Digits and A–F form a hexadecimal address; do not enter a 0x prefix. ← deletes the last character. The position in the list is not the luminaire address.
-
EZF480 × 320 · Classic6Step 6 / 7
Check the address and press OK
Manual AirBUS addition accepts addresses from 00C9 to FFFE. Pressing the green OK starts the add attempt immediately, without a separate confirmation question.
-
EZF480 × 320 · Classic
 7Step 7 / 7
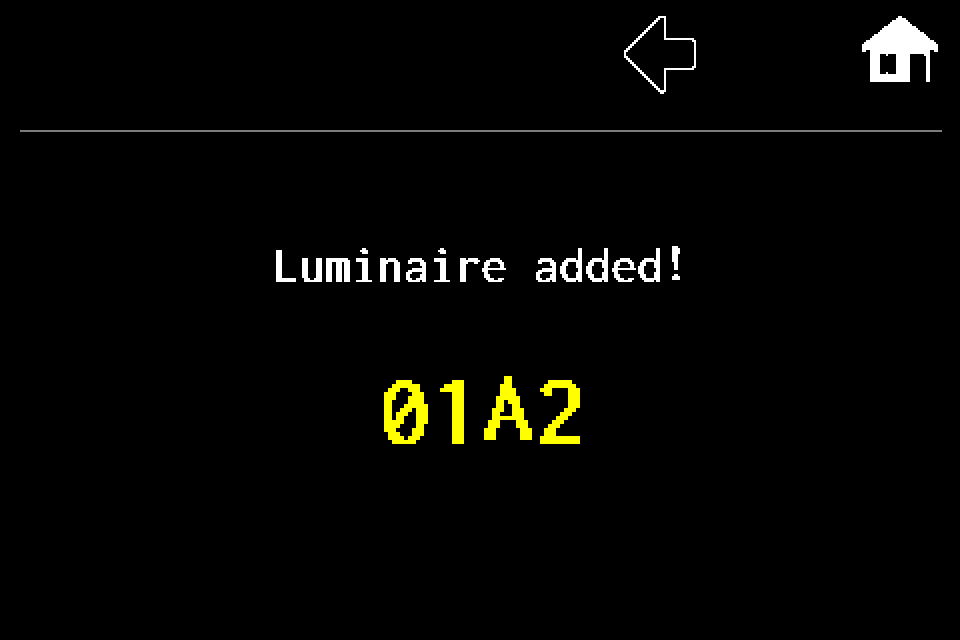
Check the addition result
The illustration shows an example success message for 01A2. Check the actual message on your controller. An error, duplicate address or lack of capacity does not mean the luminaire was added.
Return home, open AirBUS and check the list and communication with the new luminaire. Then set its name, type, group and other required parameters. Manual addition does not change the physical device address.