
Radio: controller transmit power
Radio: controller transmit power
480 × 320 display screens in the selected language. The yellow outline marks where to tap. Illustrated data is for demonstration.
Have your own administrator or service PIN and the required radio power ready. This guide shows how to choose a dBm level and save it with the disk icon. The displayed values are examples. Controller access codes →
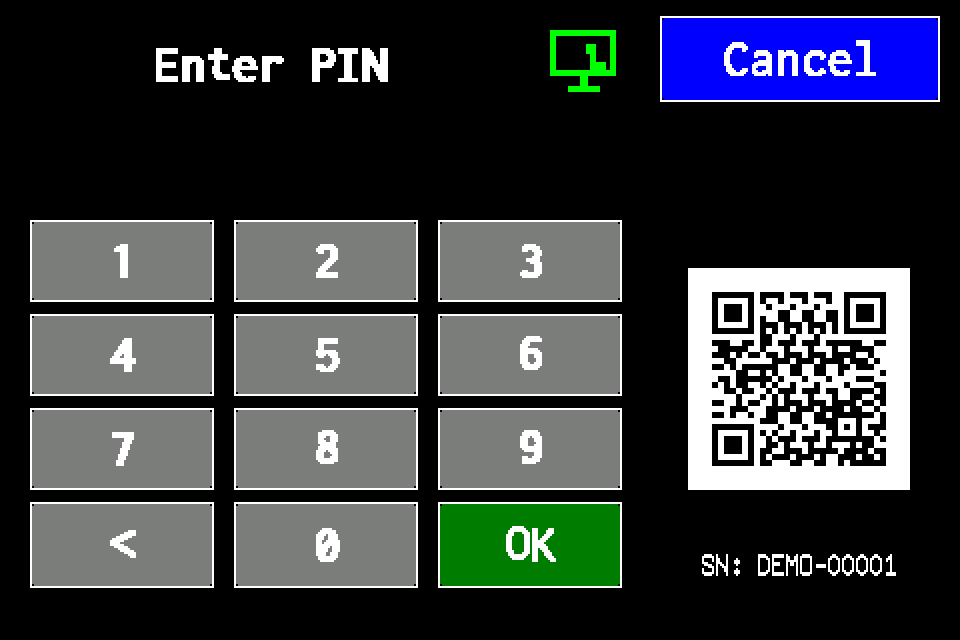
If the controller asks for a PIN
Enter your PIN on the display and confirm with OK. Use an account authorised for controller settings. If already signed in, continue to the next menu screen. Controller access codes →
In METRO, the PIN window retains its original appearance. Controller access codes →
-
EZF480 × 320 · Classic
 1Step 1 / 7
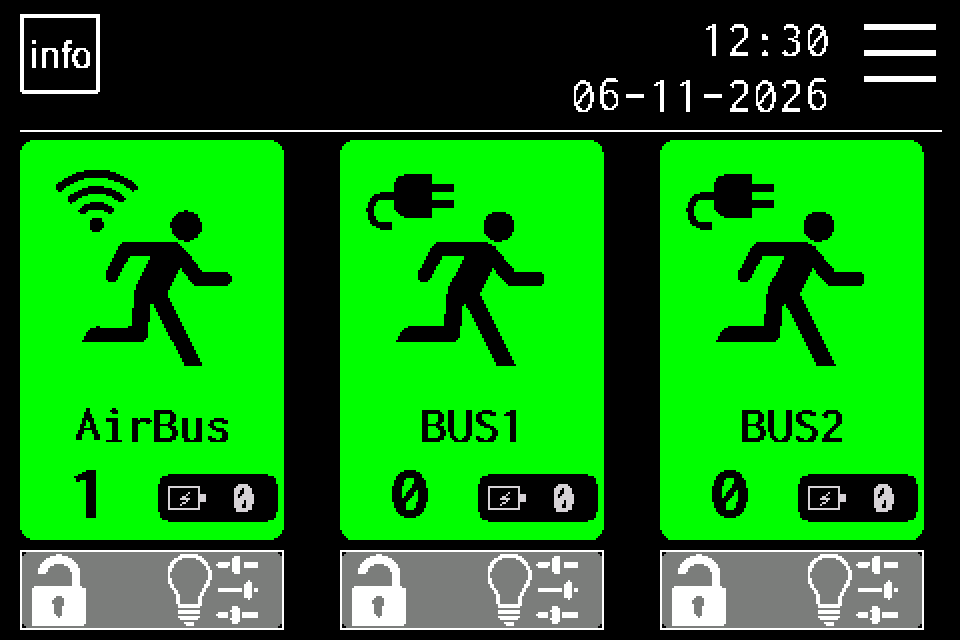
Open MENU
On the home screen, tap MENU in the upper right. If prompted, enter your own PIN and confirm with OK. Controller access codes →
-
EZF480 × 320 · Classic
 2Step 2 / 7
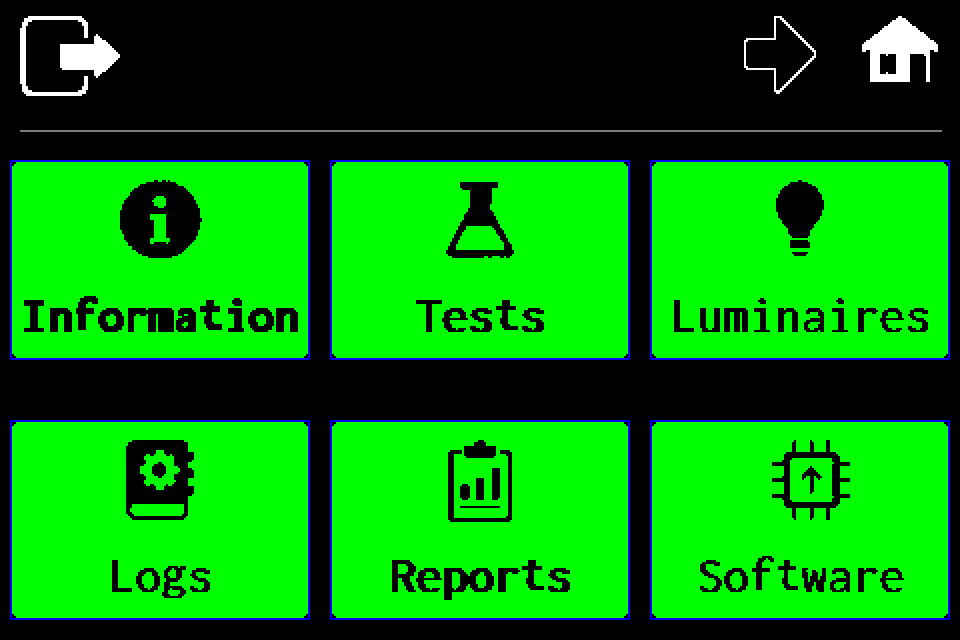
Open the second menu page
Tap the right arrow in the top bar.
-
EZF480 × 320 · Classic
 3Step 3 / 7
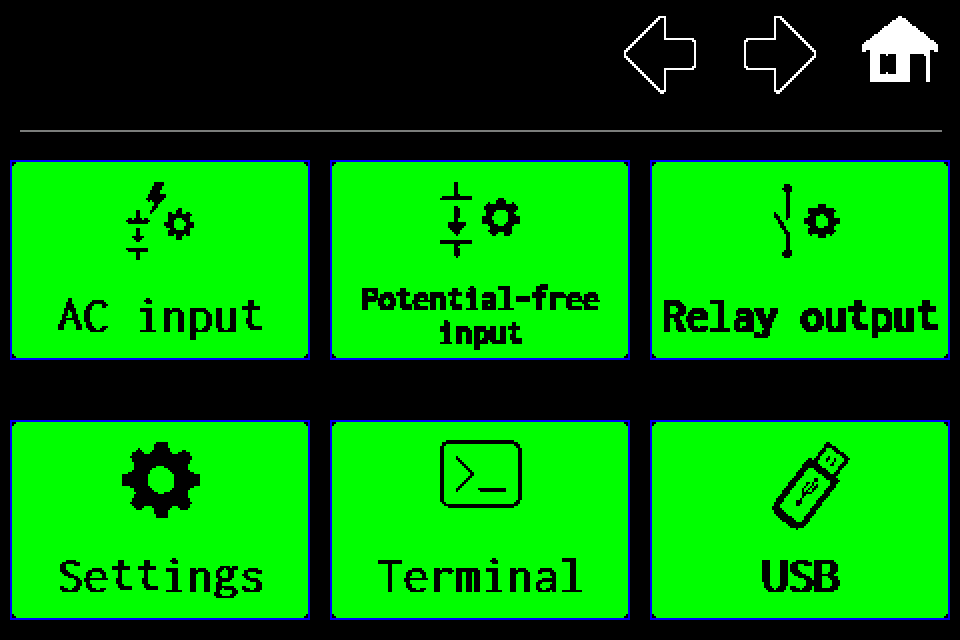
Choose “Settings”
On the second menu page, tap Settings in the lower left.
-
EZF480 × 320 · Classic
 4Step 4 / 7
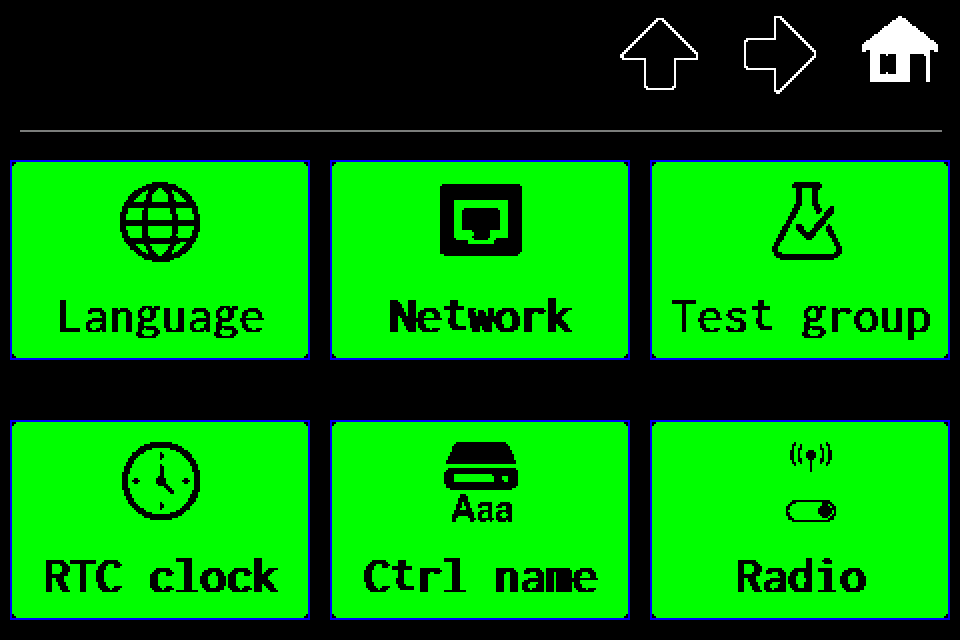
Open “Radio”
On the first settings page, tap Radio in the lower right.
-
EZF480 × 320 · Classic
 5Step 5 / 7
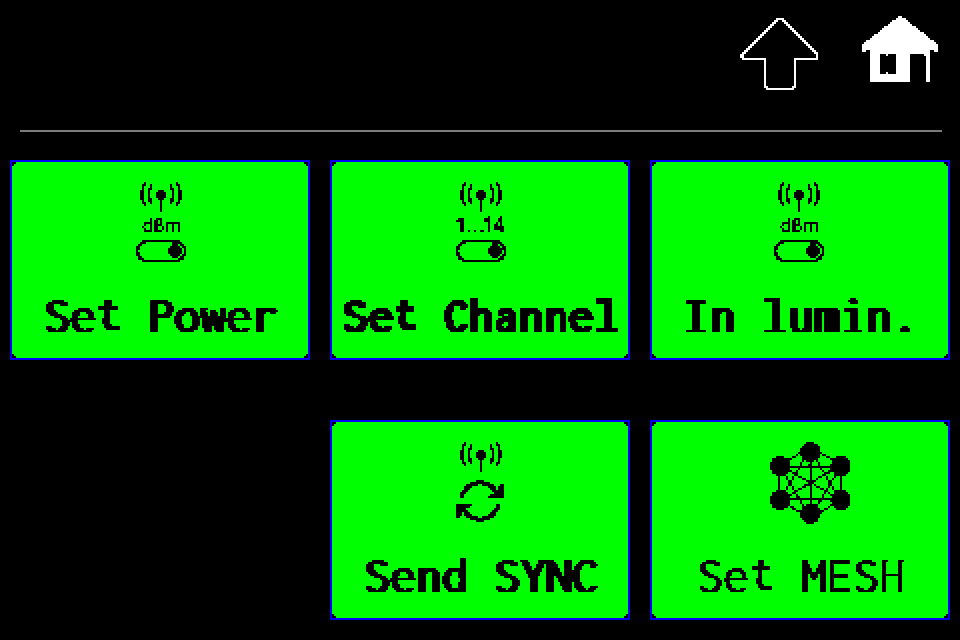
Choose “Set Power”
In the Radio menu, tap Set Power in the upper left. This screen sets the controller’s transmit power.
-
EZF480 × 320 · Classic
 6Step 6 / 7
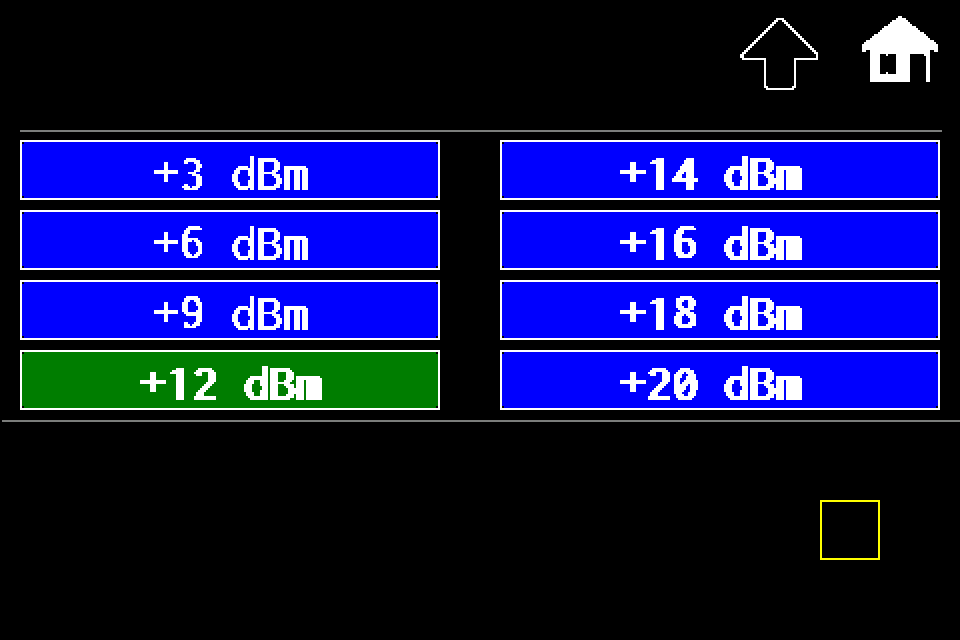
Choose the controller transmit power
Tap the required dBm value. A higher value increases transmit power; a lower value reduces it. The example changes +12 to +14 dBm. Available values: +3, +6, +9, +12, +14, +16, +18, +20 dBm.
-
EZF480 × 320 · Classic
 7Step 7 / 7
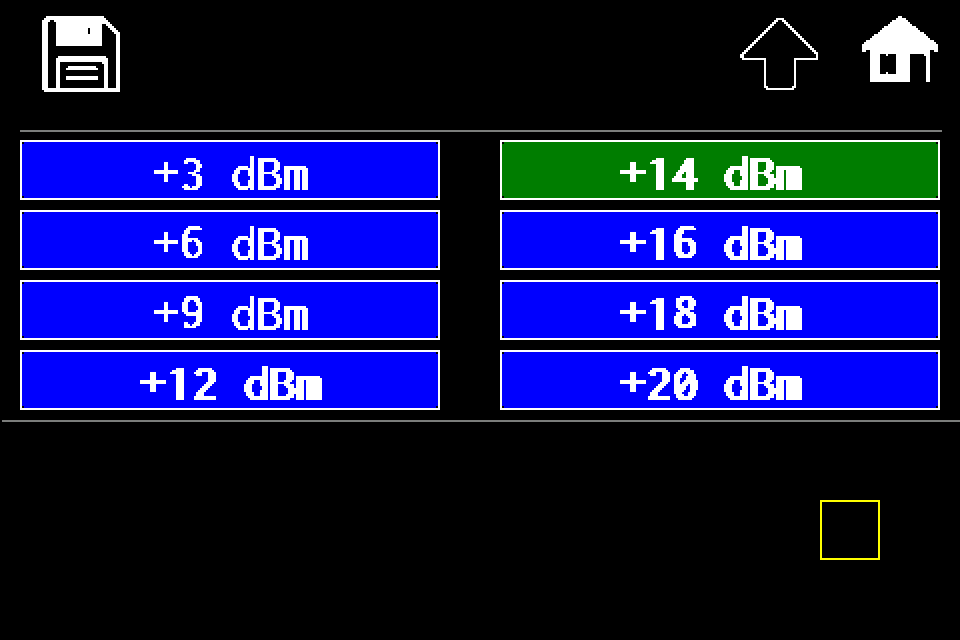
Save with the disk icon
After choosing a level, tap the disk icon in the upper left. The controller saves the value, applies it to its radio and returns to the Radio menu. Finish the change with this button.
Reopen Set Power and check the highlighted value. The controller radio power is applied when saved. This change does not require an additional SEND SYNC; luminaire power has a separate procedure.