
Import luminaires from USB
Import luminaires from USB
480 × 320 display screens in the selected language. The yellow outline marks where to tap. Illustrated data is for demonstration.
Export the existing list first. Validate the new CSV and copy it to the USB root directory using the filename for the selected channel. Import changes luminaire data.
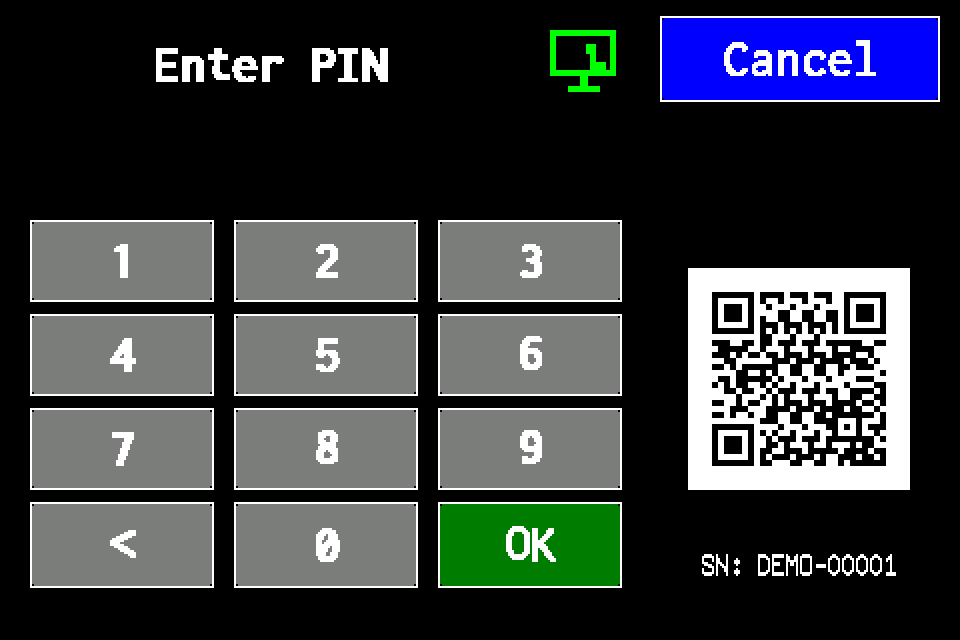
If the controller asks for a PIN
Enter your own PIN on the display keypad and confirm with OK. Use an account authorised for the operation. If already signed in, continue to the next menu screen. Controller access codes →
In METRO, the PIN window retains its original appearance. Controller access codes →
-
EZF480 × 320 · Classic
 1Step 1 / 5
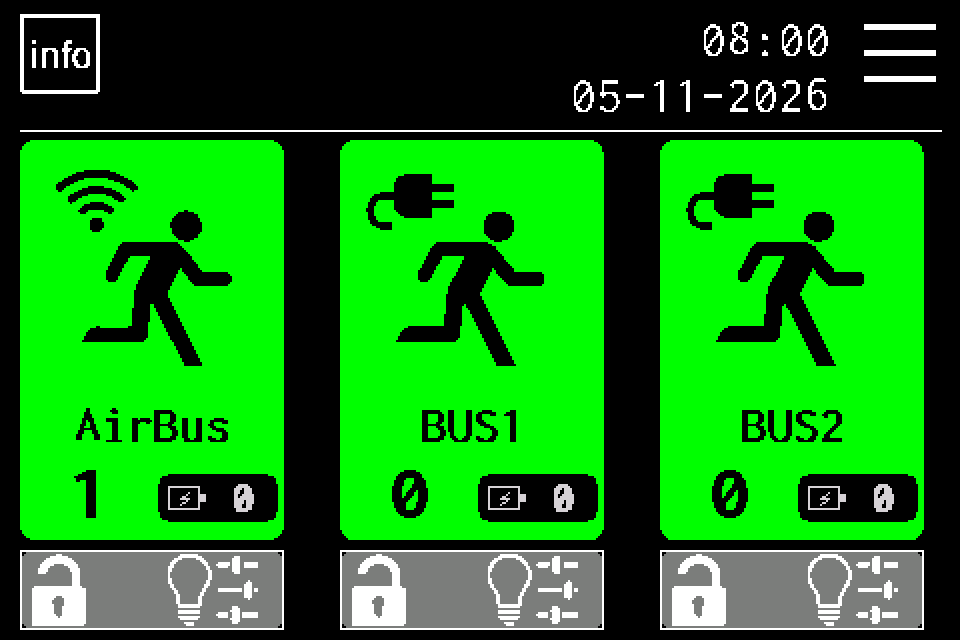
Press MENU
On the home screen, tap MENU in the upper right. If prompted for a PIN, sign in with an authorised account. Controller access codes →
-
EZF480 × 320 · Classic
 2Step 2 / 5
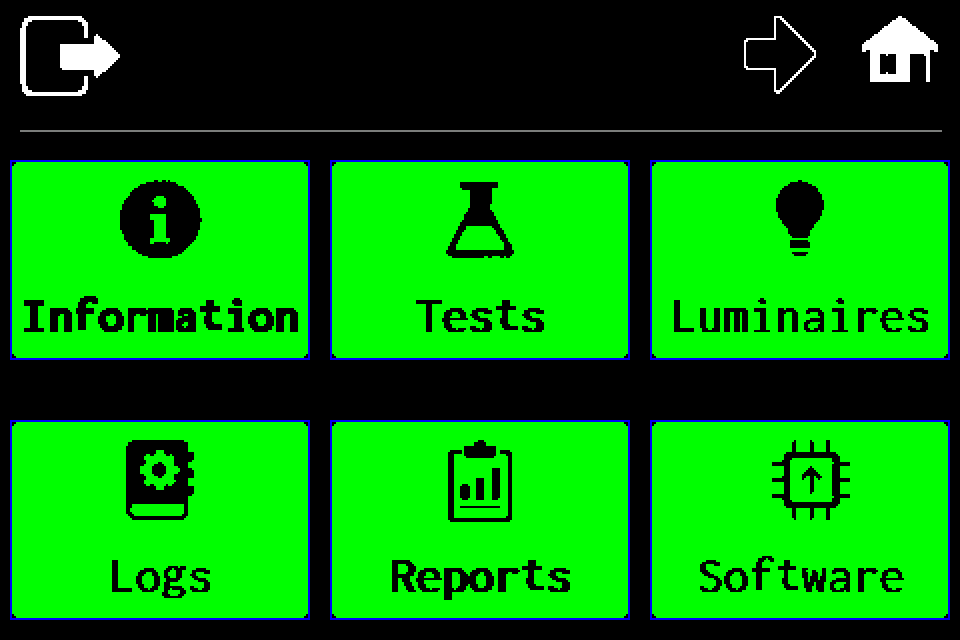
Open the second menu page
Tap the right arrow in the top bar. USB is on the second menu page.
-
EZF480 × 320 · Classic
 3Step 3 / 5
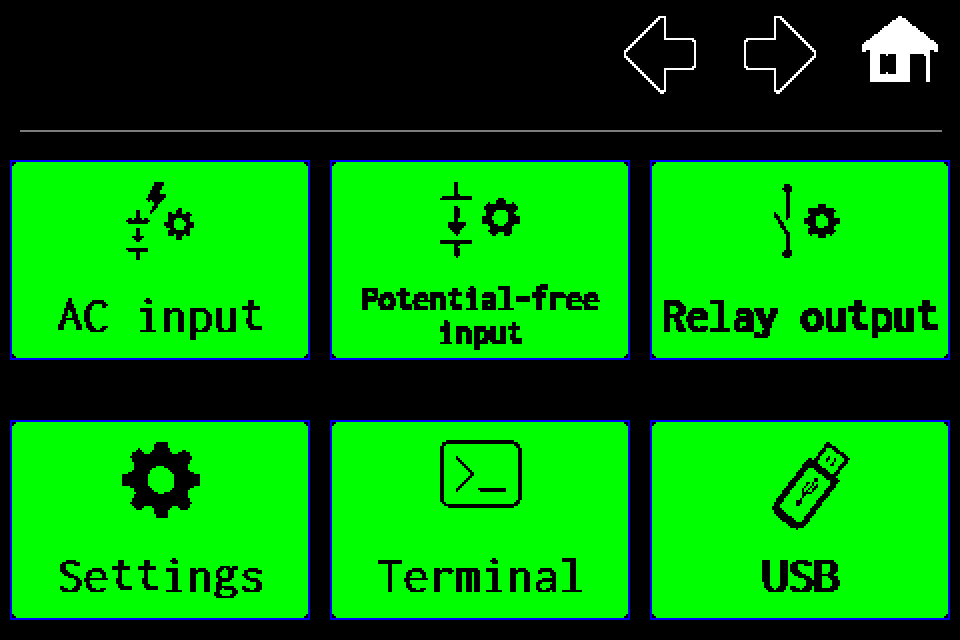
Open USB
Tap the USB tile in the lower right.
-
EZF480 × 320 · Classic
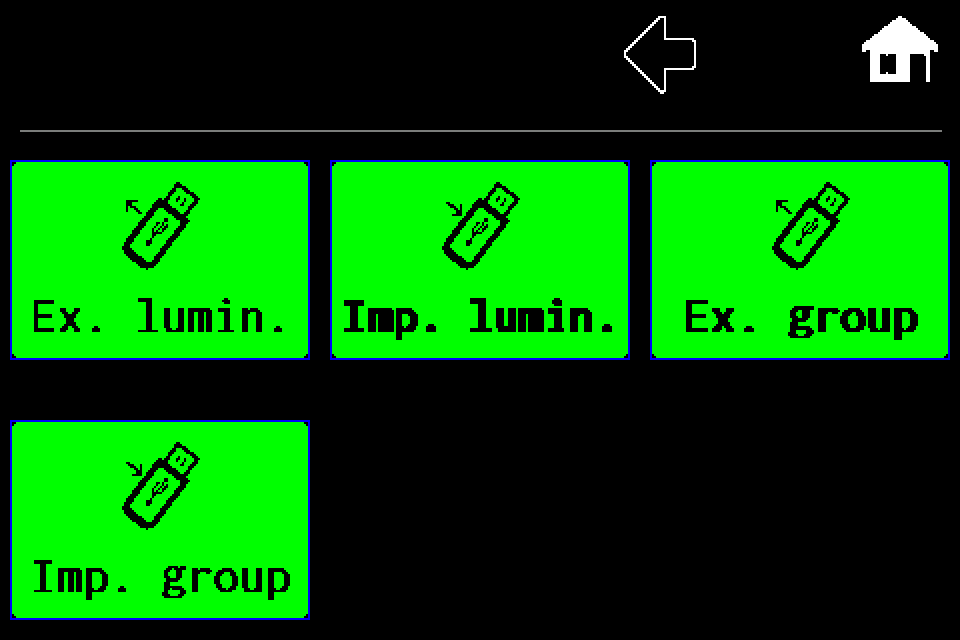 4Step 4 / 5
Tap “Imp. lumin.”
Choose luminaire import. Accidentally selecting export could replace the prepared file with data from the controller.
-
EZF480 × 320 · Classic
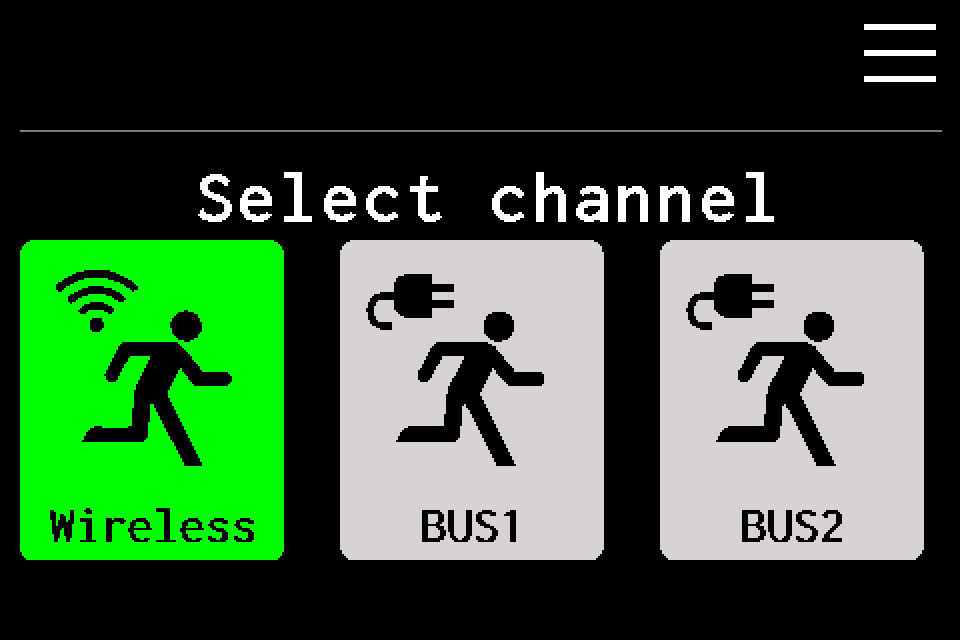 5Step 5 / 5
Choose the luminaire channel · BUS1
Wireless means AirBUS. Choose the channel matching the file and installation. The USB operation starts after selecting the channel.
BUS1/BUS2: wait for completion and check count, addresses, names, groups and communication. AirBUS: a CSV-read message does not mean import is complete; the next step is unavailable from the display in the checked version. Do not treat it as a successful data update.