
Export a selected test report
Export a selected test report
480 × 320 display screens in the selected language. The yellow outline marks where to tap. Illustrated data is for demonstration.
Connect a USB drive. A saved test report must already exist on the controller. Illustrated dates and results are examples.
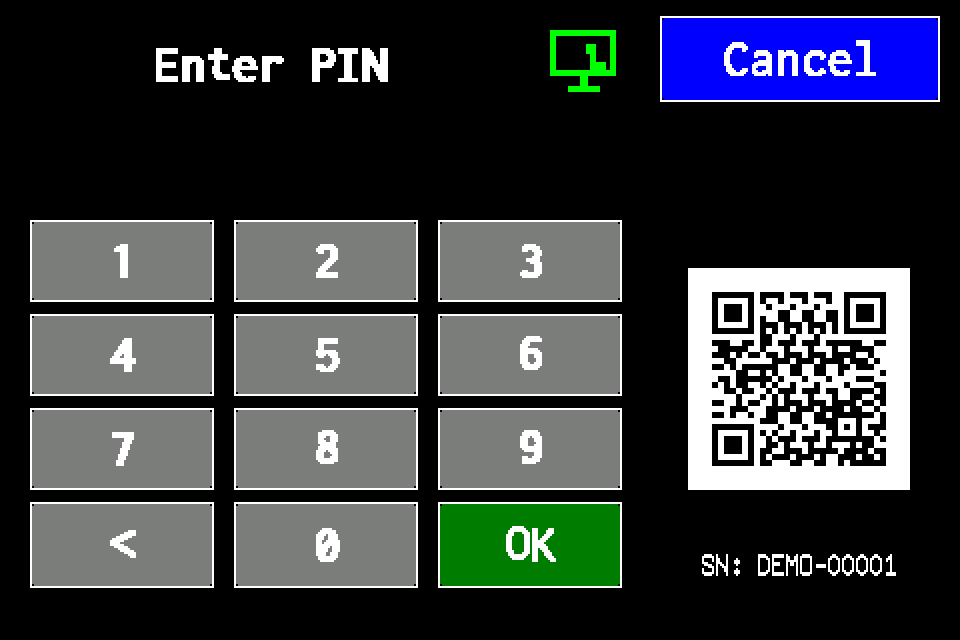
If the controller asks for a PIN
Enter your own PIN on the display keypad and confirm with OK. Use an account authorised for the operation. If already signed in, continue to the next menu screen. Controller access codes →
In METRO, the PIN window retains its original appearance. Controller access codes →
-
EZF480 × 320 · Classic
 1Step 1 / 6
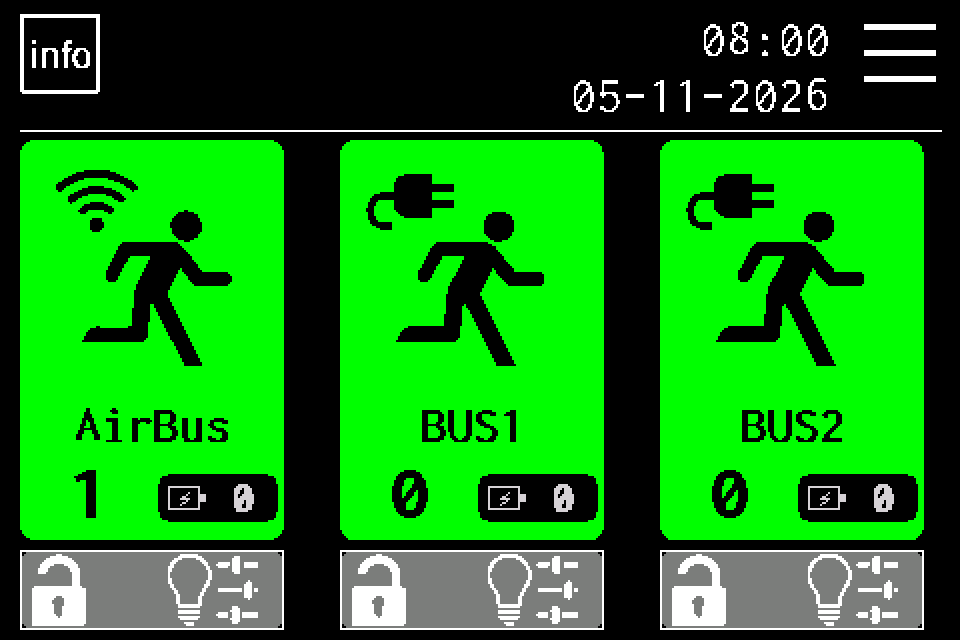
Press MENU
On the home screen, tap MENU in the upper right. If prompted for a PIN, sign in with an authorised account. Controller access codes →
-
EZF480 × 320 · Classic
 2Step 2 / 6
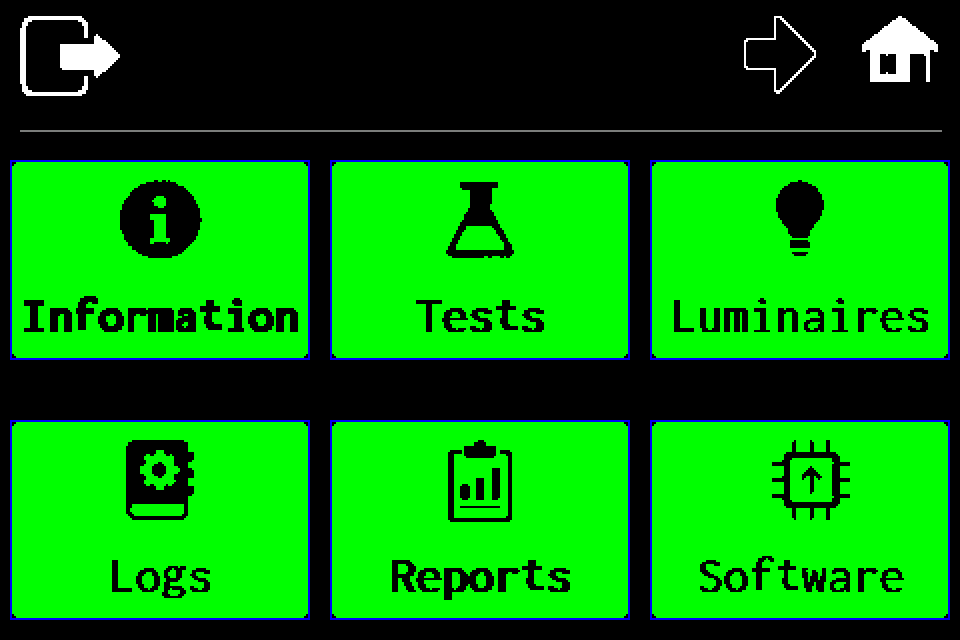
Open “Reports”
Choose Reports on the first menu page. Do not go to the USB menu on the second page.
-
EZF480 × 320 · Classic
 3Step 3 / 6
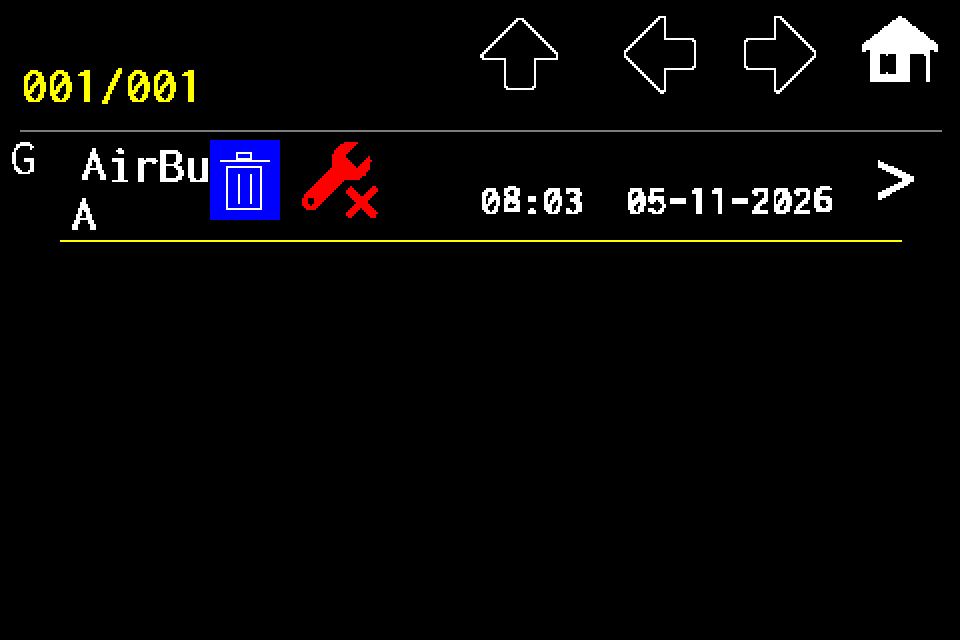
Open the report using the right arrow
Tap the right arrow for the required report. Do not press the trash or repeat-test buttons. If the list is empty, run and save a test first.
-
EZF480 × 320 · Classic
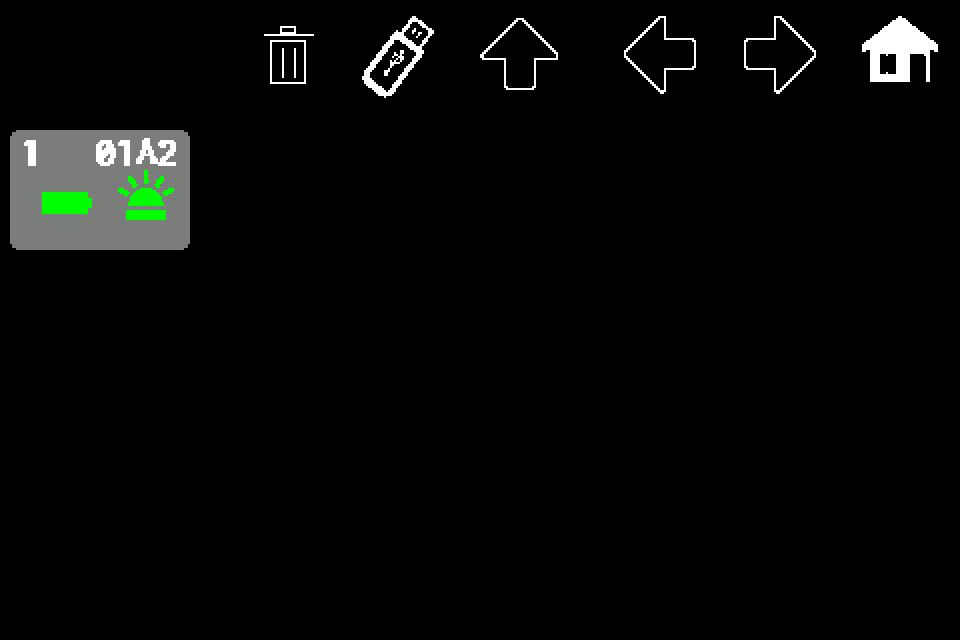 4Step 4 / 6
Tap the USB icon
The USB icon is in the top bar of the report details. Export from the entire report list is unavailable.
-
EZF480 × 320 · Classic
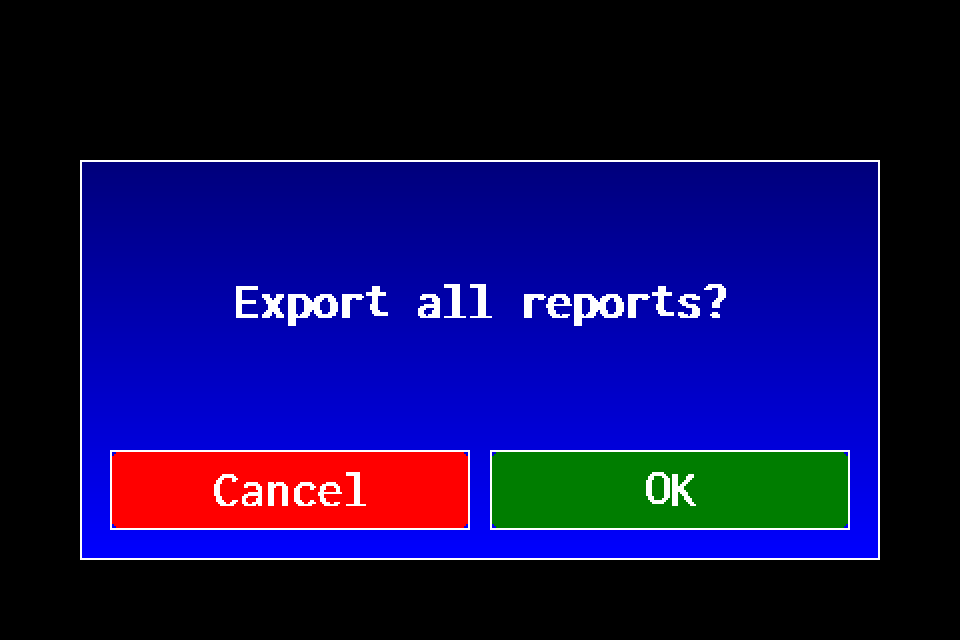 5Step 5 / 6
Confirm export: OK
Press OK on the right. The dialog may mention all reports, but this action exports the selected report. Cancel returns without saving.
-
EZF480 × 320 · Classic
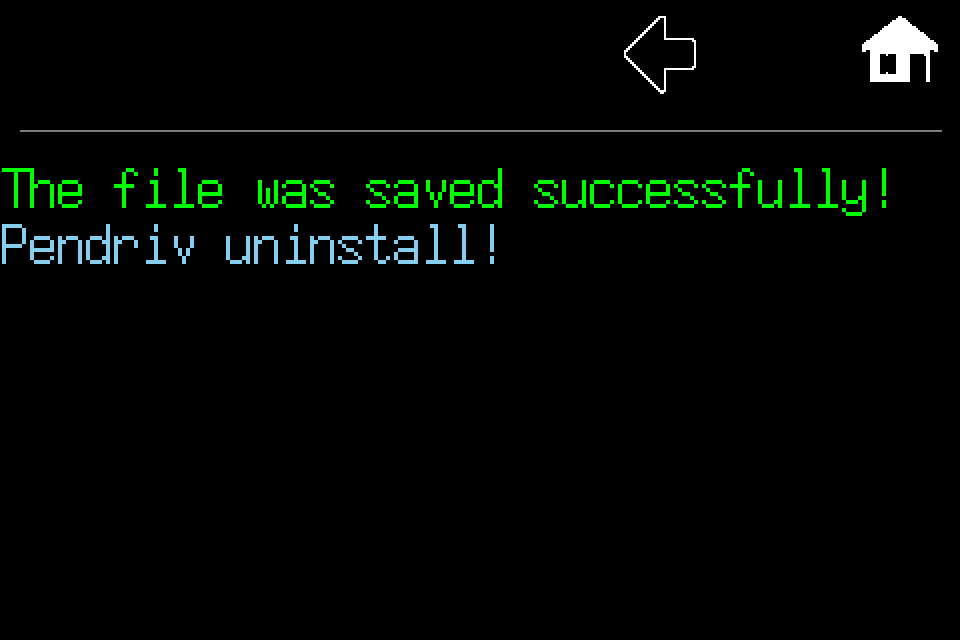 6Step 6 / 6
Check save confirmation
This message confirms saving has finished. If an error or USB prompt appears instead, check the drive and retry. Do not remove the drive while saving.
Wait for saving to finish and check the CSV on a computer. Its name comes from the selected report. Do not import it as a luminaire list.