Screen by screen: import luminaires
Open the guide with screens and highlighted buttons.
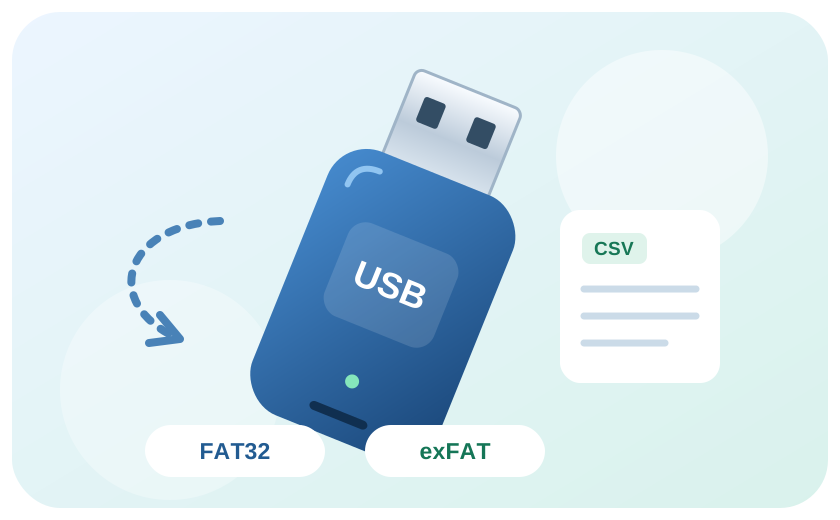
- Prepare the file and copy it to the USB drive's root directory. Connect the drive to the controller.
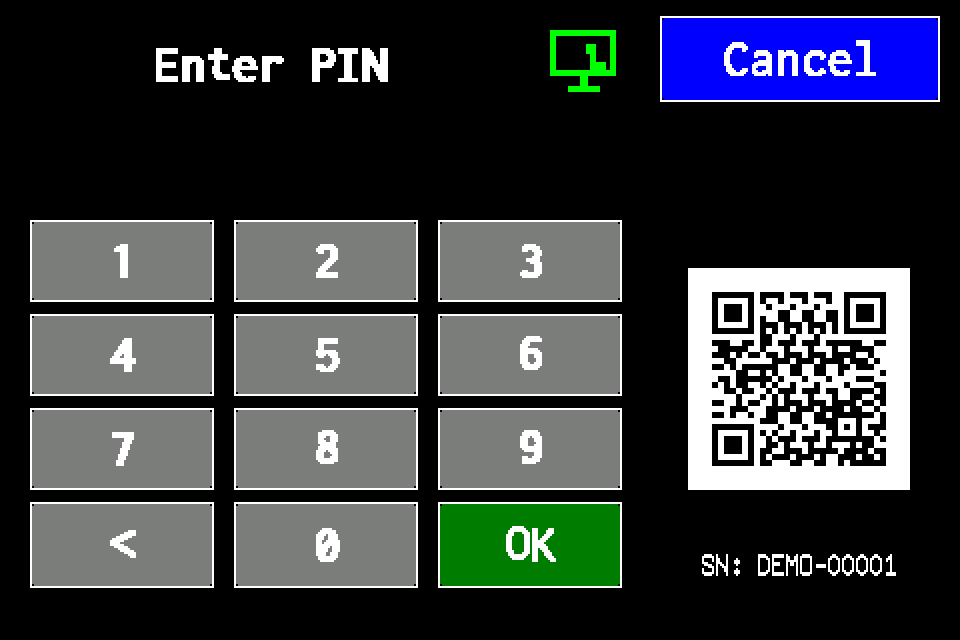
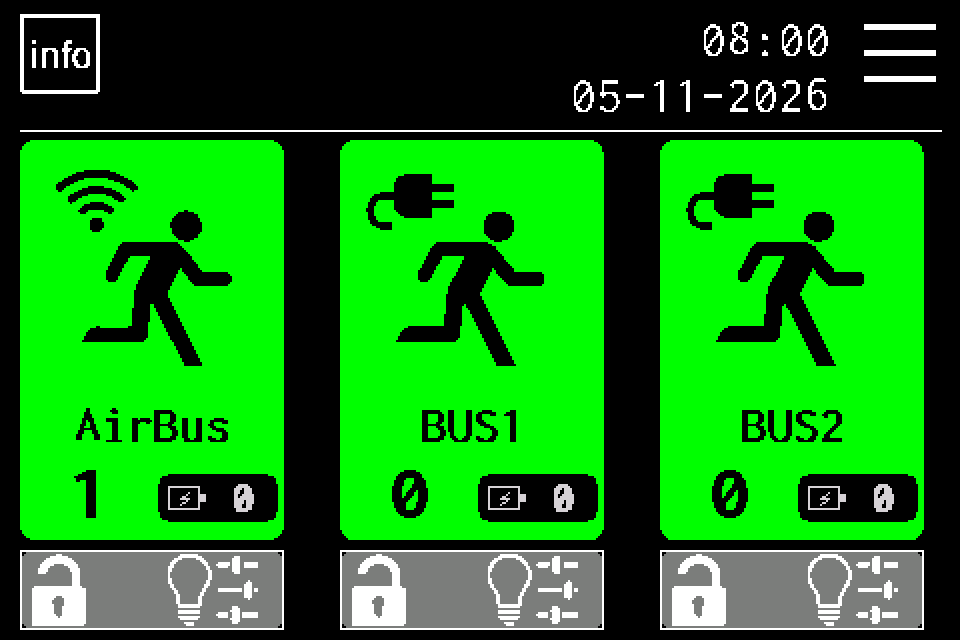
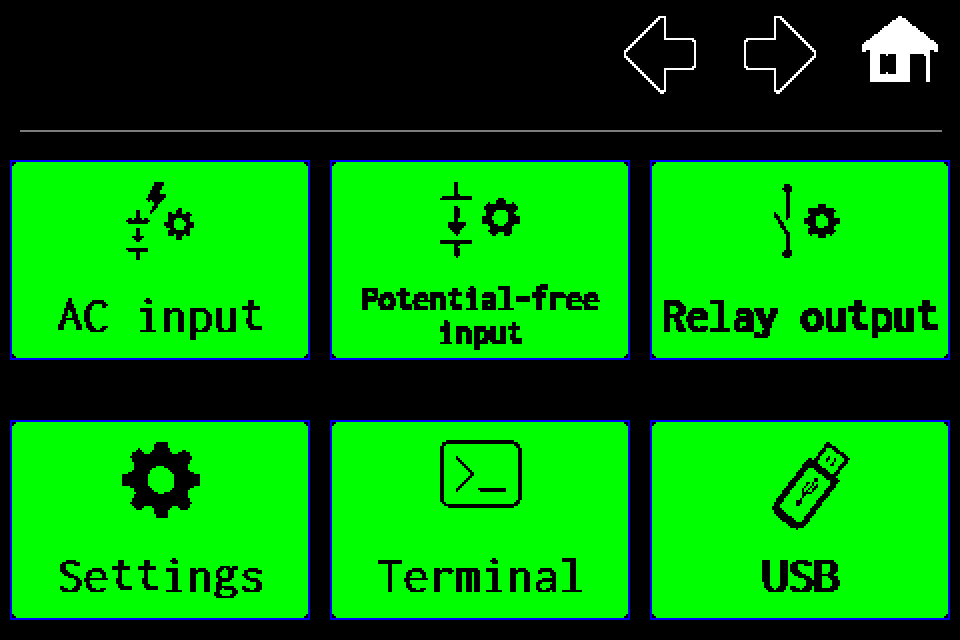
- Press the Menu icon at the top right of the home screen. If the PIN keypad appears, sign in with your own code. Controller access codes →
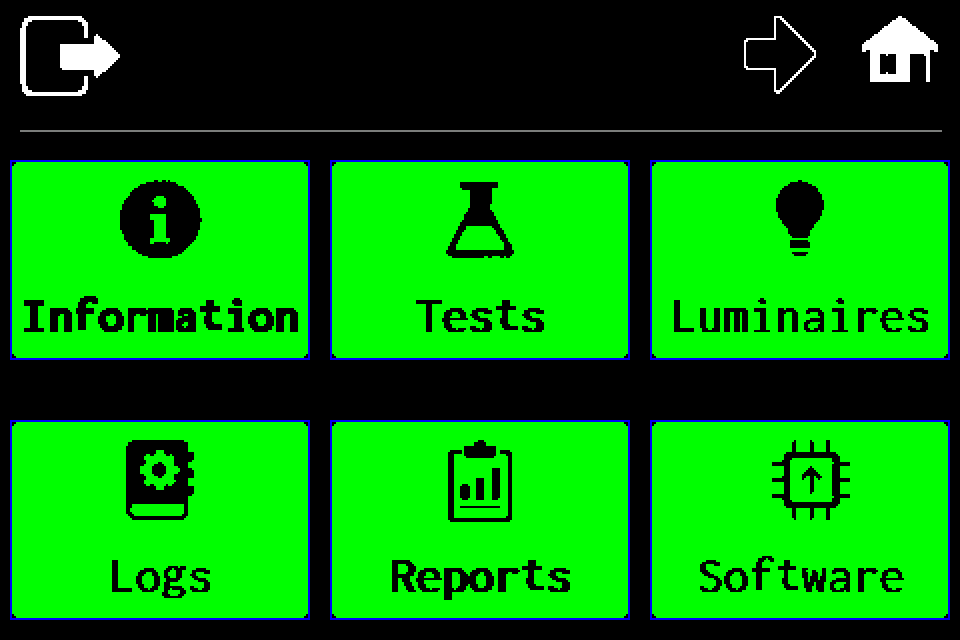
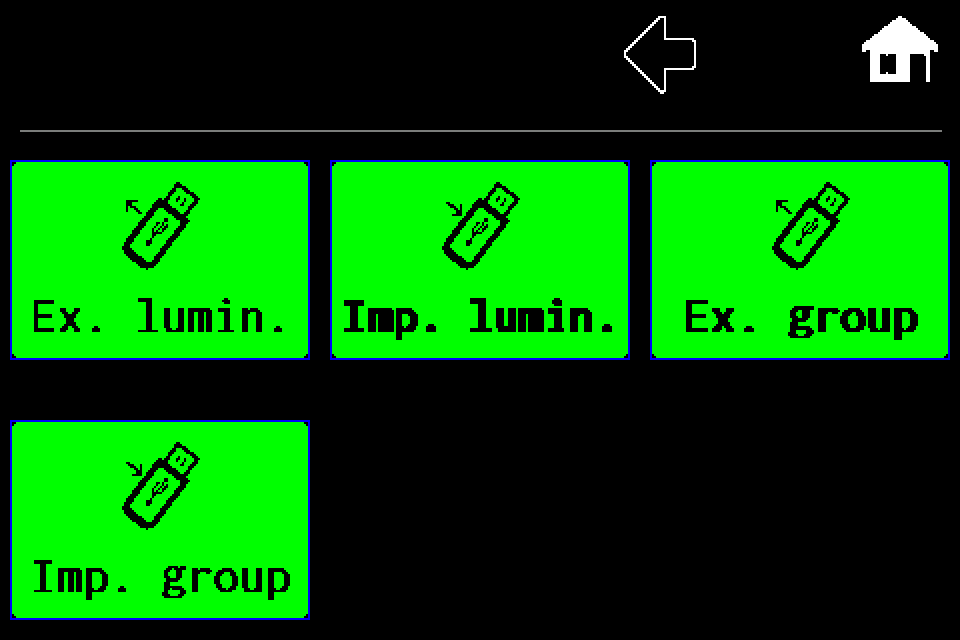
- On menu page 1, press the right arrow in the top toolbar. On page 2, choose USB, the bottom-right tile.
- In the USB menu, choose Imp. lumin., the middle tile in the top row.
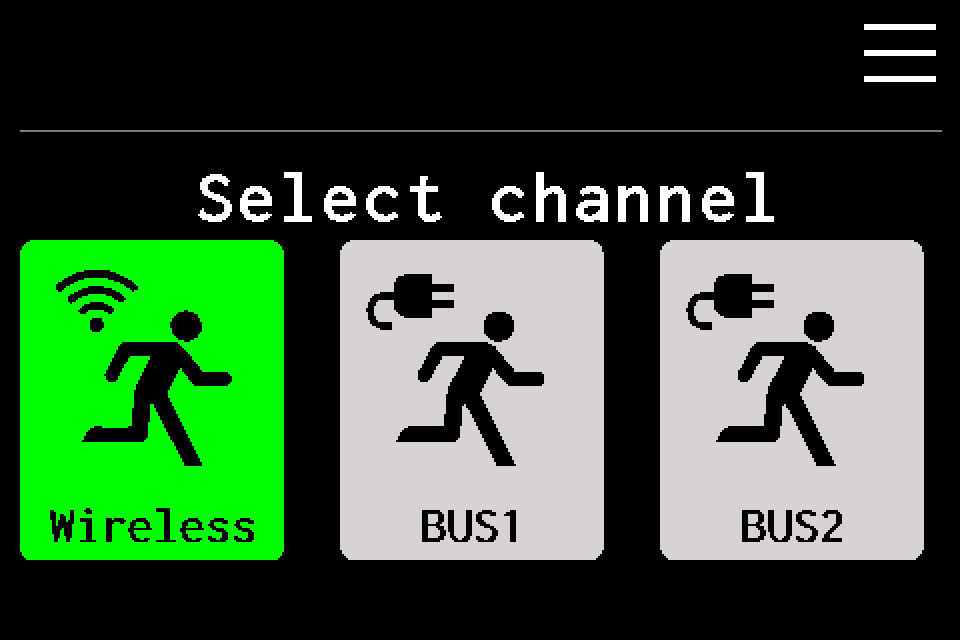
- Under Select channel, press Wireless for AirBUS or BUS1 / BUS2 for a wired channel. Selecting the channel starts reading the file.
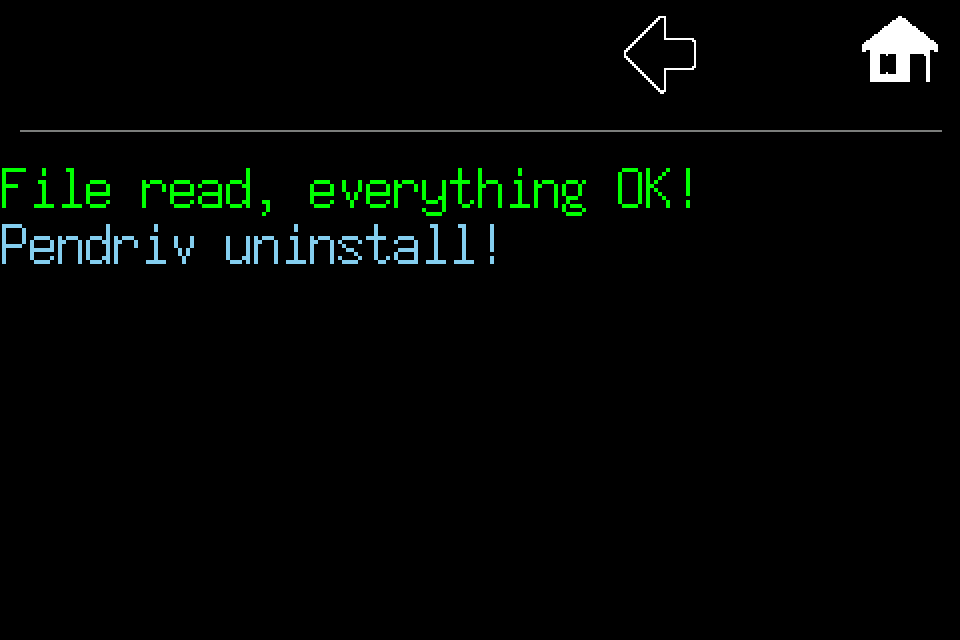
- For AirBUS, wait for the file to be read. File read, everything OK! confirms reading only. In the described version, this success screen provides no button to continue and apply the data. This message does not confirm a completed import. Use the back arrow to leave. Full AirBUS import from the display requires a corrected software version. Do not press invisible areas of the screen.
- For BUS1/BUS2, data is applied during the USB operation; the second AirBUS confirmation is not used. Wait for BUS import complete. An error or cancellation does not mean the whole import succeeded.
- Check the luminaire list and communication. Remove USB only after the operation finishes.
Prepare the file
Open the CSV generator and validator. Select the destination channel: AirBUS, BUS1 or BUS2. Enter the HEX address, test group, name/location, luminaire type and bright/dark mode. Add luminaires, generate the CSV and validate it.
File format
UTF-8 text, semicolon separator, no header. Each row has exactly five fields: HEX address;group;name;type;mode. Do not use CSV quoting or semicolons in names.
01A2;A;Corridor 01;AW;1
01A3;B;Exit 01;PIKTO;0
01A4;A;Room 01;KOMBI;1
| Field | Accepted values |
|---|---|
| Address | HEX 0002–FFFE, without 0x; 0010 means decimal 16 |
| Group | AirBUS: A–D; BUS: A/B, also 1/2 |
| Name | For reliable transfer, use 1–16 ASCII characters, e.g. Corridor 01 |
| Emergency luminaire / Sicherheitsleuchte | AW, also S or E |
| Exit sign luminaire / Rettungszeichenleuchte | PIKTO, also R or P |
| Combined luminaire / Kombileuchte | KOMBI, also K or C |
| NVG | NVG, BUS importer only |
| Mode | 1 = bright, 0 = dark; BUS also accepts ? = unchanged |
The current AirBUS importer rejects NVG, although the exporter can write this type. Validate exported files before importing them again. The generator blocks this combination and does not replace NVG with another type.
BUS also accepts UNKNOWN/U and picture numbers 0–7. Preserve these only when they come from a known exported configuration. The generator offers the four named luminaire types.
Import into the controller
- Export the existing list and keep it as a backup.
- Download lamps.csv for AirBUS, lamps_BUS1.csv for BUS1 or lamps_BUS2.csv for BUS2.
- Copy the file to the root directory of a FAT32 or exFAT USB drive, not a subfolder.
- Connect the drive to the controller, open luminaire import and select the correct channel. Wait for completion.
- Check the count, addresses, groups, names, operating modes and communication.
AirBUS supports up to 500 rows; BUS up to 200 per channel. The controller licence may impose a lower limit. BUS can fall back to lamps.csv if its channel file is missing; use channel-specific filenames for clarity.
What validation covers
Validation checks field counts and contents, address range and duplicates, groups, types, name length and mode. It uses a stricter profile than some tolerant importer functions to avoid silent truncation or changes.
A valid format does not guarantee a successful import: available capacity/licensing and communication with BUS luminaires are also required. Import may stop after some changes have already been applied. Do not disconnect USB during the operation. CSV does not program the physical device address or the rated duration of 1/3/8 h.