
Controller: device name
Controller: device name
480 × 320 display screens in the selected language. The yellow outline marks where to tap. Illustrated data is for demonstration.
Have your own PIN and a short name identifying the controller ready, such as EZF-DEMO. Use at most 39 ASCII letters, digits, hyphens or underscores, without spaces. Controller access codes →
If the controller asks for a PIN
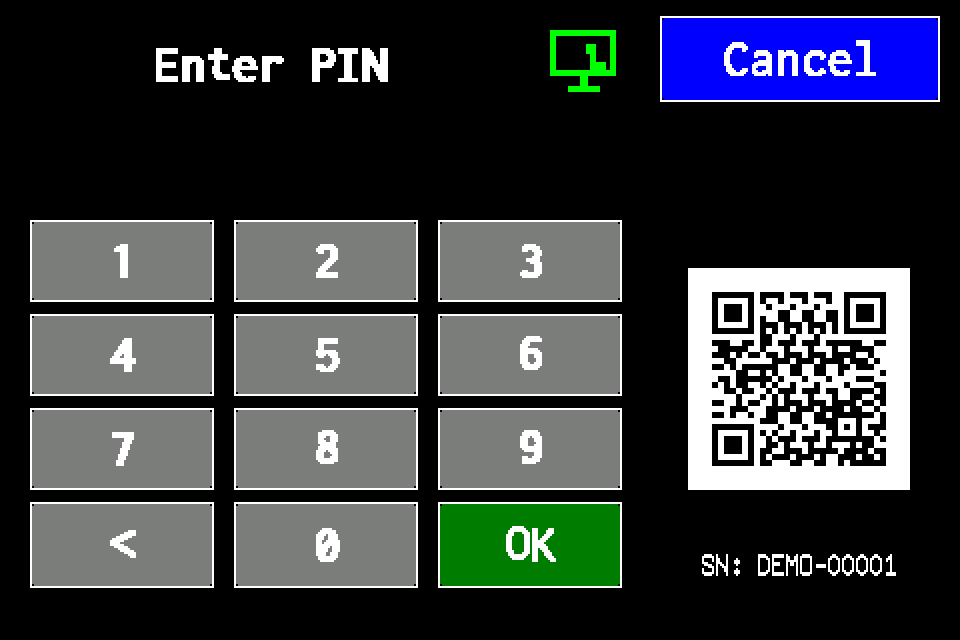
Enter your PIN on the display and confirm with OK. Use an account authorised for controller settings. If already signed in, continue to the next menu screen. Controller access codes →
In METRO, the PIN window retains its original appearance. Controller access codes →
-
EZF480 × 320 · Classic
 1Step 1 / 10
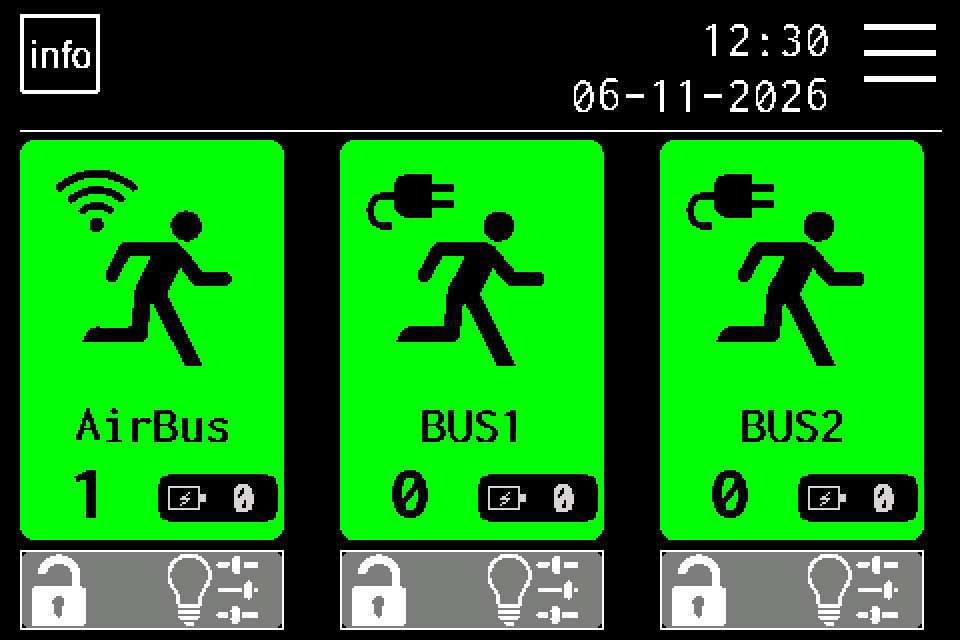
Open MENU
On the home screen, tap MENU in the upper right. If prompted, enter your own PIN and confirm with OK. Controller access codes →
-
EZF480 × 320 · Classic
 2Step 2 / 10
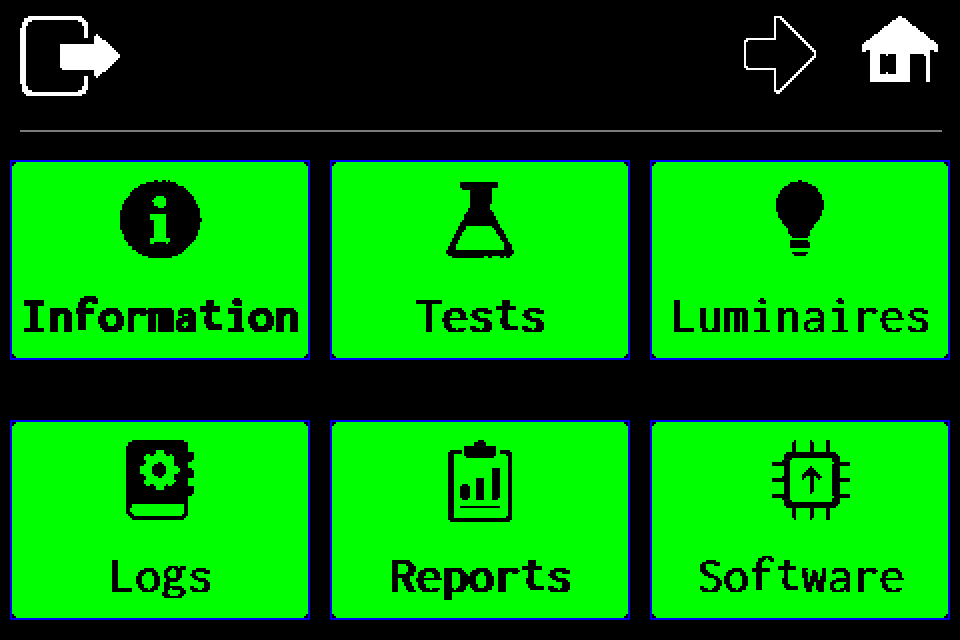
Open the second menu page
Tap the right arrow in the top bar.
-
EZF480 × 320 · Classic
 3Step 3 / 10
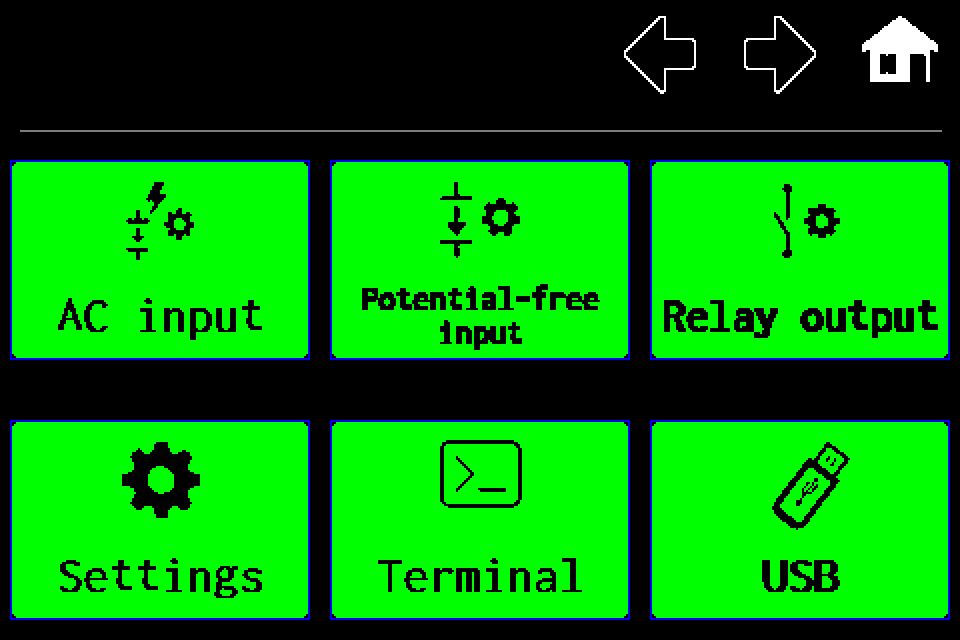
Choose “Settings”
On the second menu page, tap Settings in the lower left.
-
EZF480 × 320 · Classic
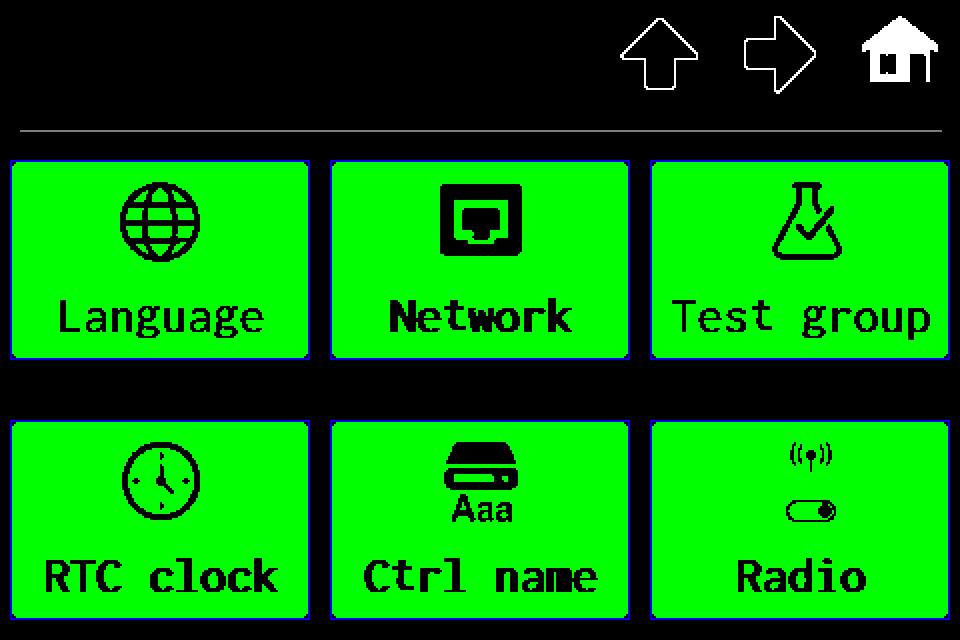 4Step 4 / 10
Choose “Ctrl name”
On the first settings page, tap Ctrl name in the lower middle.
-
EZF480 × 320 · Classic
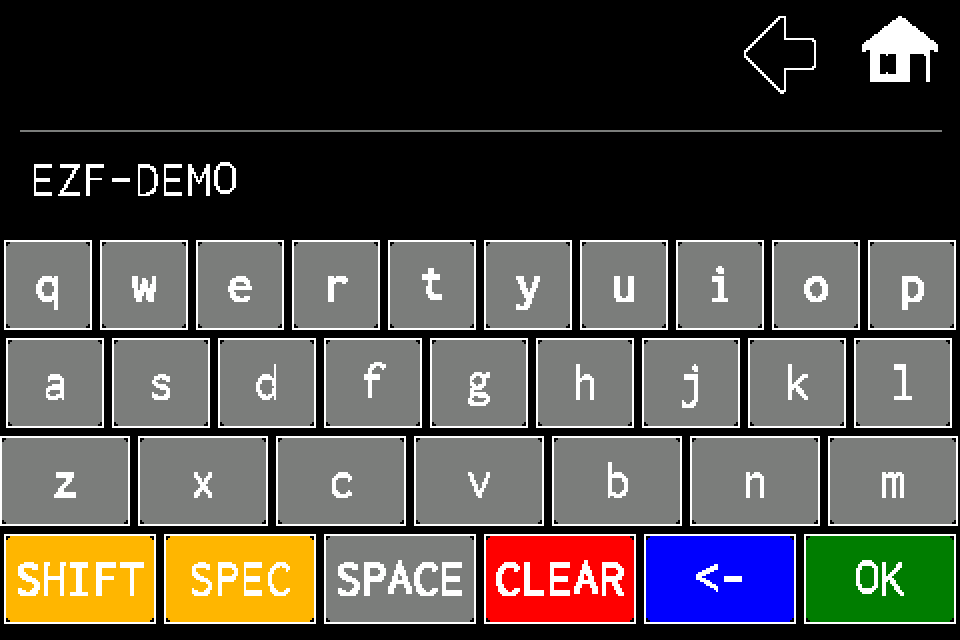 5Step 5 / 10
Clear the current name
The keyboard opens with the current name. To replace it completely, tap CLEAR in the bottom row. The ← key removes the last character. CLEAR alone does not save a change.
-
EZF480 × 320 · Classic6Step 6 / 10
Enter a short device name
Enter your own name, for example EZF-DEMO. Use A–Z / a–z, digits, a hyphen or underscore, without spaces; use no more than 39 of these characters. SHIFT changes letter case and SPEC opens digits and symbols. The name above the keyboard is an example.
-
EZF480 × 320 · Classic7Step 7 / 10
Confirm with the green OK
Check the spelling and tap the green OK in the lower right. The name is saved and settings reopen. Confirming empty text with OK keeps the previous name. The left arrow or home icon leaves the editor without saving.
-
EZF480 × 320 · Classic8Step 8 / 10
Return to the home screen
After saving, tap the home icon in the upper right.
-
EZF480 × 320 · Classic9Step 9 / 10
Open controller information
Return to the home screen using the home icon. Tap the information icon, then check the Name field on the next screen.
-
EZF480 × 320 · Classic
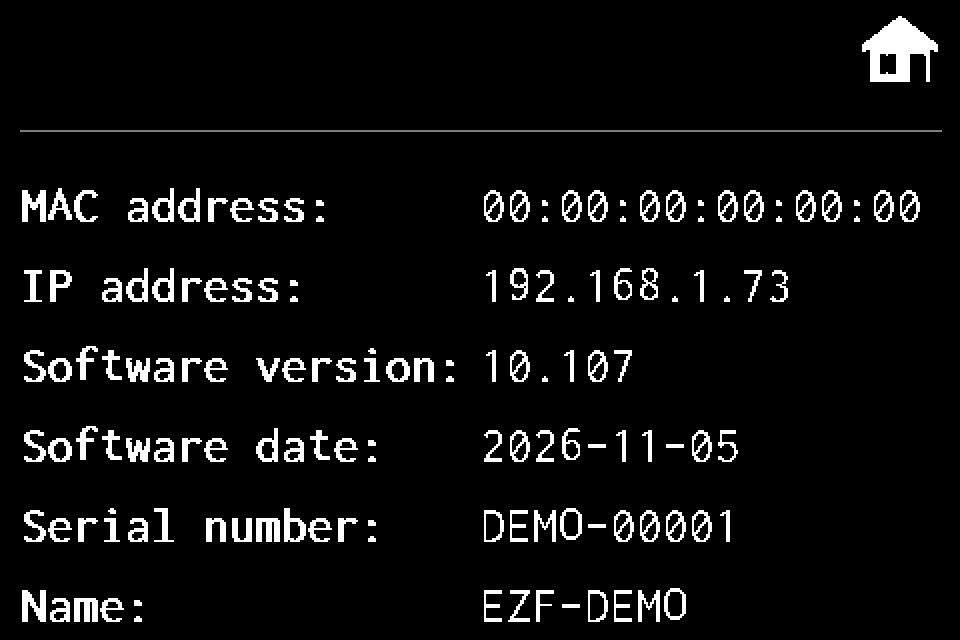 10Step 10 / 10
Check the “Name” field
The new name should appear at the bottom of the information page. It is also used in the Device Name header of exported CSV reports. Changing the controller name does not change its serial number or network connection settings.
After OK, check the new name in Information. For consistent storage, use a short name of up to 39 letters, digits, hyphens and underscores, without spaces.