
Wi‑Fi client: select and scan networks
Wi‑Fi client: select and scan networks
480 × 320 display screens in the selected language. The yellow outline marks where to tap. Illustrated data is for demonstration.
Have your network SSID and password ready. Screen examples are not your installation settings. If client mode is already active, go straight to scanning or WiFi settings.
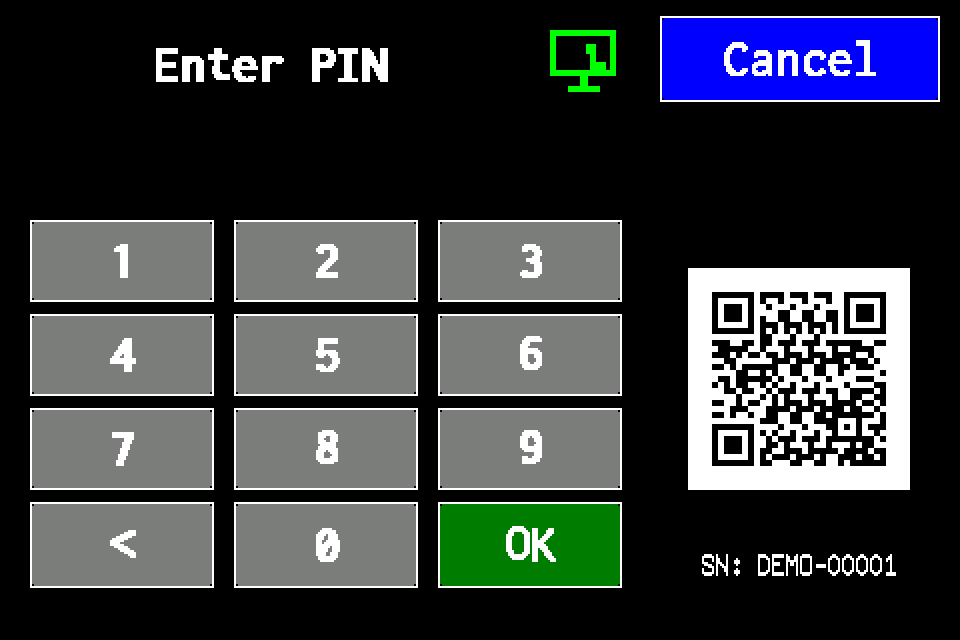
If the controller asks for a PIN
Enter your PIN on the display and confirm with OK. Use an account authorised for settings. Email CLOUD requires Administrator or Service access. If already signed in, continue to the next menu screen. Controller access codes →
In METRO, the PIN window retains its original appearance. Controller access codes →
-
EZF480 × 320 · Classic
 1Step 1 / 20
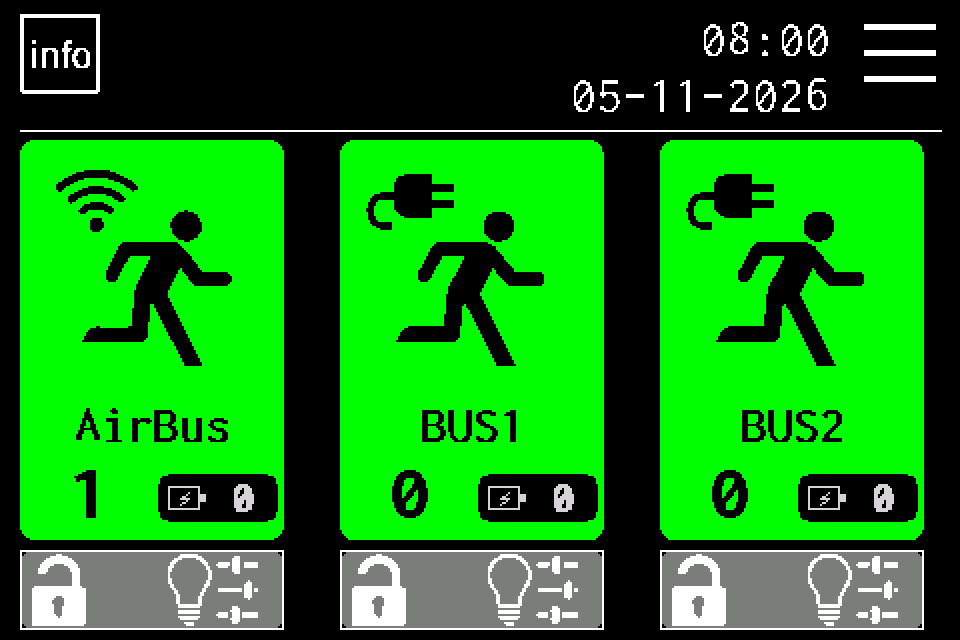
Open MENU
Tap MENU in the upper right. If the PIN keypad appears, enter your own code and confirm with OK. Use an account authorised to configure the controller. Controller access codes →
-
EZF480 × 320 · Classic
 2Step 2 / 20
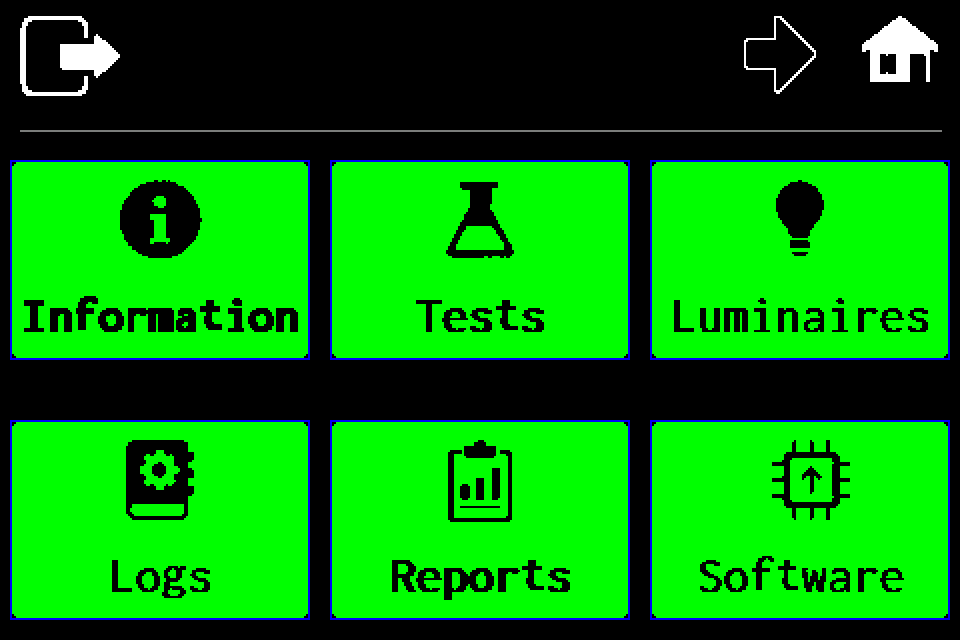
Open the second menu page
Tap the right arrow in the top bar.
-
EZF480 × 320 · Classic
 3Step 3 / 20
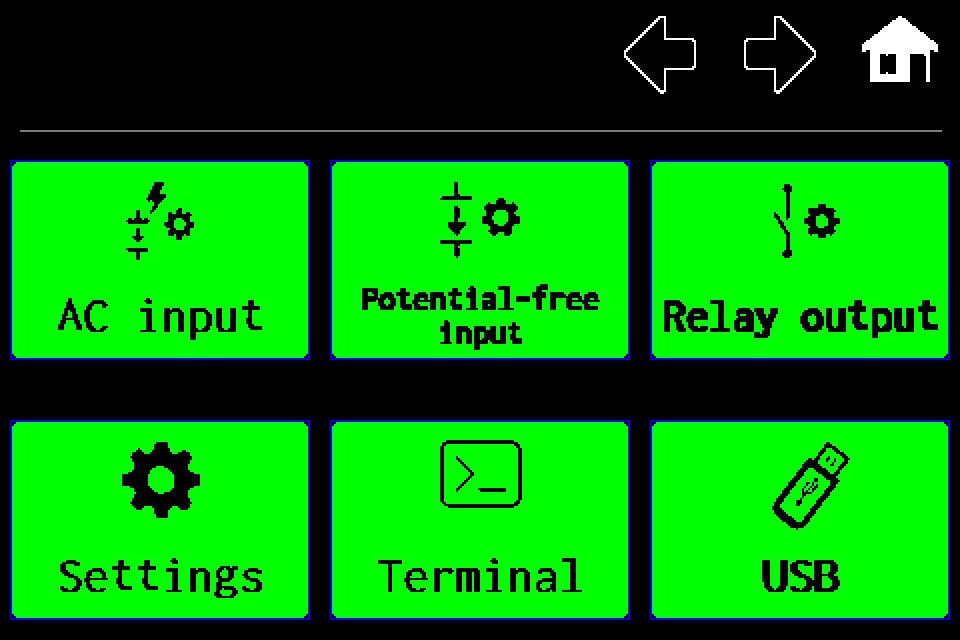
Open “Settings”
Choose the Settings tile in the lower left.
-
EZF480 × 320 · Classic
 4Step 4 / 20
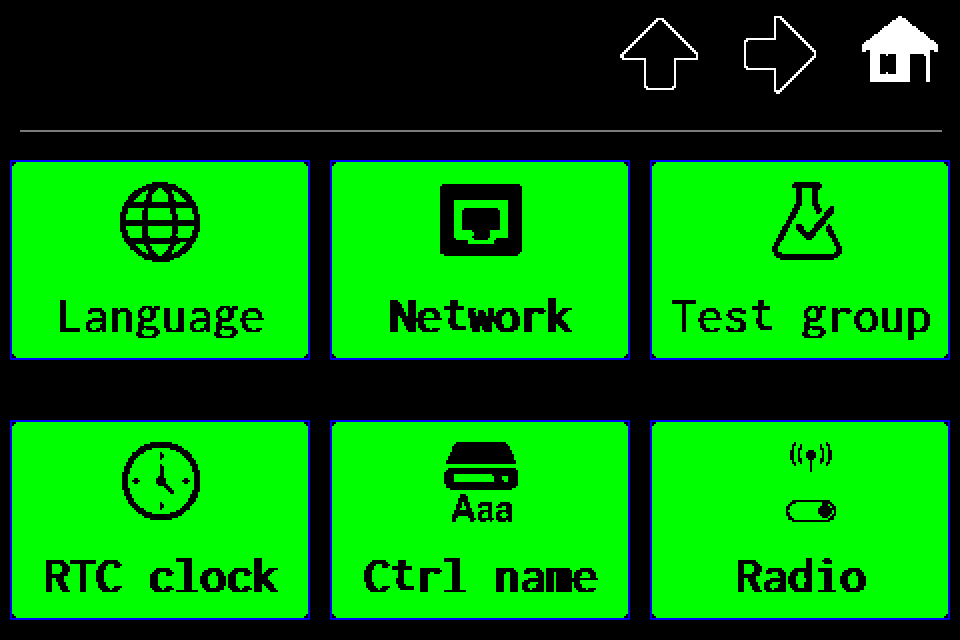
Open “Network”
Choose the middle tile with the network icon in the upper row.
-
EZF480 × 320 · Classic
 5Step 5 / 20
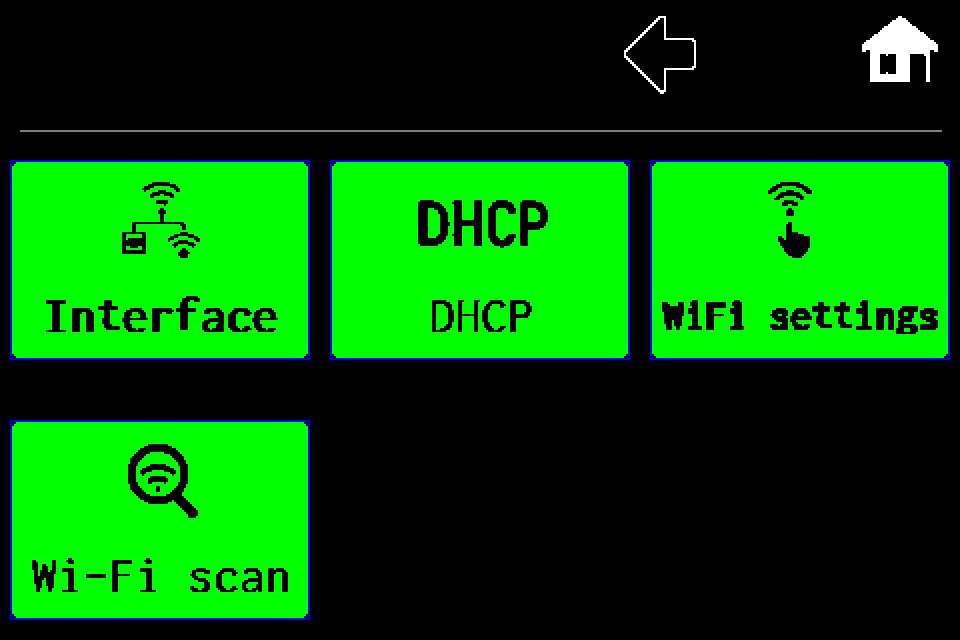
Open “Interface”
Use the upper-left tile to choose the connection type. The other tiles depend on the active profile.
-
EZF480 × 320 · Classic
 6Step 6 / 20
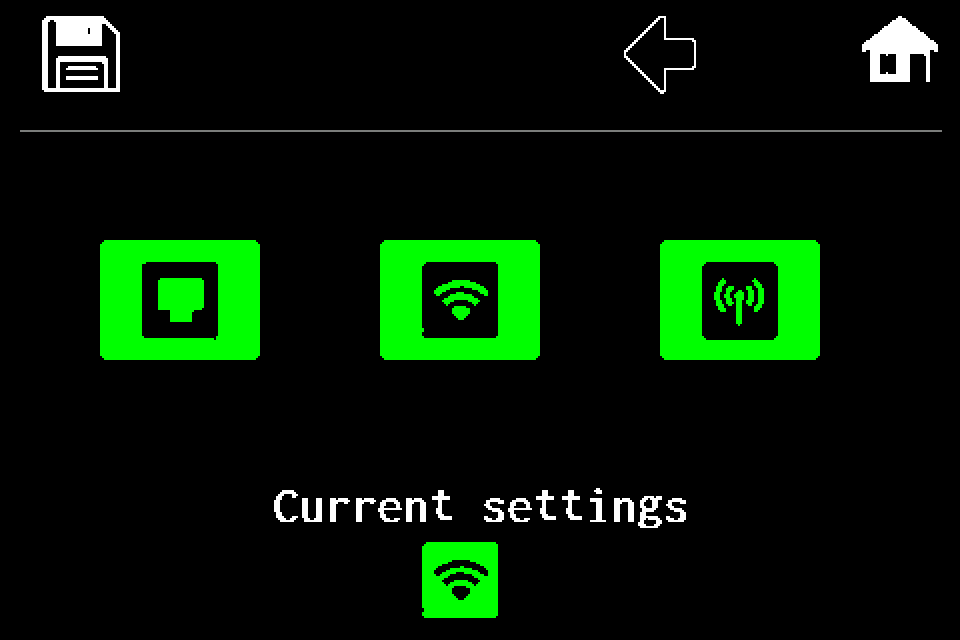
Choose the middle icon — Wi‑Fi client
Choose the middle Wi‑Fi client icon. In this mode the controller joins an existing router or access point.
-
EZF480 × 320 · Classic7Step 7 / 20
Save the selected interface
After selecting a mode, a floppy-disk icon appears in the upper left. Tap it. Selecting the mode alone does not save the change.
-
EZF480 × 320 · Classic
 8Step 8 / 20
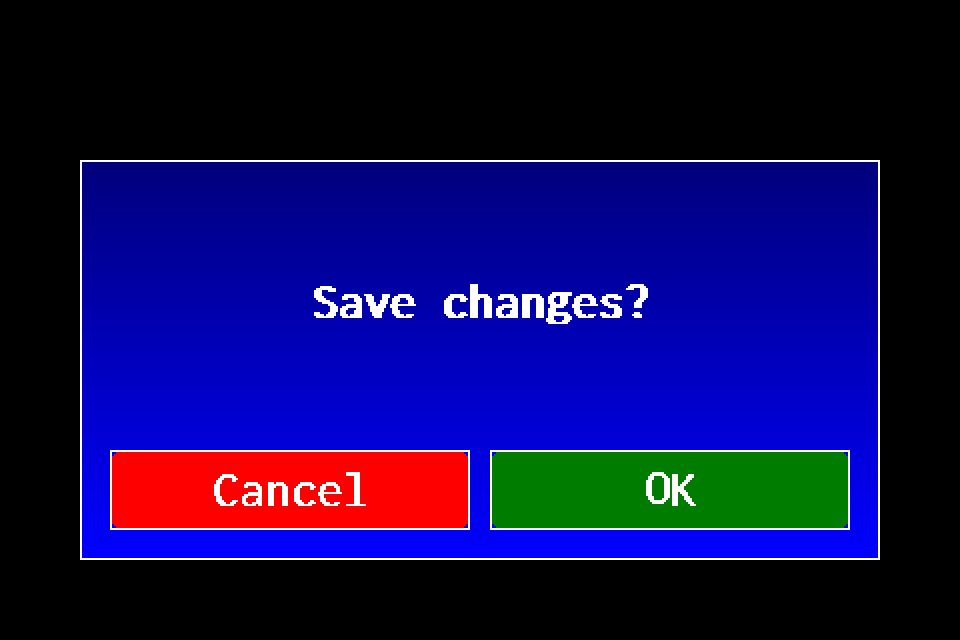
Confirm saving and restart
Confirm the save-changes question with OK on the right. The controller saves the profile and restarts. The previous network connection is disconnected.
-
EZF480 × 320 · Classic9Step 9 / 20
Open MENU
Tap MENU in the upper right. If the PIN keypad appears, enter your own code and confirm with OK. Use an account authorised to configure the controller. Controller access codes →
-
EZF480 × 320 · Classic10Step 10 / 20
Open the second menu page
Tap the right arrow in the top bar.
-
EZF480 × 320 · Classic11Step 11 / 20
Open “Settings”
Choose the Settings tile in the lower left.
-
EZF480 × 320 · Classic12Step 12 / 20
Open “Network”
Choose the middle tile with the network icon in the upper row.
-
EZF480 × 320 · Classic13Step 13 / 20
Start “Wi-Fi scan”
After restart, open MENU → second page → Settings → Network again. In client mode, choose Wi-Fi scan in the lower left.
-
EZF480 × 320 · Classic
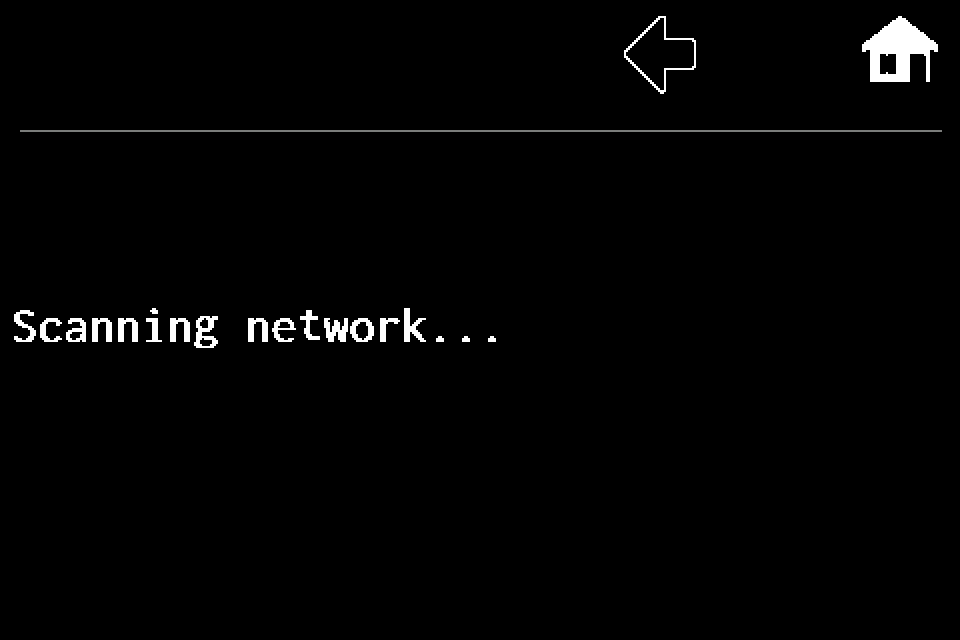 14Step 14 / 20
Wait for scan results
While the scanning message is shown, wait for the network list. An empty result list does not mean a connection was saved.
-
EZF480 × 320 · Classic
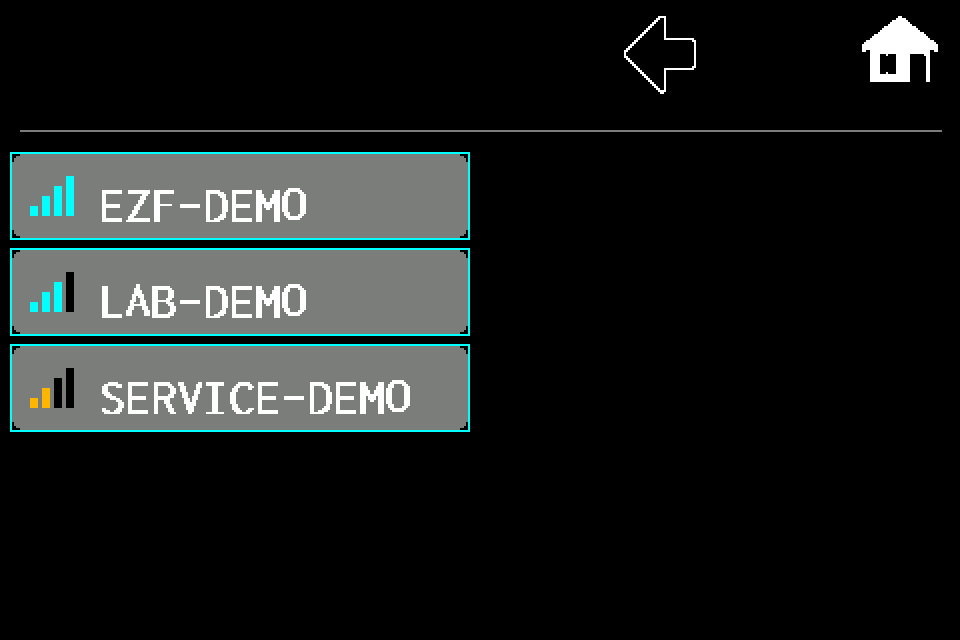 15Step 15 / 20
Choose your Wi‑Fi network
Tap the tile for the correct SSID. EZF-DEMO is an example. If more than ten networks are found, the right arrow opens the next page.
-
EZF480 × 320 · Classic
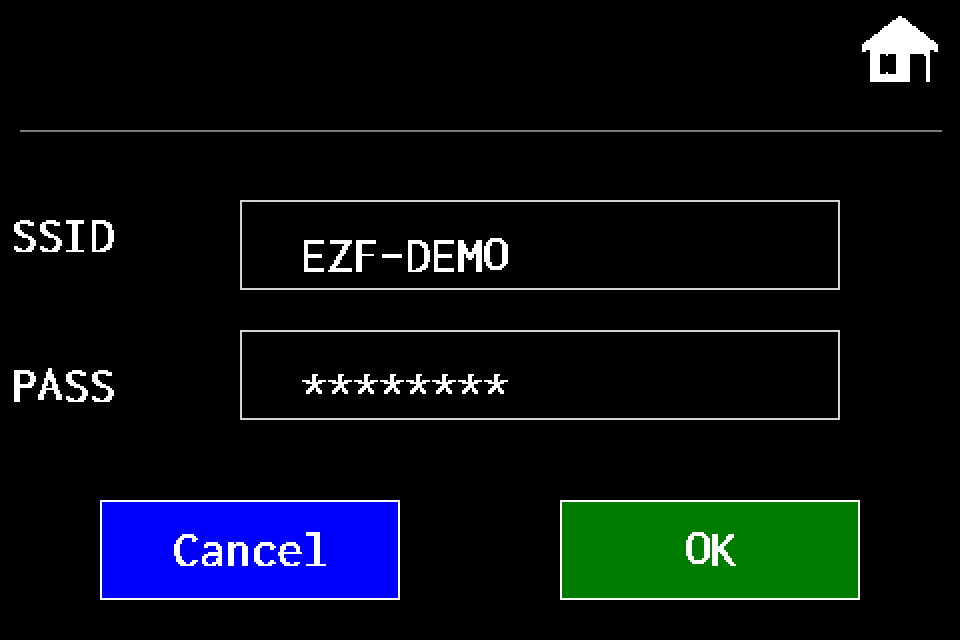 16Step 16 / 20
Check or edit the SSID
After selecting a network, its full name appears in SSID. To enter it manually, open WiFi settings instead of scanning and tap this field. The next step shows editing the name. If the SSID is correct, go straight to PASS. To open the keypad shown next, tap the SSID field.
-
EZF480 × 320 · Classic
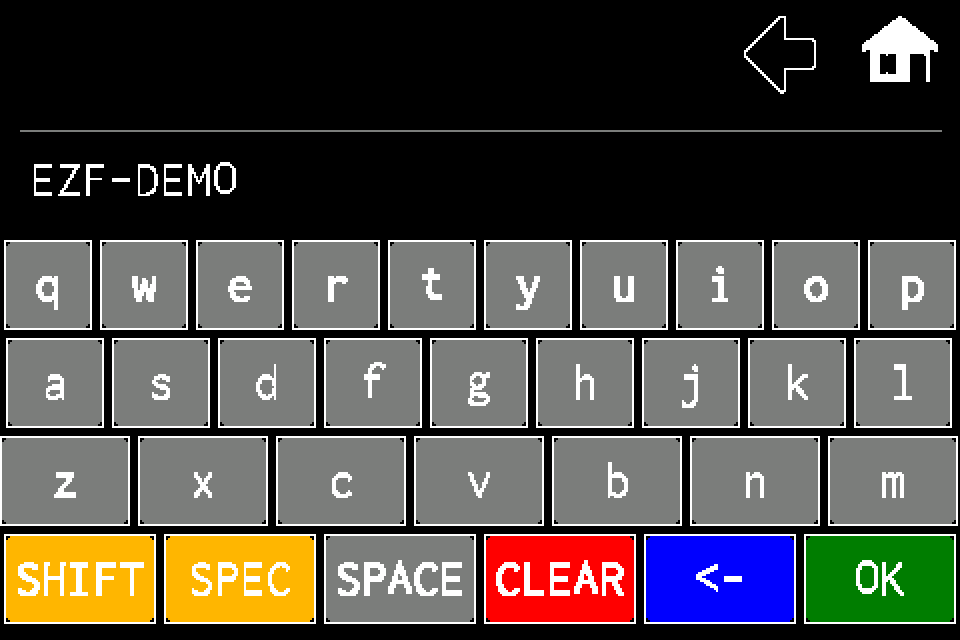 17Step 17 / 20
Confirm the network name
Enter the exact SSID with the correct letter case and press the green keypad OK. The illustration uses the example EZF-DEMO.
-
EZF480 × 320 · Classic18Step 18 / 20
Open the PASS field
Tap PASS and enter the password for the selected network. After choosing a scanned network, the password must be supplied.
-
EZF480 × 320 · Classic
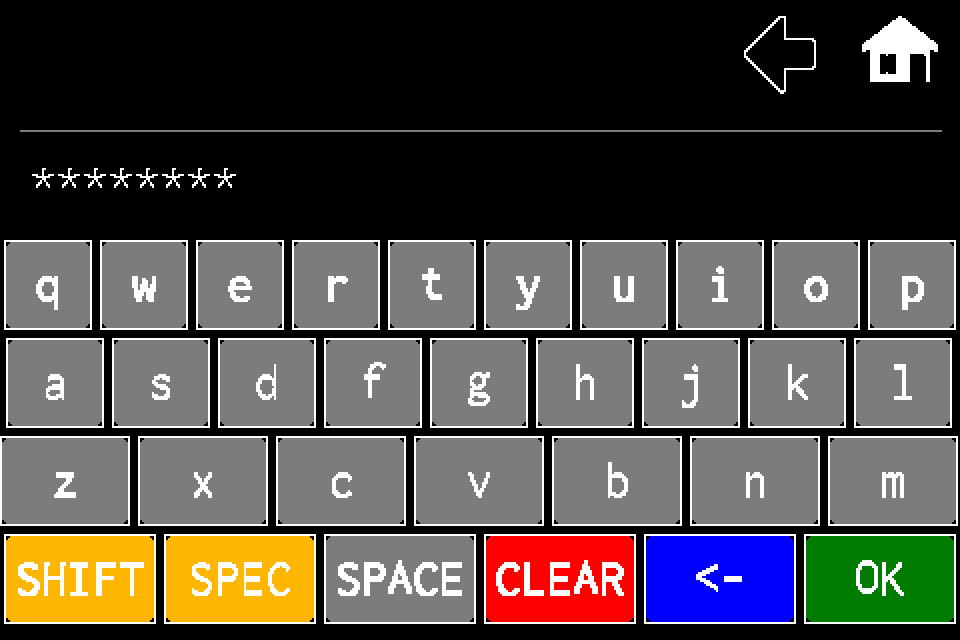 19Step 19 / 20
Confirm the password on the keypad
Preserve letter case and special characters. SHIFT and SPEC help enter the required characters. Press the green OK to return to Wi‑Fi settings.
-
EZF480 × 320 · Classic20Step 20 / 20
Save Wi‑Fi settings: OK
Press OK in the lower right of the SSID/PASS page. This saves the client profile and restarts the controller. The keypad OK alone does not finish configuration.
After restart, wait for the router connection and check the actual IP address in Information. If it does not connect, check SSID, password and signal. For a hidden SSID, enter it manually in WiFi settings.