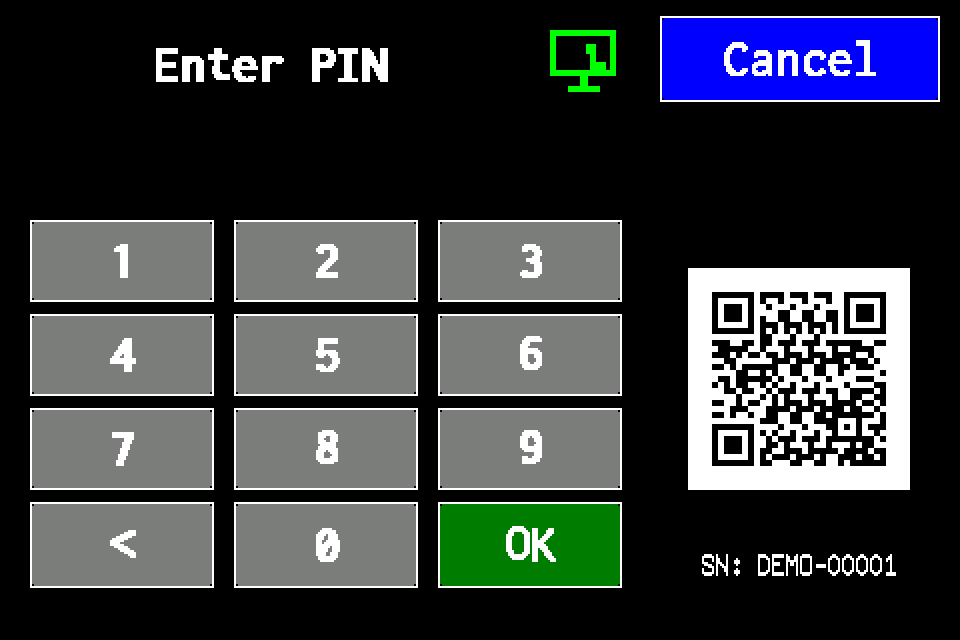
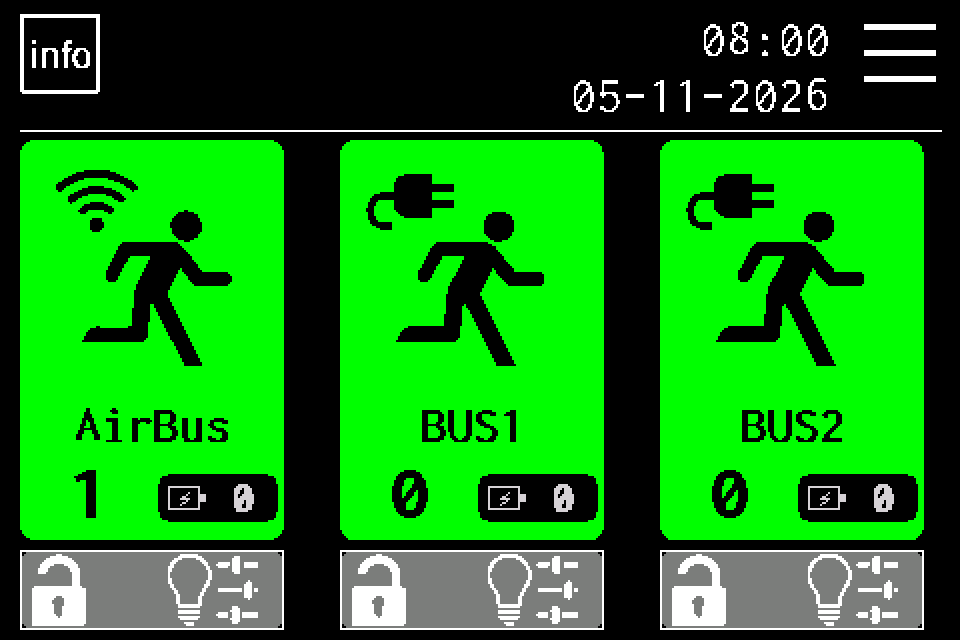
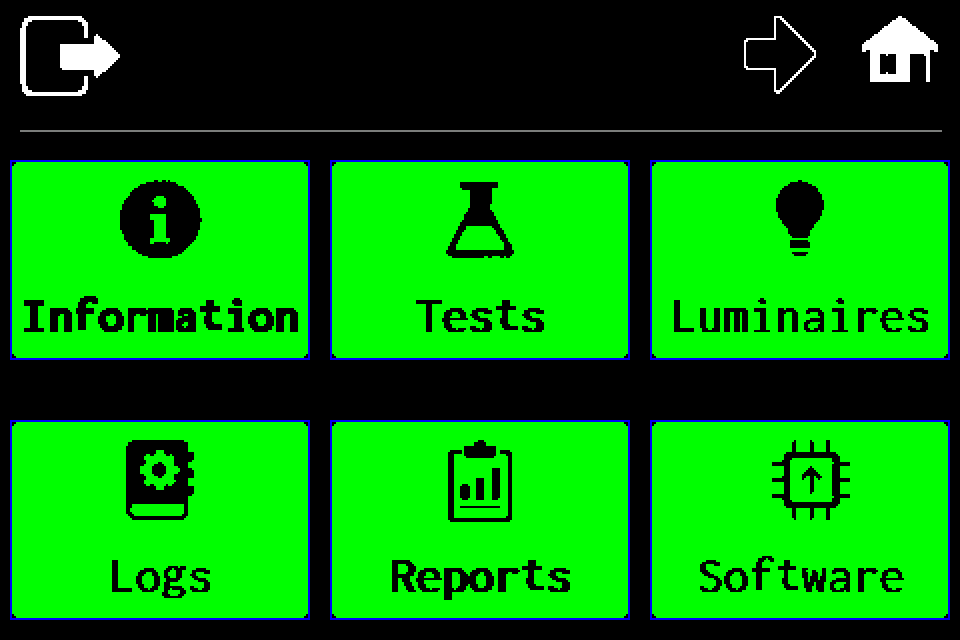
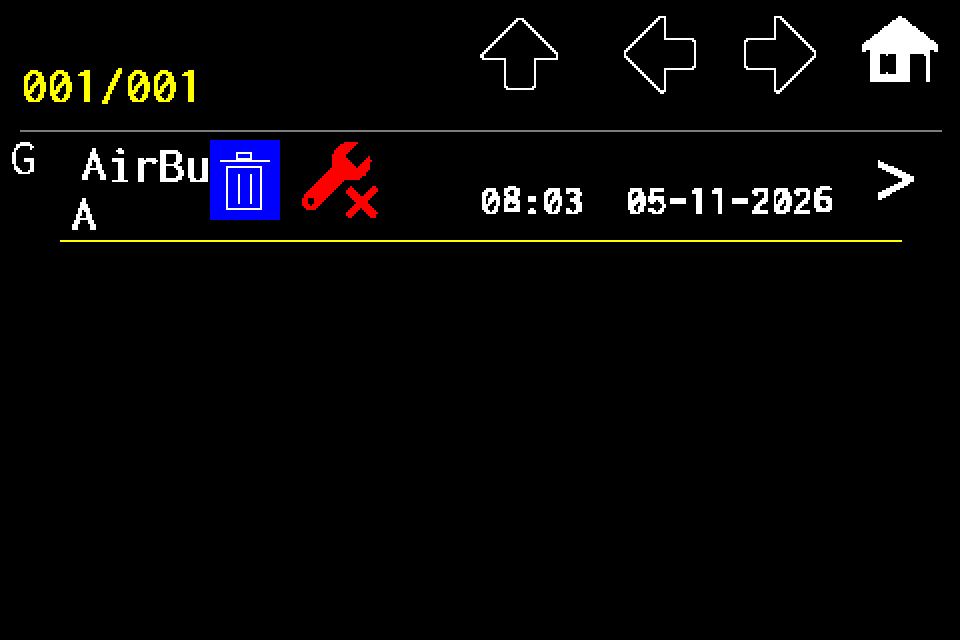
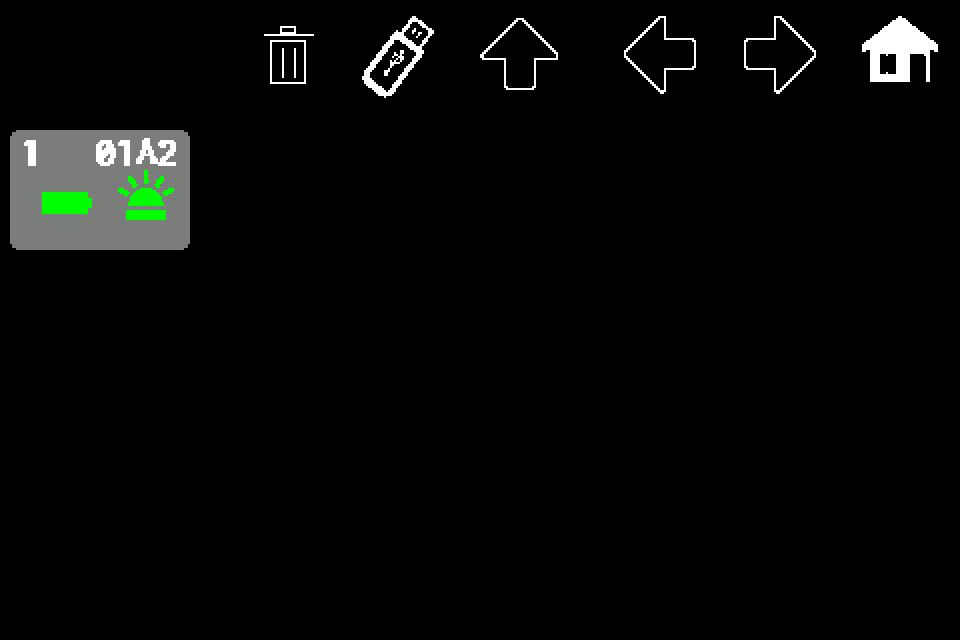
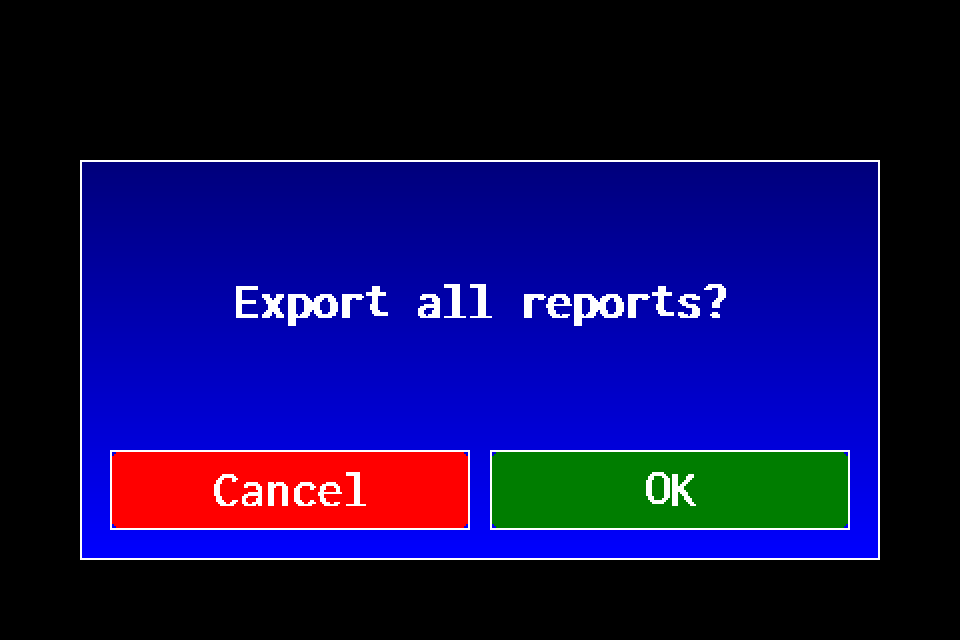
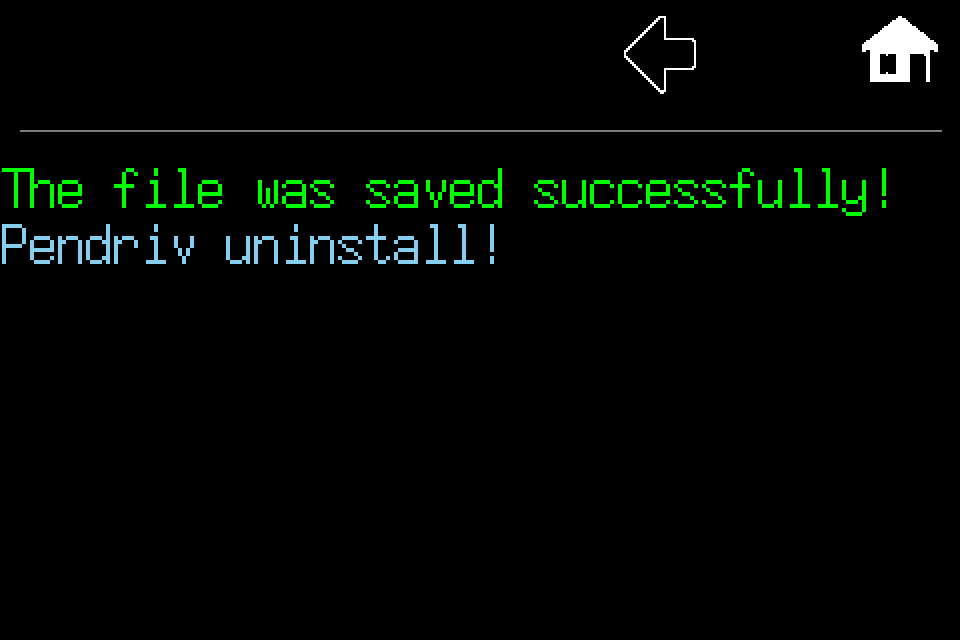
480 × 320 display screens in the selected language. The yellow outline marks where to tap. Illustrated data is for demonstration.
Display interface
Before you start
Connect a USB drive. A saved test report must already exist on the controller. Illustrated dates and results are examples.
If the controller asks for a PIN
Enter your own PIN on the display keypad and confirm with OK. Use an account authorised for the operation. If already signed in, continue to the next menu screen. Controller access codes →
On menu page 1, select Reports, the middle tile in the bottom row. Do not go to the USB menu on page 2.
Open the saved report you want to export. Check its date and test type; use the arrows to browse the list if necessary.
In the report details, press the USB icon in the top toolbar. Export is available in the details, not on the report list.
Confirm with OK. The dialog may say Export all reports?; this route exports the selected report whose details are open.
Wait for saving to finish and for The file was saved successfully!. Check the file on a computer and store it in the site's archive.
Save a report
Connect a compatible USB drive and open the report/test results on the controller.
Select the available report export to USB.
Wait for confirmation before disconnecting the drive.
On a computer, check the file, test date and result contents, then archive it for the relevant site.
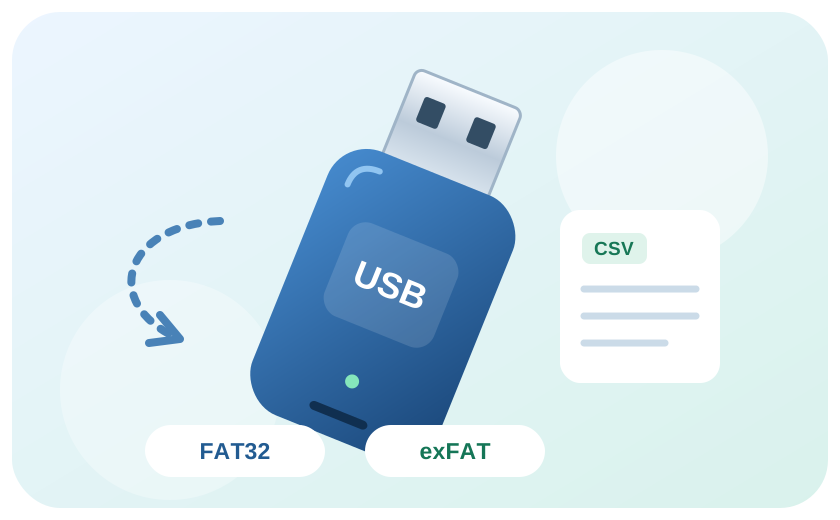
CSV export uses the selected report's name followed by .csv. Do not assume one fixed filename for every report. In spreadsheet software, select the semicolon separator and keep addresses as text.
Reports and configuration
A report records test results; lamps.csv describes luminaires and gruppetest.csv their group assignments. Do not import a report as a luminaire list. The described USB functions do not provide CSV report import into another controller's history.
Keep previous files before exporting again: a repeated filename may replace an existing file. Check readability on a computer before treating the export as archived.