
Switch from Wi‑Fi client to LAN
Switch from Wi‑Fi client to LAN
480 × 320 display screens in the selected language. The yellow outline marks where to tap. Illustrated data is for demonstration.
Connect an Ethernet cable to the controller and local network. Have address settings ready if DHCP is not used. Changing interface requires a restart and ends the existing Wi‑Fi connection.
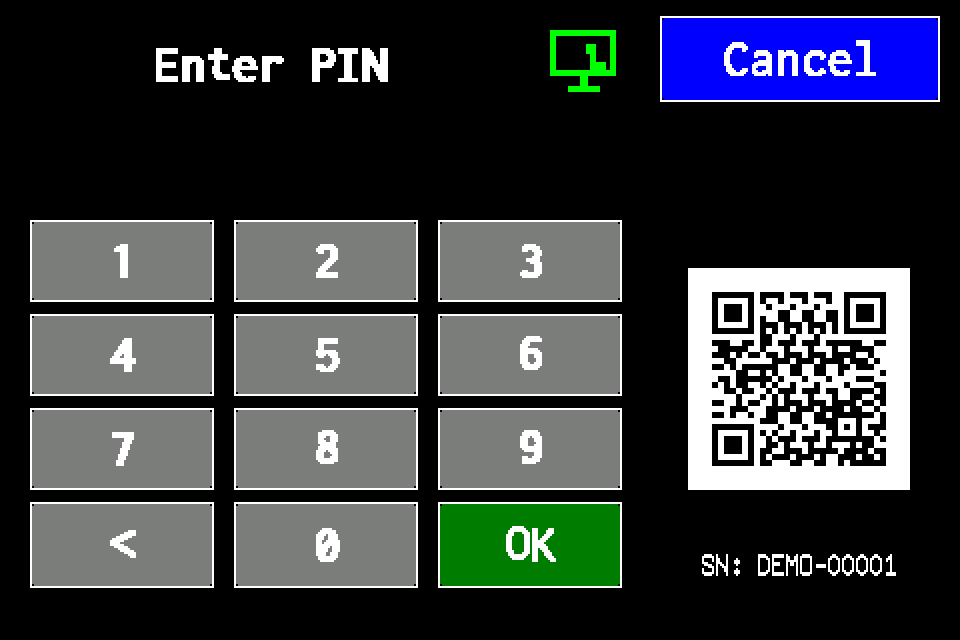
If the controller asks for a PIN
Enter your PIN on the display and confirm with OK. Use an account authorised for settings. Email CLOUD requires Administrator or Service access. If already signed in, continue to the next menu screen. Controller access codes →
In METRO, the PIN window retains its original appearance. Controller access codes →
-
EZF480 × 320 · Classic
 1Step 1 / 8
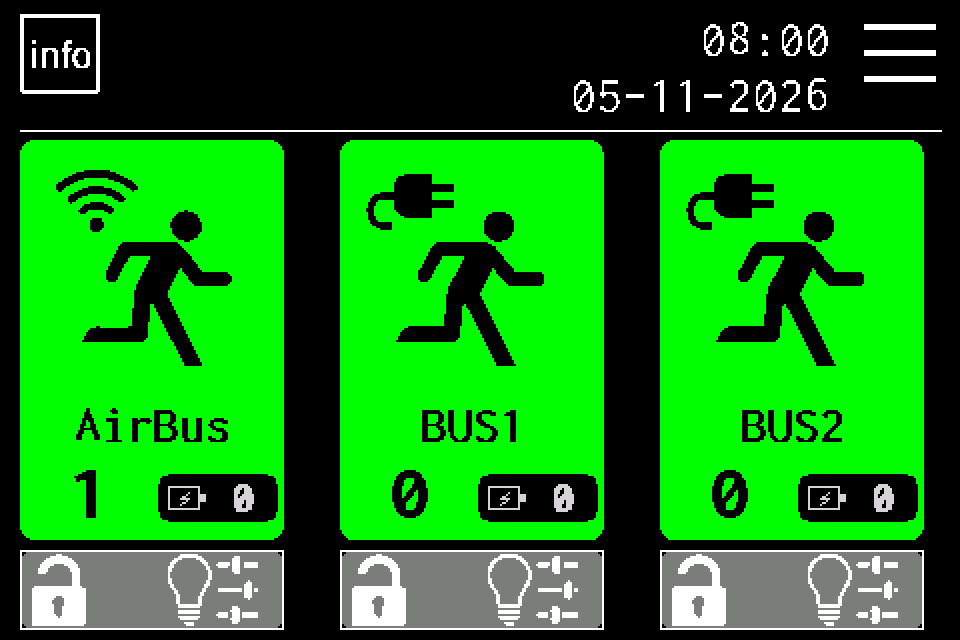
Open MENU
Tap MENU in the upper right. If the PIN keypad appears, enter your own code and confirm with OK. Use an account authorised to configure the controller. Controller access codes →
-
EZF480 × 320 · Classic
 2Step 2 / 8
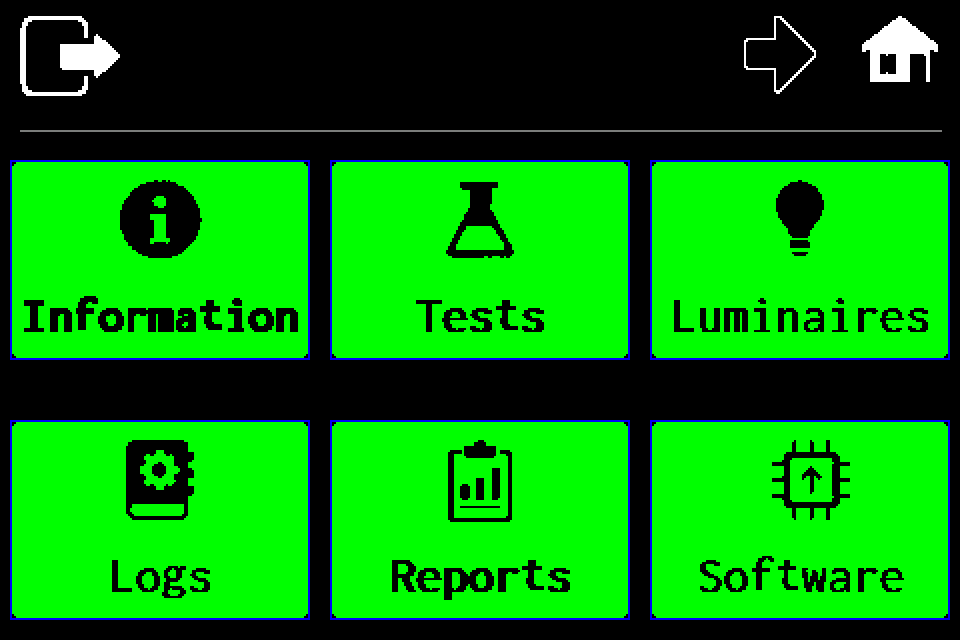
Open the second menu page
Tap the right arrow in the top bar.
-
EZF480 × 320 · Classic
 3Step 3 / 8
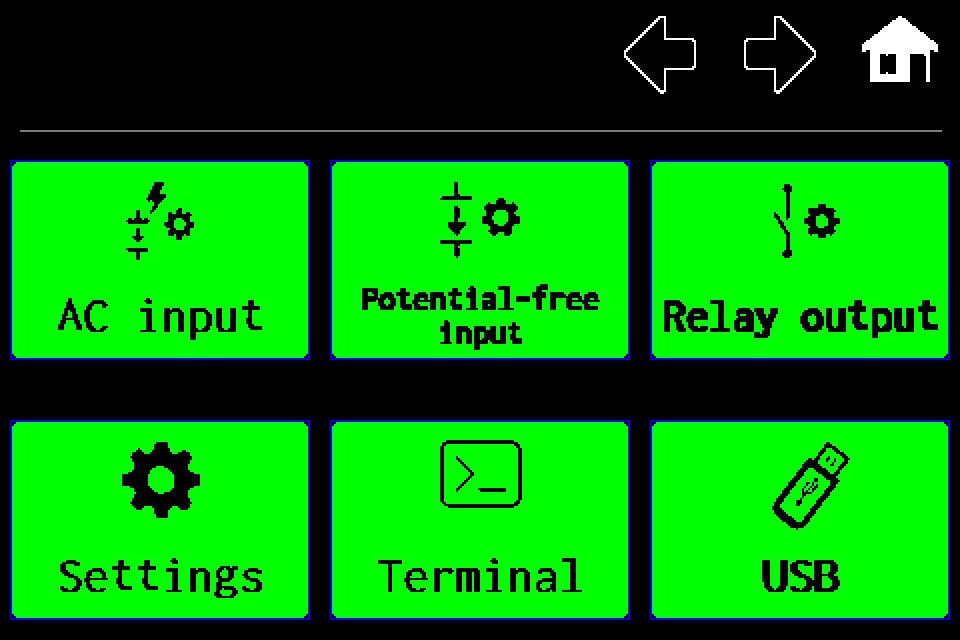
Open “Settings”
Choose the Settings tile in the lower left.
-
EZF480 × 320 · Classic
 4Step 4 / 8
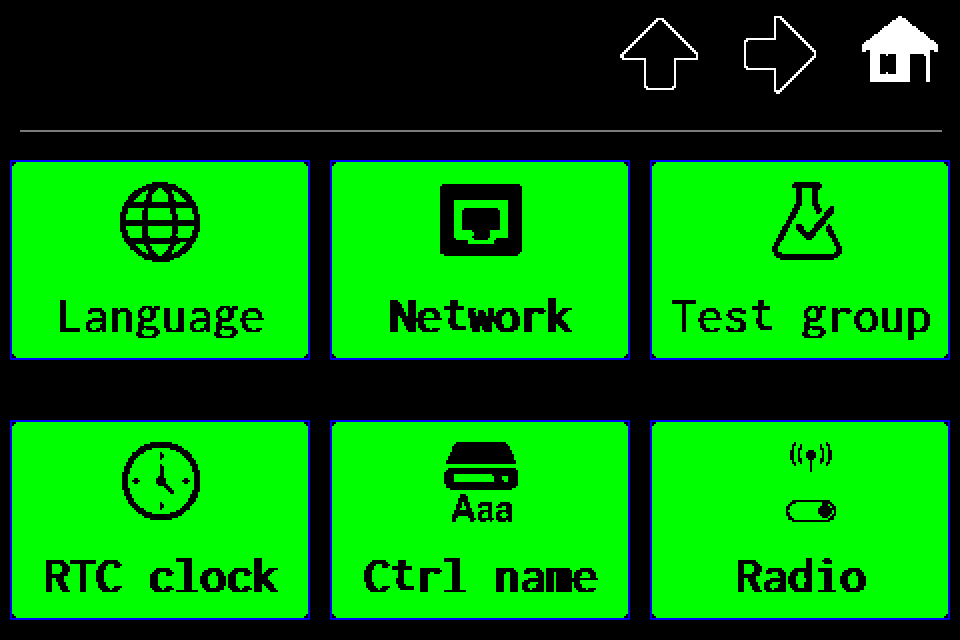
Open “Network”
Choose the middle tile with the network icon in the upper row.
-
EZF480 × 320 · Classic
 5Step 5 / 8
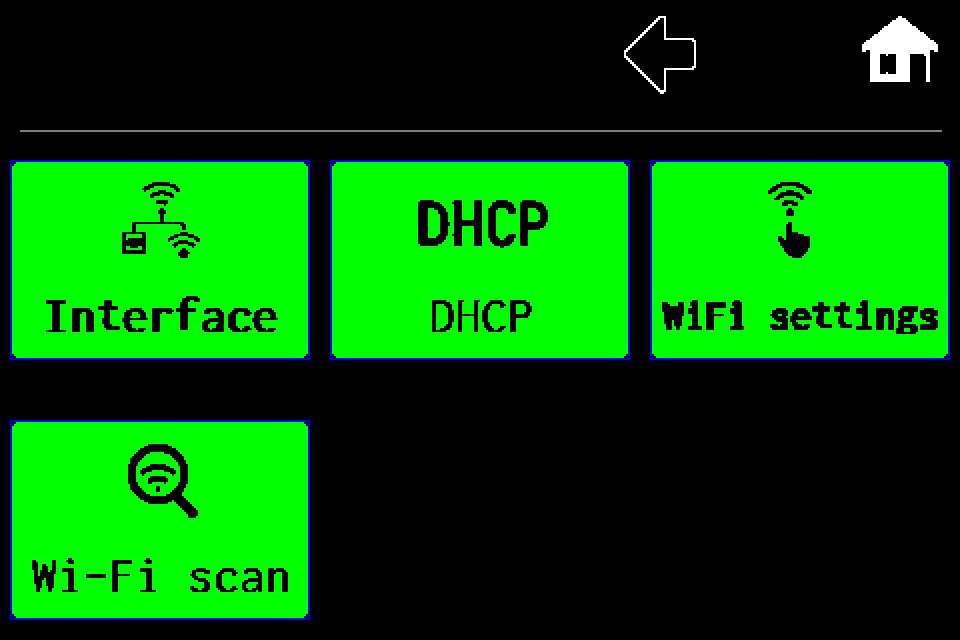
Open “Interface”
Use the upper-left tile to choose the connection type. The other tiles depend on the active profile.
-
EZF480 × 320 · Classic
 6Step 6 / 8
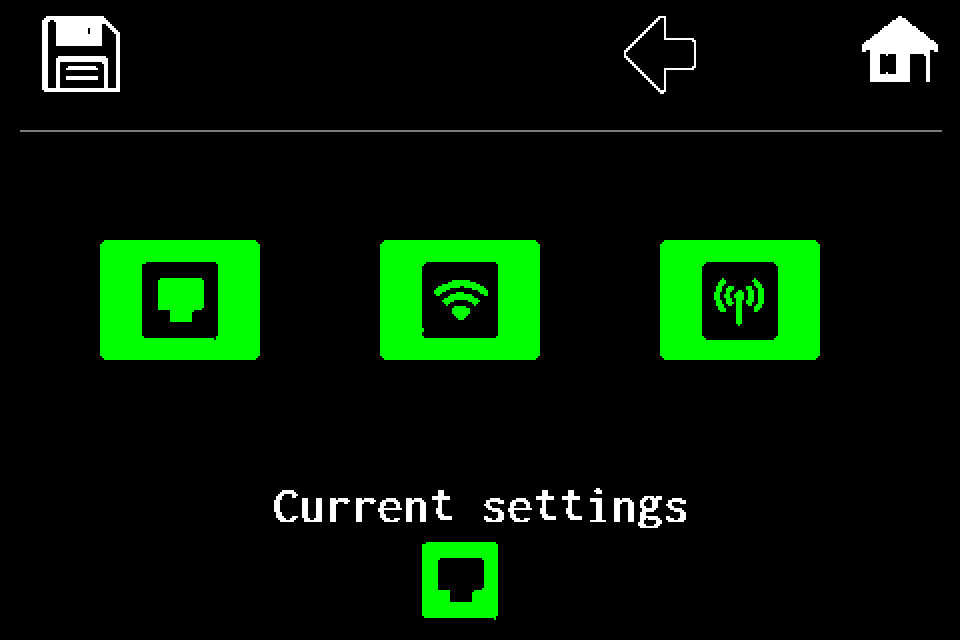
Choose the left LAN icon
Tap the left network connector icon. Connect an Ethernet cable between the controller and the local network.
-
EZF480 × 320 · Classic7Step 7 / 8
Save the selected interface
After selecting a mode, a floppy-disk icon appears in the upper left. Tap it. Selecting the mode alone does not save the change.
-
EZF480 × 320 · Classic
 8Step 8 / 8
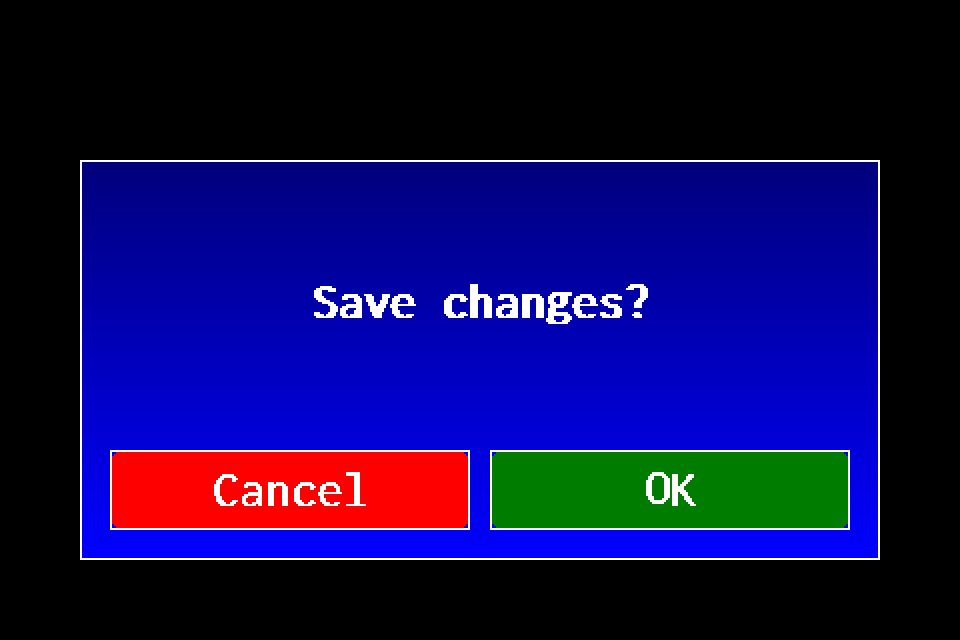
Confirm saving and restart
Confirm the save-changes question with OK on the right. The controller saves the profile and restarts. The previous network connection is disconnected.
After restart, the controller uses LAN. Check the cable and actual IP address in Information. For a static address, reopen Network → DHCP and set the LAN IP, gateway and subnet mask.