
EZF Wiki/Data and USB
Article · EN

Export luminaires and transfer them to another controller

Transfer luminaire lists by channel and verify the imported configuration.

ON THE DISPLAY · STEP BY STEP

Export luminaires to USB

480 × 320 display screens in the selected language. The yellow outline marks where to tap. Illustrated data is for demonstration.

Display interface
Before you start

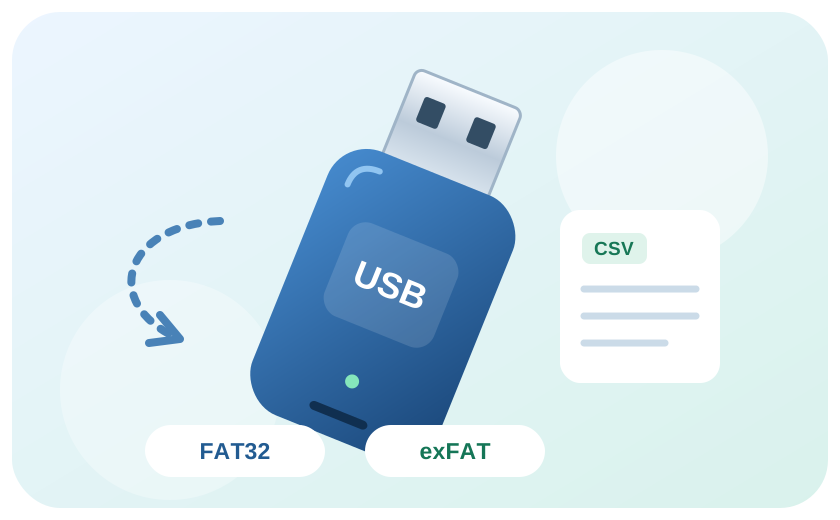
Connect a FAT32 or exFAT USB drive. An existing file with the same name may be replaced; keep a copy first.

  1. EZF480 × 320 · Classic
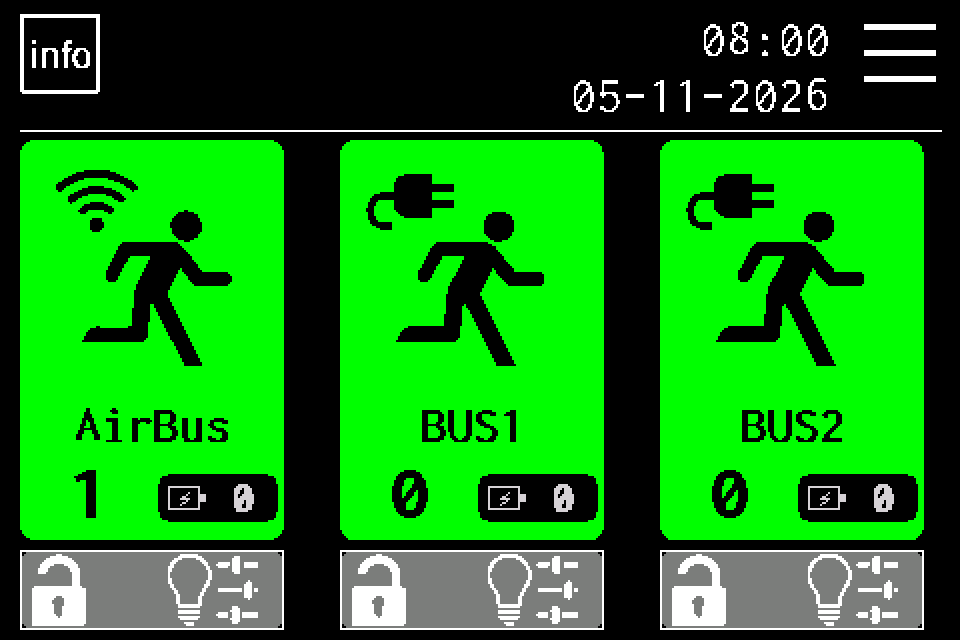
    Step 1: Press MENU
    1Step 1 / 6

    Press MENU

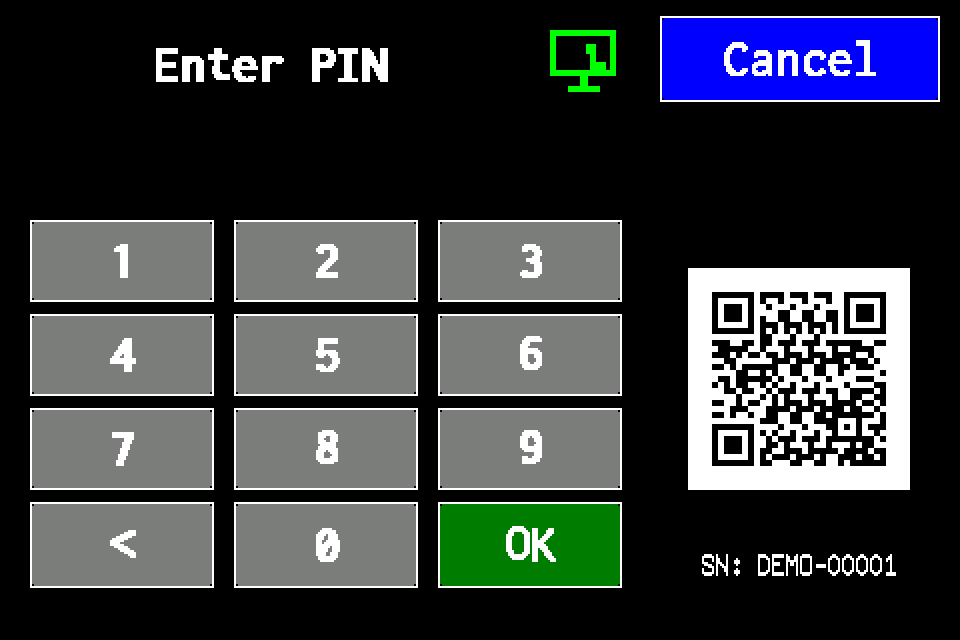
    On the home screen, tap MENU in the upper right. If prompted for a PIN, sign in with an authorised account. Controller access codes →

  2. EZF480 × 320 · Classic
    Step 2: Open the second menu page
    2Step 2 / 6

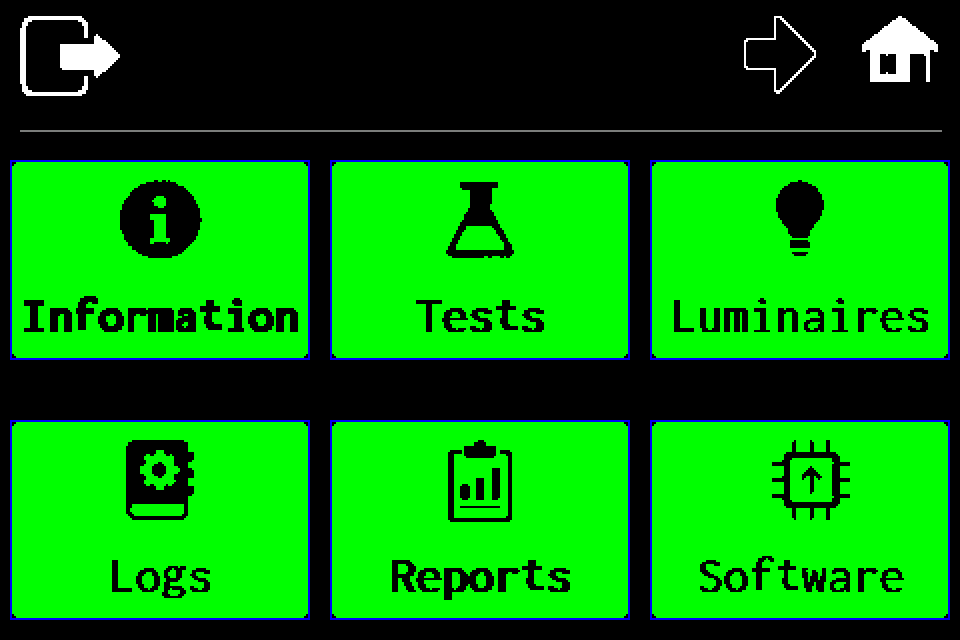
    Open the second menu page

    Tap the right arrow in the top bar. USB is on the second menu page.

  3. EZF480 × 320 · Classic
    Step 3: Open USB
    3Step 3 / 6

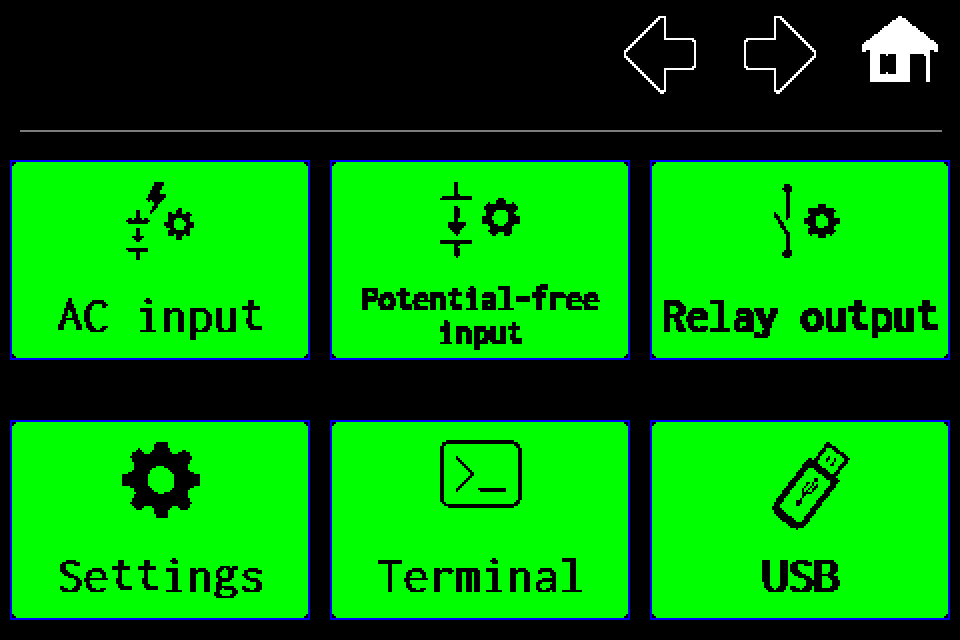
    Open USB

    Tap the USB tile in the lower right.

  4. EZF480 × 320 · Classic
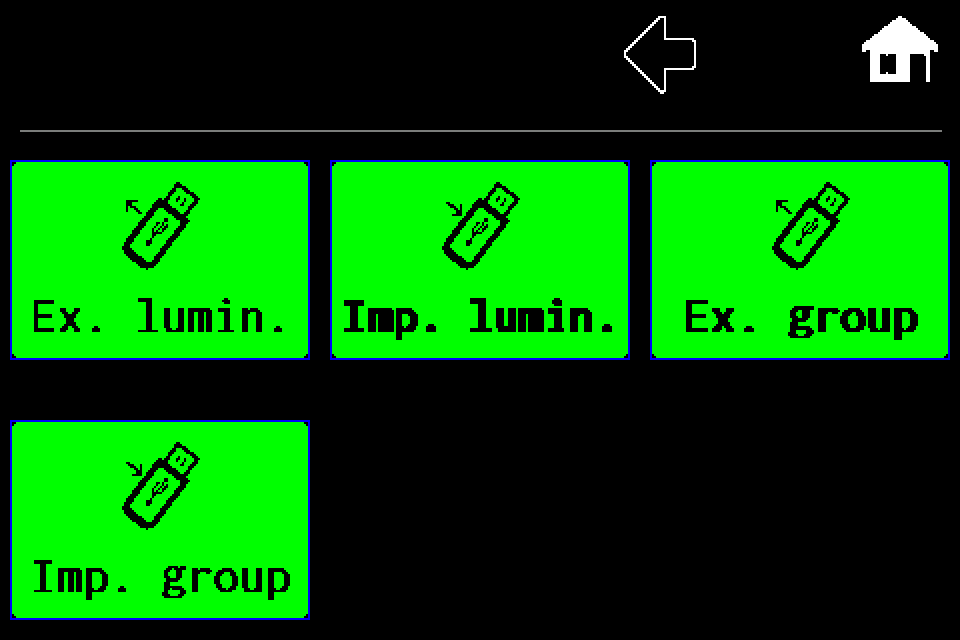
    Step 4: Tap “Ex. lumin.”
    4Step 4 / 6

    Tap “Ex. lumin.”

    This exports the luminaire list. Do not choose “Ex. group”, which creates a separate test group assignment file.

  5. EZF480 × 320 · Classic
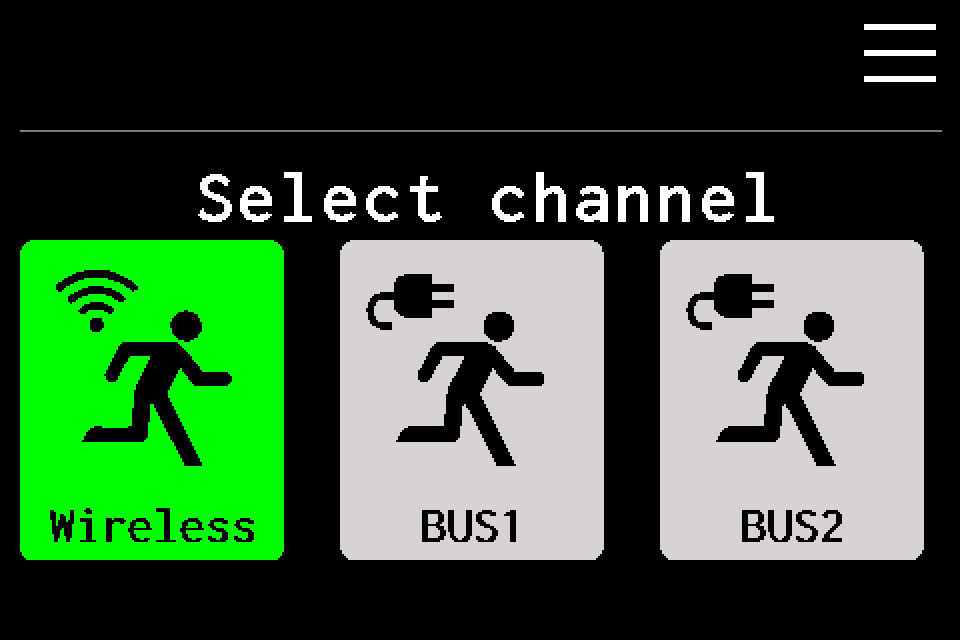
    Step 5: Choose the luminaire channel · Wireless / AirBUS
    5Step 5 / 6

    Choose the luminaire channel · Wireless / AirBUS

    Wireless means AirBUS. Choose the channel matching the file and installation. The USB operation starts after selecting the channel.

  6. EZF480 × 320 · Classic
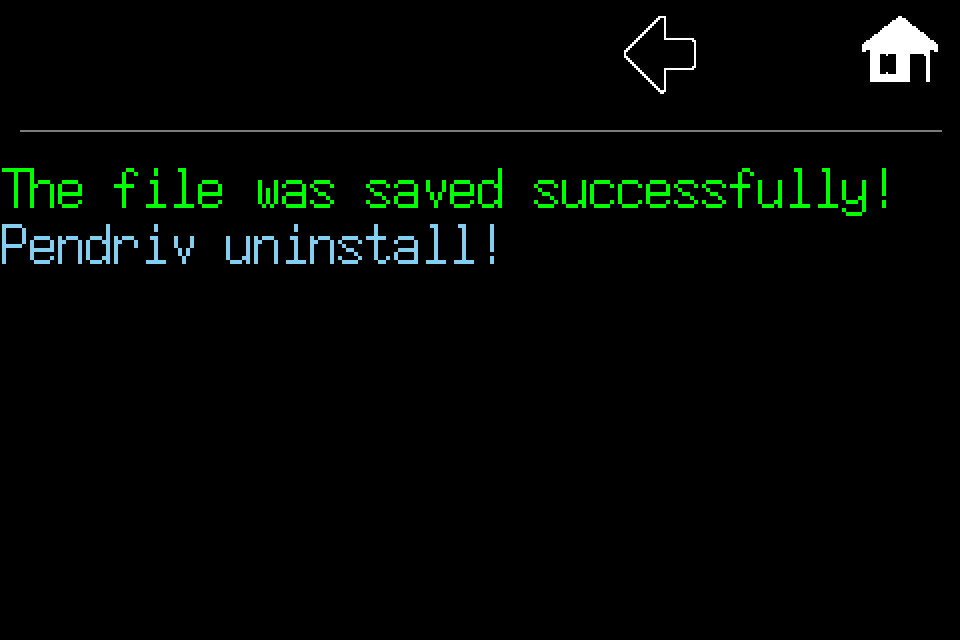
    Step 6: Check save confirmation
    6Step 6 / 6

    Check save confirmation

    This message confirms saving has finished. If an error or USB prompt appears instead, check the drive and retry. Do not remove the drive while saving.

Finish and verify

Wait for the successful-save message. AirBUS: lamps.csv; BUS1: lamps_BUS1.csv; BUS2: lamps_BUS2.csv. Disconnect only after completion, then check the file on a computer.

Other USB walkthroughsImport luminaires from USB →Export test group assignments →Export a selected test report →Export the event log →

Screen by screen: export luminaires

Open the guide with screens and highlighted buttons.

  1. Connect a compatible USB drive to the controller.
  2. Press Menu at the top right of the home screen. Enter your own PIN if requested. Controller access codes →
  3. Press the right arrow in the menu toolbar. On page 2, select USB, the bottom-right tile.
  4. Select Ex. lumin., the top-left tile in the USB menu.
  5. Under Select channel, choose Wireless for AirBUS or BUS1 / BUS2. Selecting the channel starts saving; there is no additional Start button.
  6. Wait for The file was saved successfully! and for USB processing to finish. Do not remove the drive during the operation.
  7. On a computer, check the file for the selected channel and keep it as a backup.

Export the list

Connect a compatible USB drive and start luminaire export for the selected channel. Wait for confirmation. Files are saved in the root directory: lamps.csv, lamps_BUS1.csv, lamps_BUS2.csv.

The list contains address, group, name, type and bright/dark mode. It is not a full controller backup: it does not include the complete history, network configuration, certificates or all test settings.

Transfer to another controller

  1. Keep the source export on a computer. Another export with the same filename may replace it.
  2. Export the destination controller's existing list too.
  3. Open the CSV validator, select the destination channel and load the source file.
  4. Resolve reported issues and check installation compatibility, addresses and limits.
  5. Copy the validated file to USB and run luminaire import.
  6. Check every group, names and communication. Verify test schedules separately.

Transferring configuration does not transfer physical luminaires or change their addresses. Import is not an automatic replacement of the whole database. For BUS, existing addresses are updated and new luminaires require registration. Omitting a row does not delete an existing luminaire.

Full configuration backup

To restore a controller after a failure, use the separate backup and restore functions. Luminaire CSV, group exports and reports serve different purposes and do not replace a full backup.
EZF Wiki · Wiedza pod ręką.