
EZF Wiki/Backups
Article · EN

Full backup to USB

Full controller backup to a USB drive: menu path, saving, progress and checking the .ezb file. A working SD card is also required for USB.

BACKUPS · STEP BY STEP

Full backup to USB

480 × 320 display screens in the selected language. The yellow outline marks where to tap. Illustrated data is for demonstration.

Display interface
Before you start

Have your own administrator PIN and a compatible USB drive with free space ready. Connect USB to the controller. A working SD card must also be installed for a USB backup. Keep power connected while saving. Controller access codes →

  1. EZF480 × 320 · Classic
    Step 1: Open MENU
    1Step 1 / 10

    Open MENU

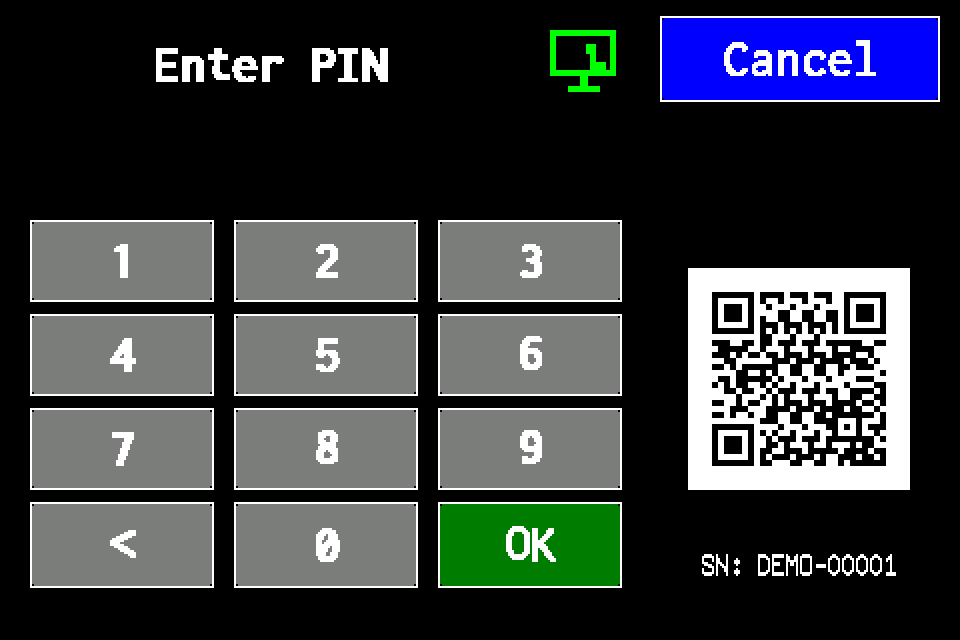
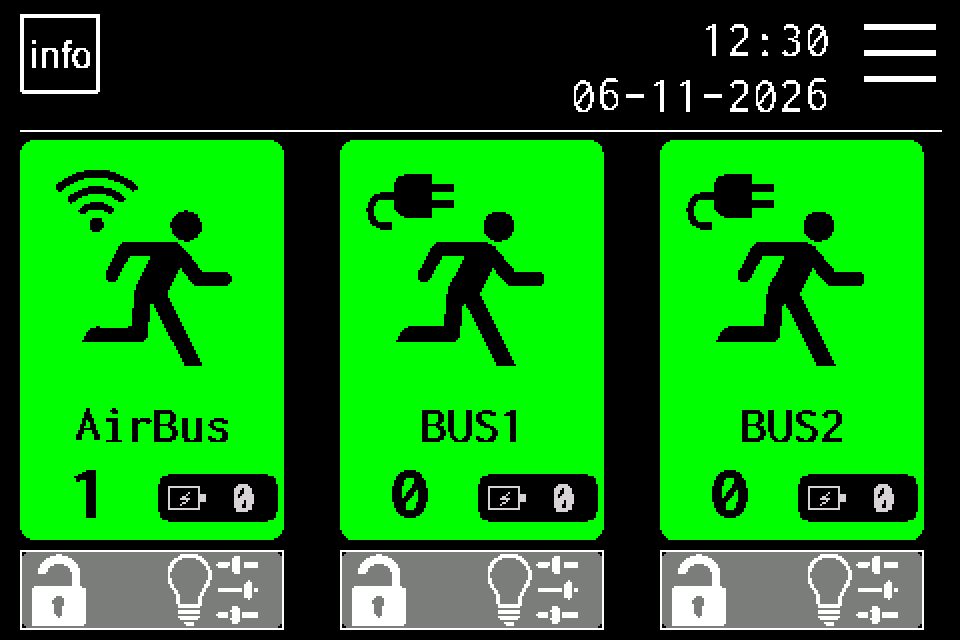
    On the home screen, tap MENU in the upper right. If the PIN window appears, sign in with your own administrator PIN and confirm with OK. Controller access codes →

  2. EZF480 × 320 · Classic
    Step 2: Open the second menu page
    2Step 2 / 10

    Open the second menu page

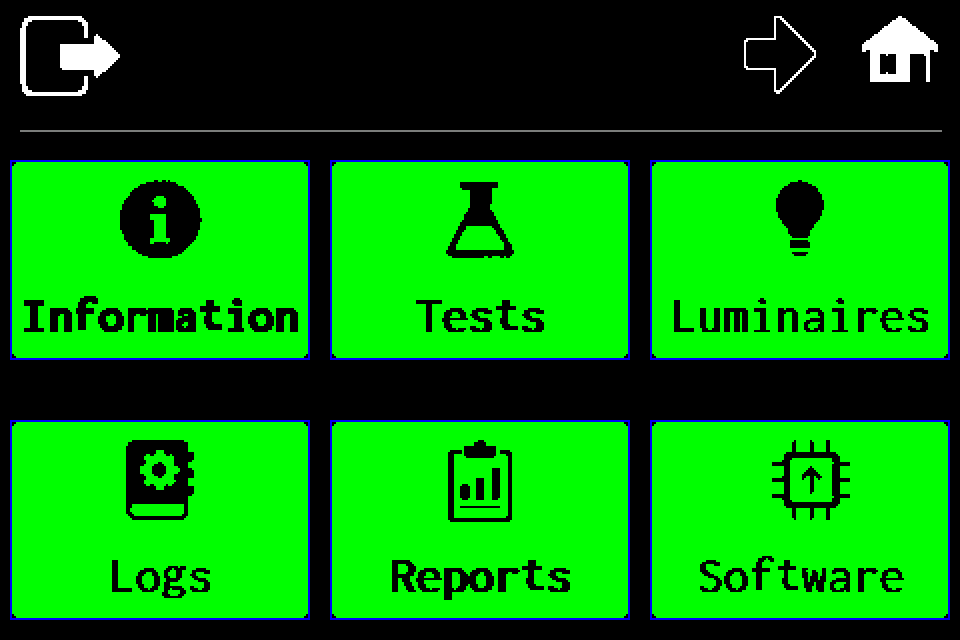
    Tap the right arrow in the top bar.

  3. EZF480 × 320 · Classic
    Step 3: Open “Settings”
    3Step 3 / 10

    Open “Settings”

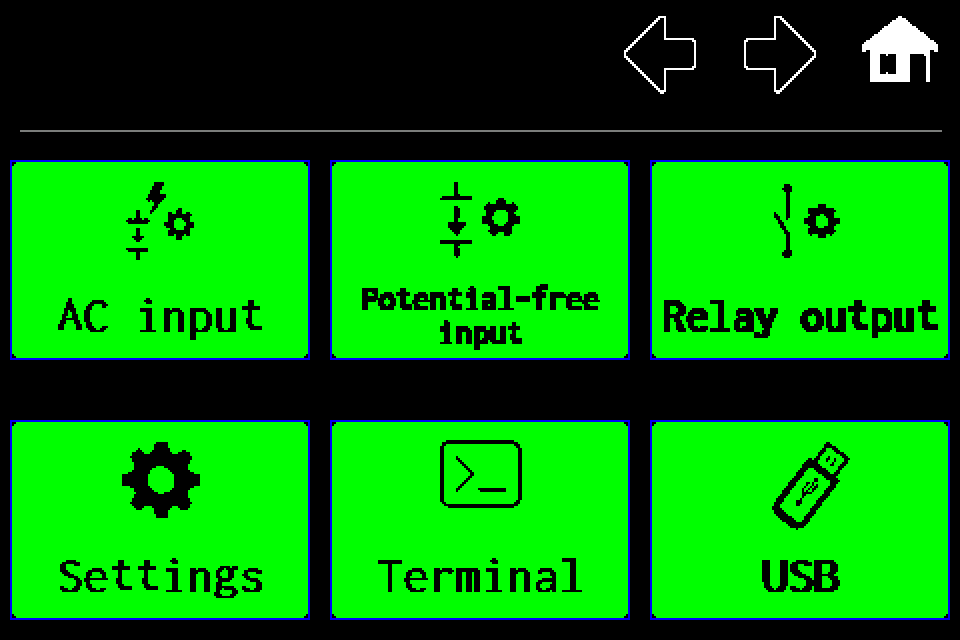
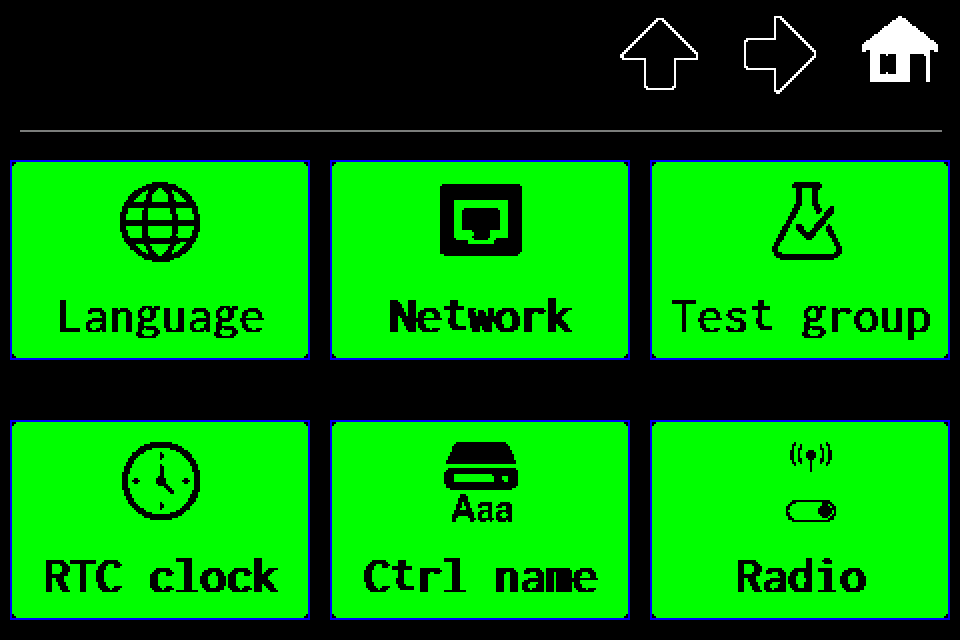
    On the second menu page, choose Settings.

  4. EZF480 × 320 · Classic
    Step 4: Second settings page
    4Step 4 / 10

    Second settings page

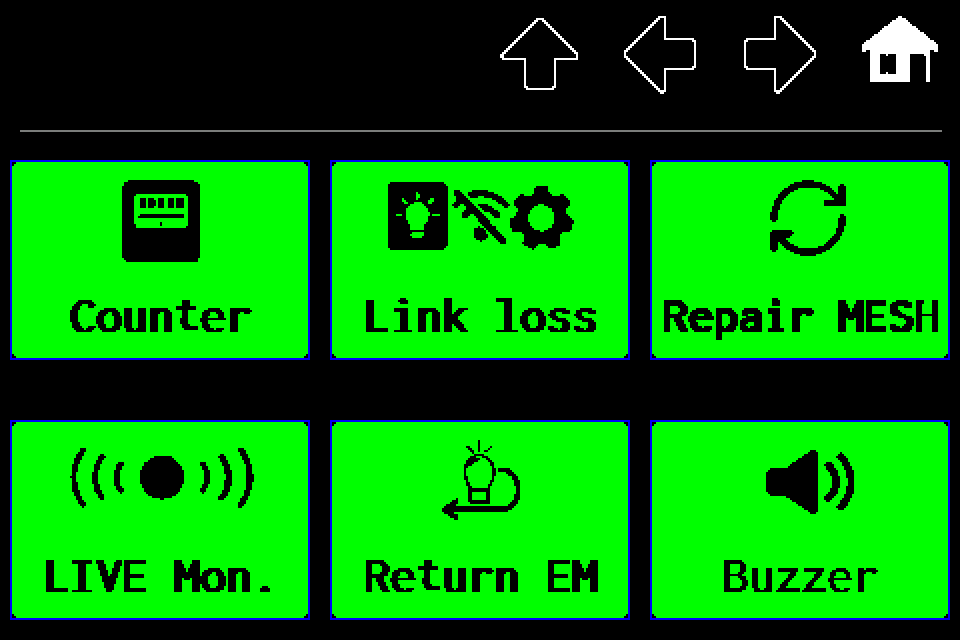
    On the first settings page, tap the right arrow.

  5. EZF480 × 320 · Classic
    Step 5: Third settings page
    5Step 5 / 10

    Third settings page

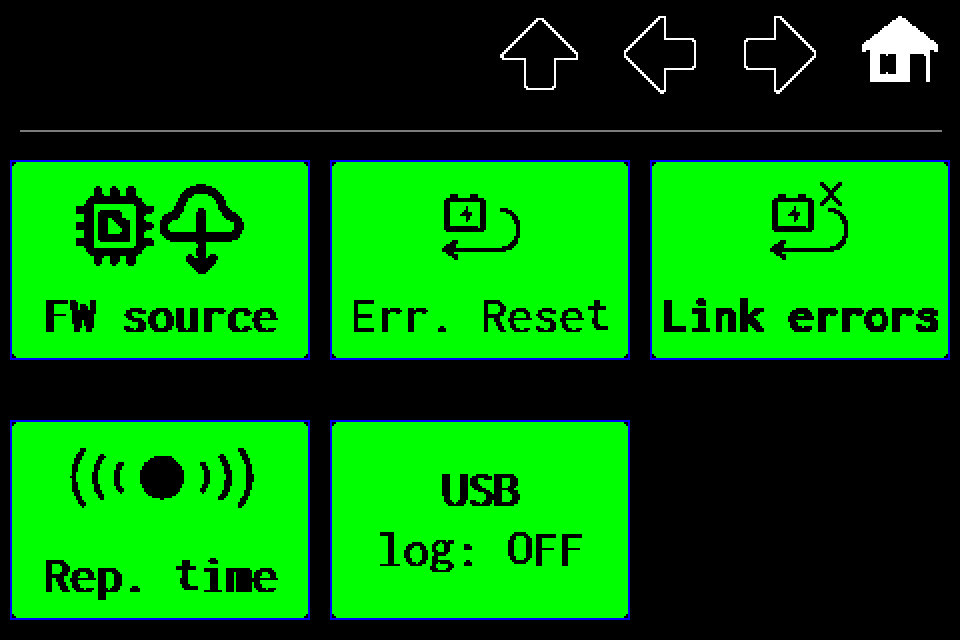
    Tap the right arrow again.

  6. EZF480 × 320 · Classic
    Step 6: Fourth settings page
    6Step 6 / 10

    Fourth settings page

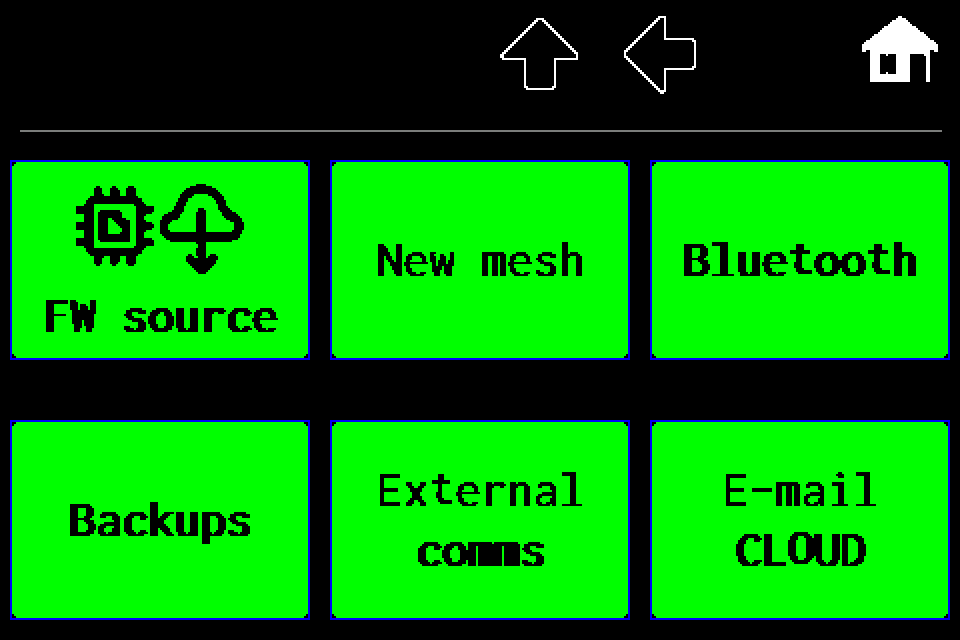
    Tap the right arrow once more. The next page contains Backups.

  7. EZF480 × 320 · Classic
    Step 7: Choose “Backups”
    7Step 7 / 10

    Choose “Backups”

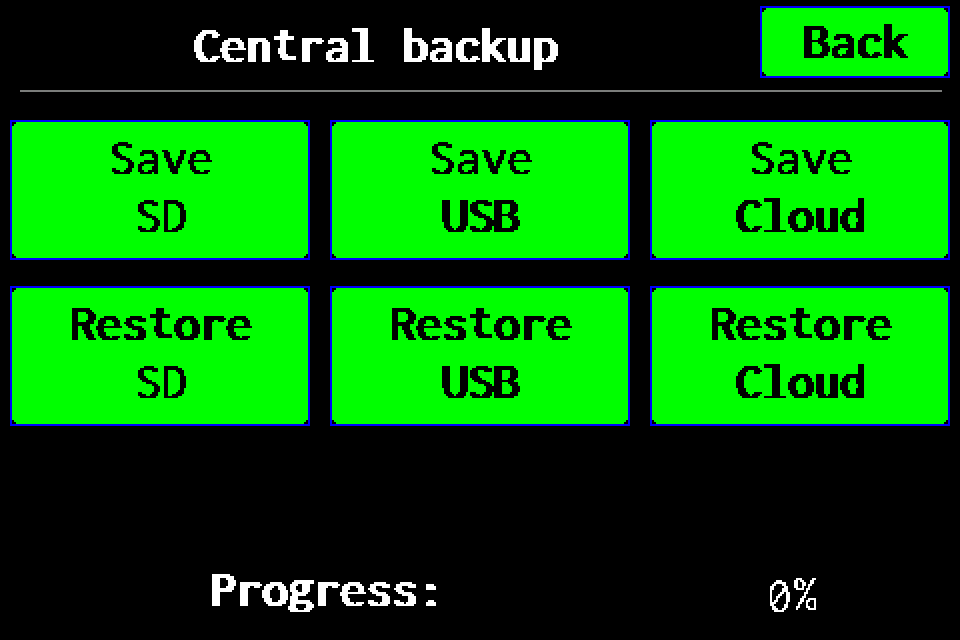
    Tap the yellow-outlined Backups tile. Central backup opens with separate Save and Restore controls.

  8. EZF480 × 320 · Classic
    Step 8: Start saving to USB
    8Step 8 / 10

    Start saving to USB

    In the upper Save row, tap USB. This starts backup creation immediately; there is no disk-icon step or additional confirmation. The lower Restore row is for restoring data.

  9. EZF480 × 320 · Classic
    Step 9: Wait for the operation to finish
    9Step 9 / 10

    Wait for the operation to finish

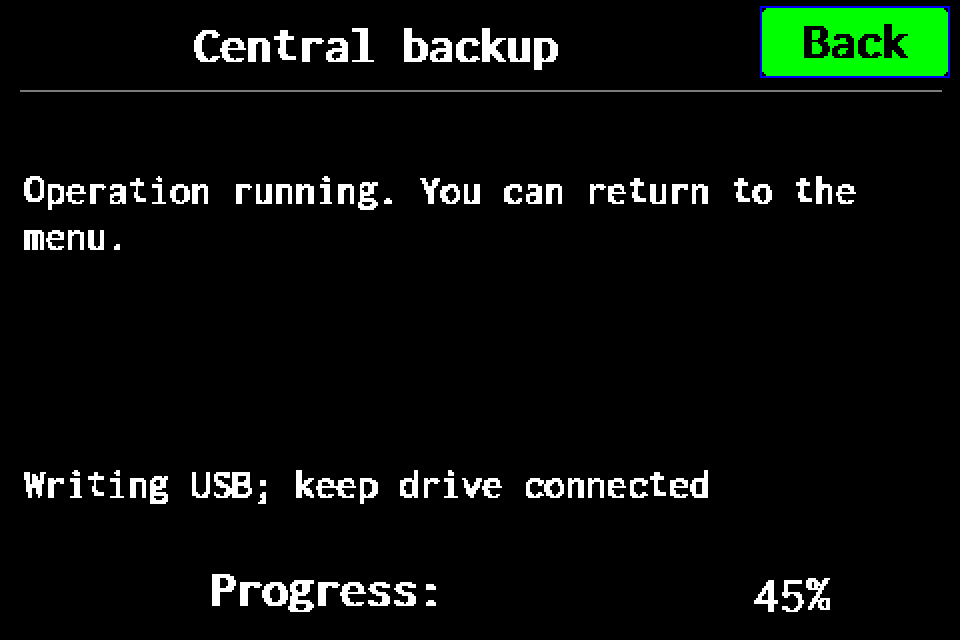
    The USB backup is being prepared and saved. Watch the progress and leave the USB drive connected. Keep power and the SD card connected until completion.

  10. EZF480 × 320 · Classic
    Step 10: Check the final confirmation
    10Step 10 / 10

    Check the final confirmation

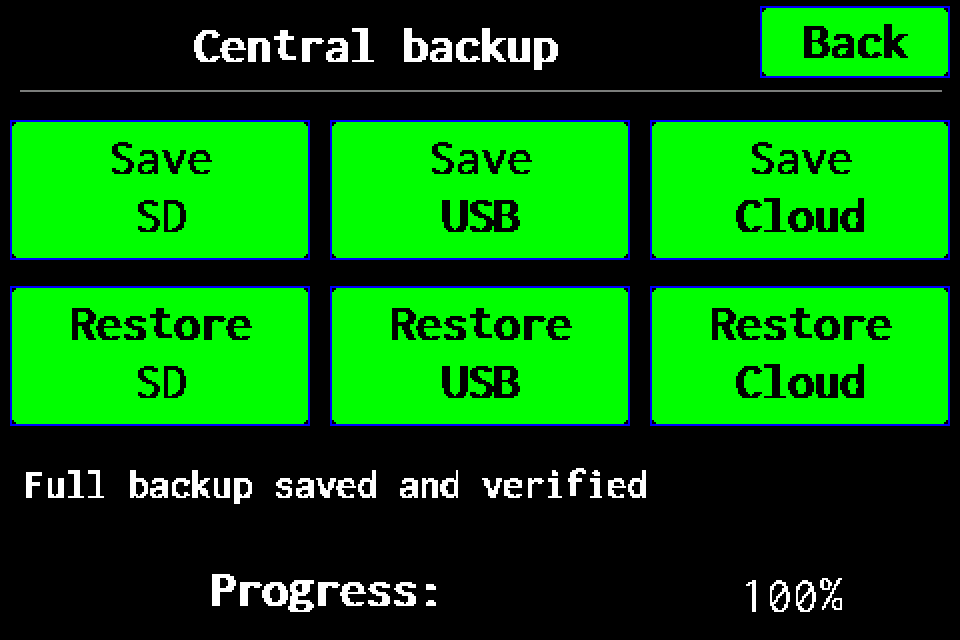
    Wait for 100% and “Full backup saved and verified”. Disconnect USB only after completion. Check the .ezb file with the serial number and date in the drive’s root directory. Tapping USB or seeing progress alone does not confirm a successful backup.

Finish and verify

Wait for 100% and “Full backup saved and verified”. Disconnect USB only after completion. Check the .ezb file with the serial number and date in the drive’s root directory. Tapping USB or seeing progress alone does not confirm a successful backup.

Other backup destinationsFull backup to SD card →Full backup to Cloud — experimental →

Before you start

Have your own administrator PIN and a compatible USB drive with free space ready. Connect USB to the controller. A working SD card must also be installed for a USB backup. Keep power connected while saving. Controller access codes →

Display steps

Open the guide with display images and highlighted controls.

MENU → right arrow → Settings → right arrow three times → Backups.

In the upper Save row, choose USB. The operation starts when tapped; no additional disk-icon step is needed. The lower Restore row is for restoring a backup.

What a full backup contains

A full backup contains the controller settings and stored data, plus supported configuration and plan files from the SD card. It is an archive for restoring the controller, rather than only a CSV export of the luminaire list. It is neither a firmware image nor a sector-by-sector copy of the entire SD card.

Finish and verify

Wait for 100% and “Full backup saved and verified”. Disconnect USB only after completion. Check the .ezb file with the serial number and date in the drive’s root directory. Tapping USB or seeing progress alone does not confirm a successful backup.

Keep the actual .ezb file. A file ending in _latest.txt points to the latest backup and does not replace the archive. The archive filename uses UTC; the on-screen backup list shows local time.

If the operation fails

If Insert USB drive appears, connect a compatible drive, close the window with Cancel, then choose Save USB again. Inserting the drive alone does not resume saving. Also check the SD card and free space. Do not treat a failed backup as successful; retain the previous archive and retry after resolving the cause. Do not remove USB while saving. Choose and prepare a USB drive.

Other backup destinations

EZF Wiki · Wiedza pod ręką.