Disable DHCP, edit IP, gateway and mask, then save and restart for LAN or Wi‑Fi client.
1 min readUpdated: 2026-11-06
NETWORK AND EMAIL · STEP BY STEP
DHCP or static IP address
480 × 320 display screens in the selected language. The yellow outline marks where to tap. Illustrated data is for demonstration.
Display interface
Before you start
Select LAN or Wi‑Fi client as the active interface. Have your network’s assigned IP, gateway and mask ready. 192.168.10.50 / 192.168.10.1 / 255.255.255.0 are examples only. The screens show LAN as an example; Wi‑Fi client uses the same fields.
If the controller asks for a PIN
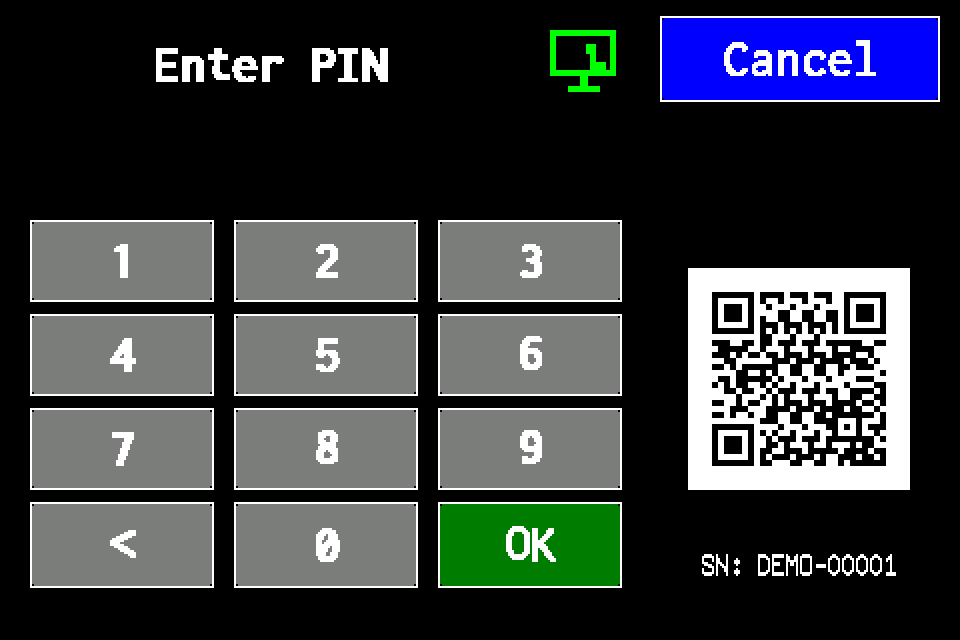
Enter your PIN on the display and confirm with OK. Use an account authorised for settings. Email CLOUD requires Administrator or Service access. If already signed in, continue to the next menu screen. Controller access codes →
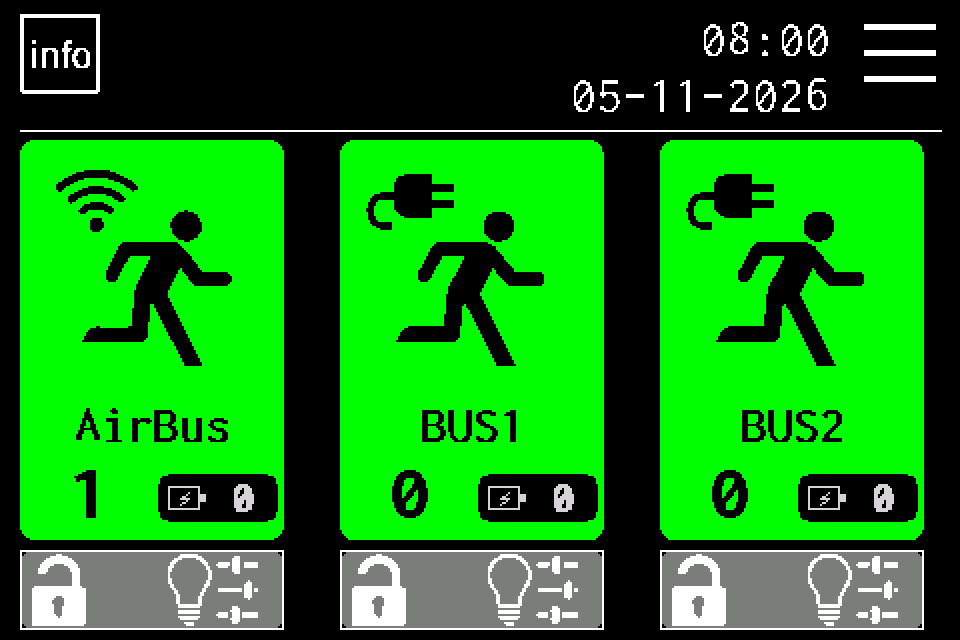
Tap MENU in the upper right. If the PIN keypad appears, enter your own code and confirm with OK. Use an account authorised to configure the controller. Controller access codes →
EZF480 × 320 · Classic
2Step 2 / 13
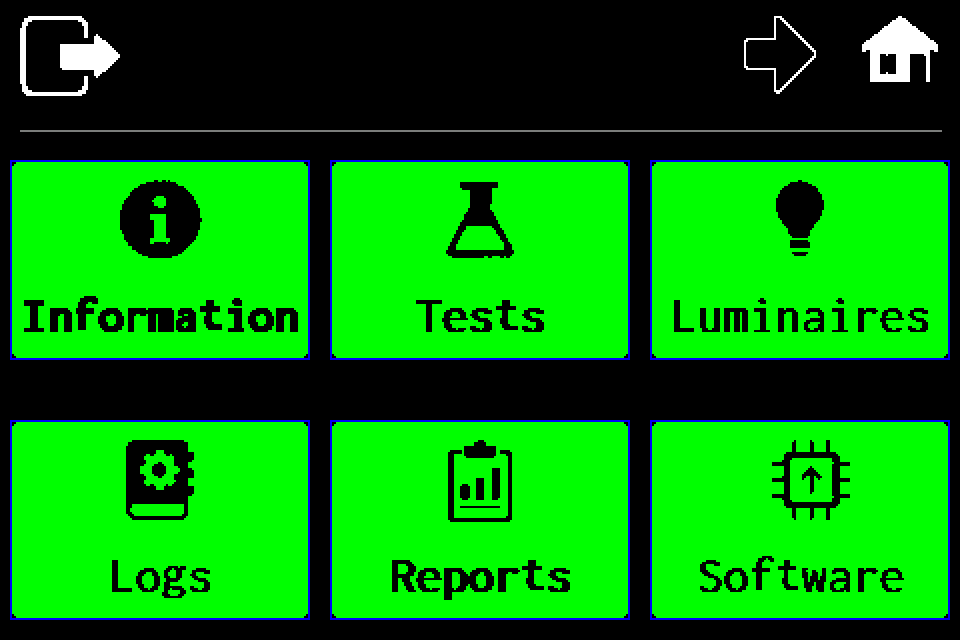
Open the second menu page
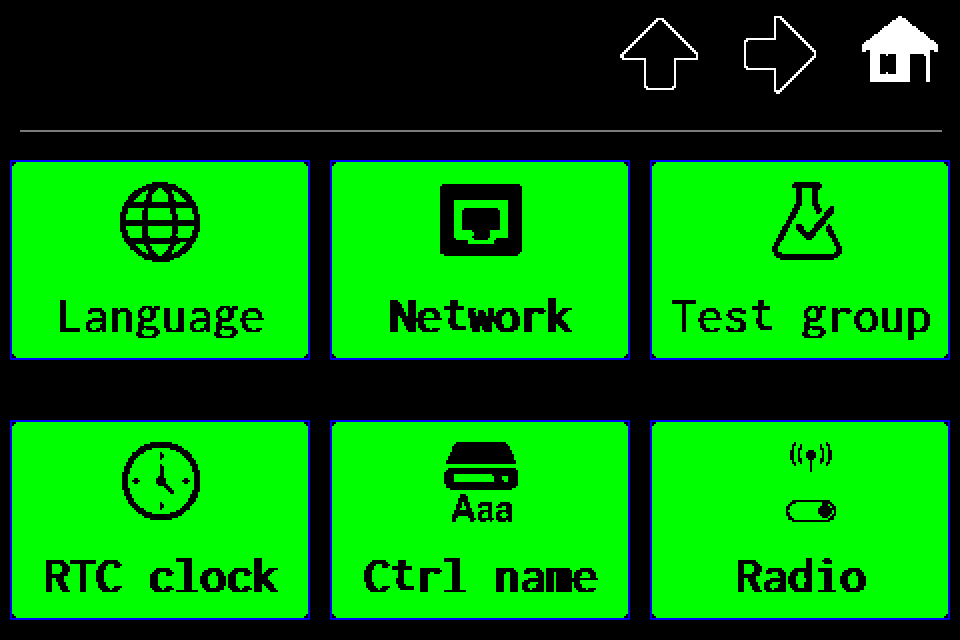
Tap the right arrow in the top bar.
EZF480 × 320 · Classic
3Step 3 / 13
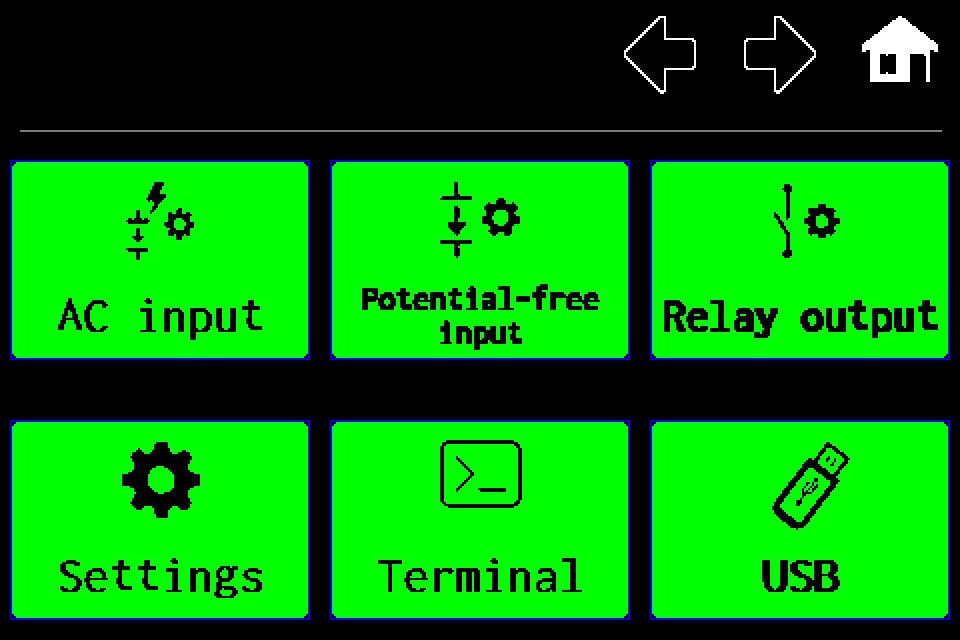
Open “Settings”
Choose the Settings tile in the lower left.
EZF480 × 320 · Classic
4Step 4 / 13
Open “Network”
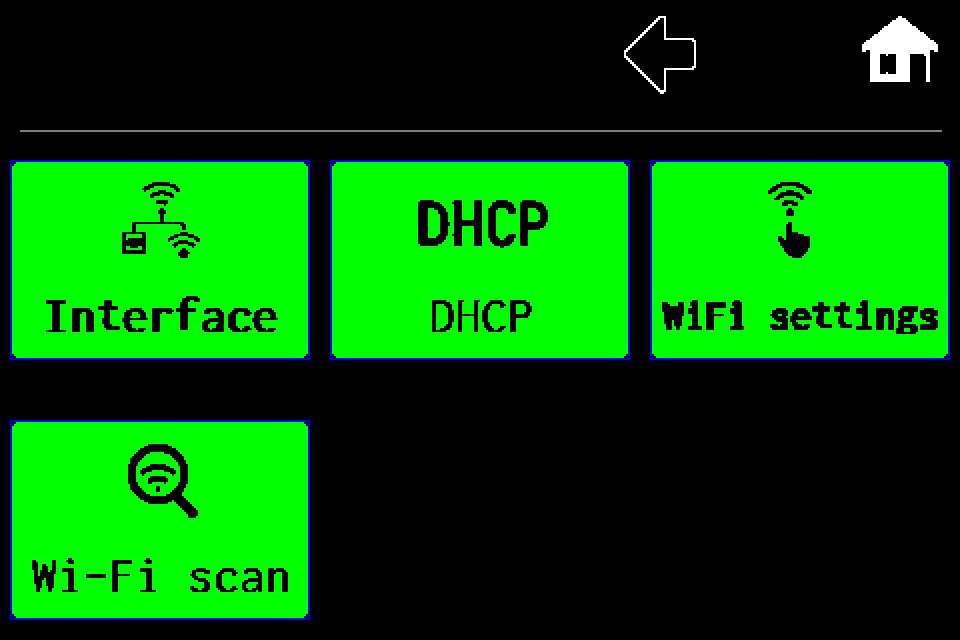
Choose the middle tile with the network icon in the upper row.
EZF480 × 320 · Classic
5Step 5 / 13
Open “DHCP” for the active interface
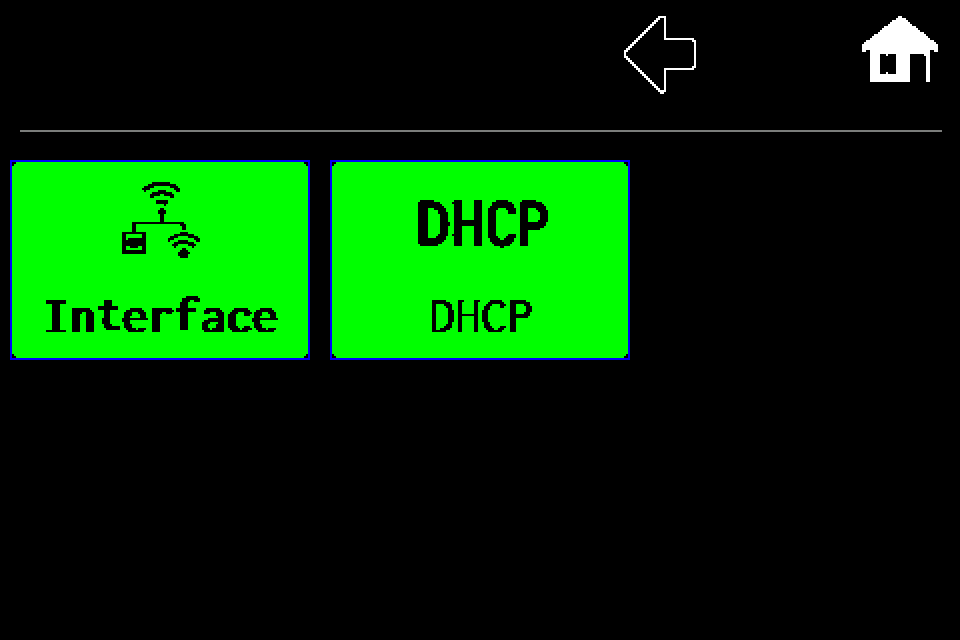
Select LAN or Wi‑Fi client first. In Network, tap the upper-middle DHCP tile. It is unavailable in AP mode.
EZF480 × 320 · Classic
6Step 6 / 13
Turn DHCP off
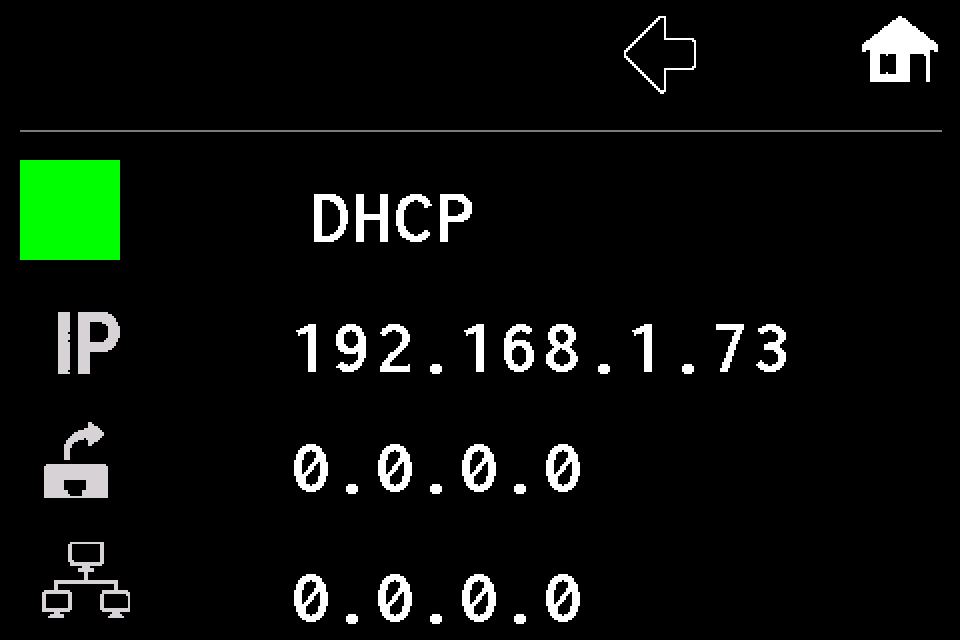
A solid green box means DHCP is on. Tap it to switch to a static address. An empty box with a green outline means DHCP is off.
EZF480 × 320 · Classic
7Step 7 / 13
Edit the IP address
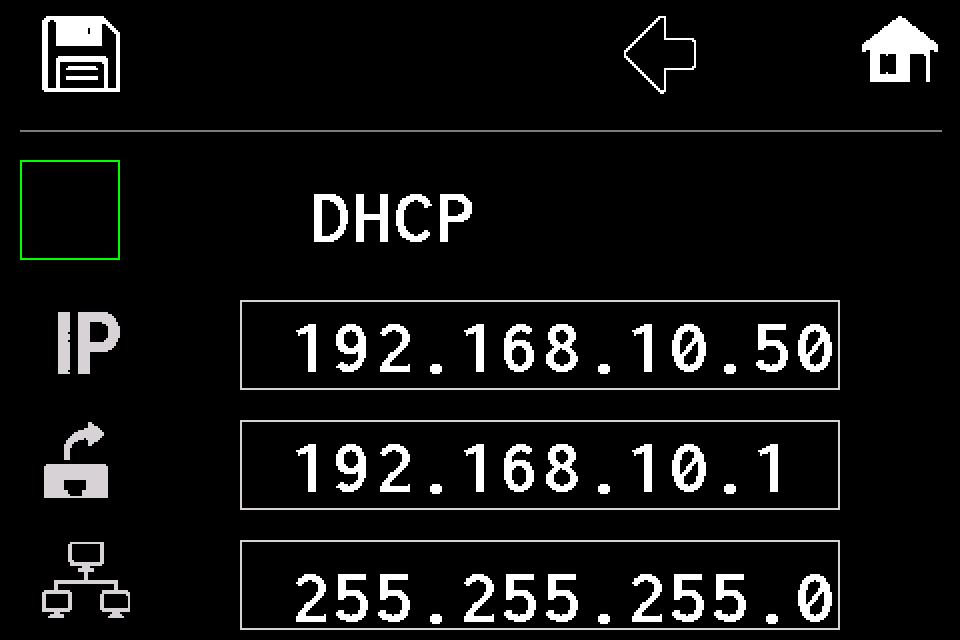
Tap the top IP address field. Use a free address assigned for your network.
EZF480 × 320 · Classic
8Step 8 / 13
Enter the IP and confirm with OK
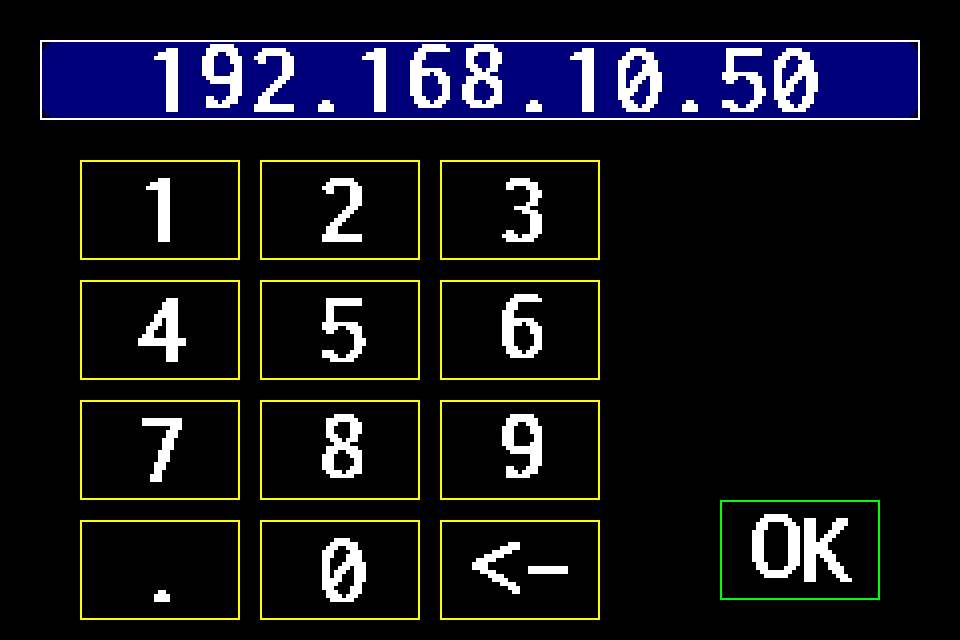
Example: 192.168.10.50. Delete the old value with ←, enter four dot-separated numbers and press OK on the right. Each number must be between 0 and 255.
EZF480 × 320 · Classic
9Step 9 / 13
Edit the gateway
Tap the middle field with the gateway icon and enter your network gateway.
EZF480 × 320 · Classic
10Step 10 / 13
Confirm the gateway address
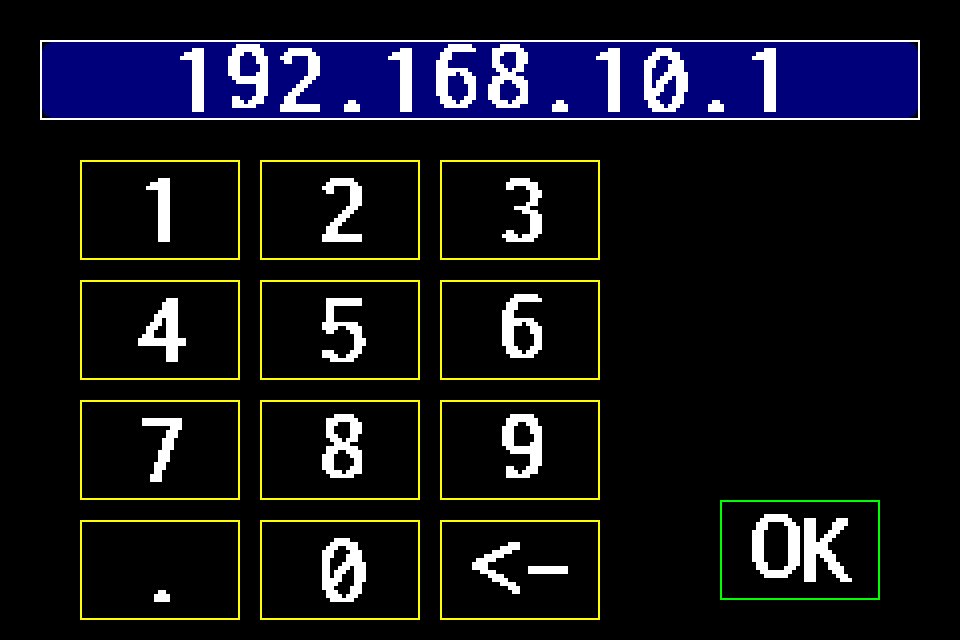
Example: 192.168.10.1. Enter the correct gateway and press OK.
EZF480 × 320 · Classic
11Step 11 / 13
Edit the subnet mask
Tap the bottom mask field. Do not enter the gateway or DNS server here.
EZF480 × 320 · Classic
12Step 12 / 13
Confirm the subnet mask
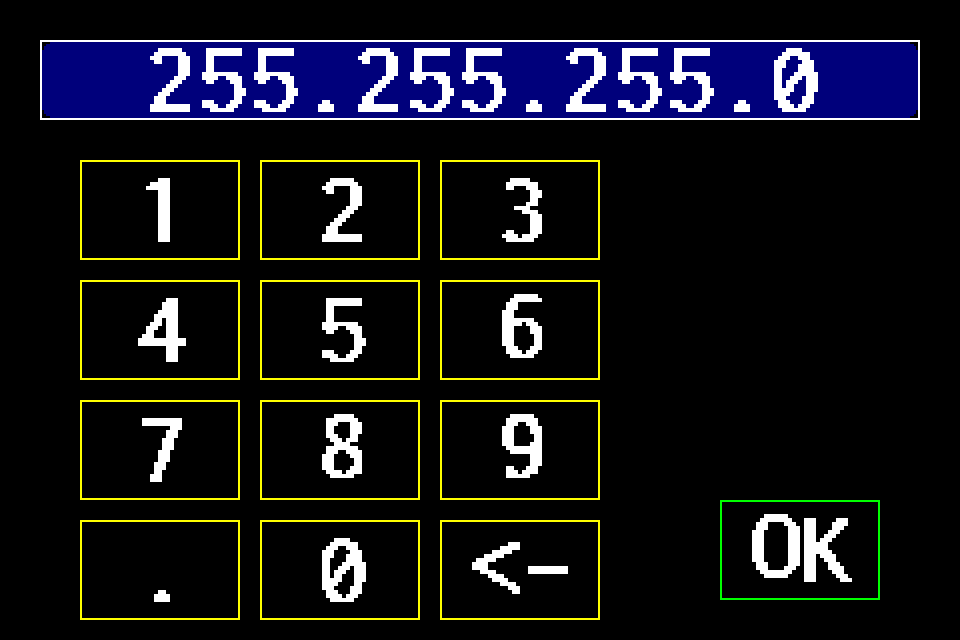
Example: 255.255.255.0. Enter your subnet’s mask and press OK.
EZF480 × 320 · Classic
13Step 13 / 13
Save addressing and restart
Check IP, gateway and mask. Tap the floppy-disk icon in the upper left. On this screen, saving restarts immediately without another OK question.
Finish and verify
After restart, check the new address in INFO and reconnect to it. To return to DHCP, reopen this screen, turn the DHCP box solid green and save with the floppy disk. The editor contains IP, gateway and mask, with no separate DNS field.
Select the correct interface first: LAN or Wi‑Fi client.
Open MENU, sign in with PIN if prompted, then open second page → Settings → Network → DHCP. Controller access codes →
Tap the green DHCP box. For static IP it must be empty with a green outline.
Open the top field and enter the IP, for example 192.168.10.50, then confirm with keypad OK.
In the middle field, enter the gateway, for example 192.168.10.1, and press OK.
In the bottom field, enter the subnet mask, for example 255.255.255.0, and press OK.
Check all values and tap the floppy-disk icon in the upper left. Saving here restarts immediately without another confirmation.
After restart, check the actual address in INFO and reconnect.
Return to DHCP
Turn the DHCP box solid green and save with the floppy disk. In DHCP mode, values are supplied by the network. LAN and Wi‑Fi client have separate address profiles; edit the active interface.
Example values are not suitable for every installation. The keypad validates four numbers from 0 to 255, but does not check whether an address is free or the subnet settings are suitable. There is no separate DNS field. This page is unavailable in Access Point mode.